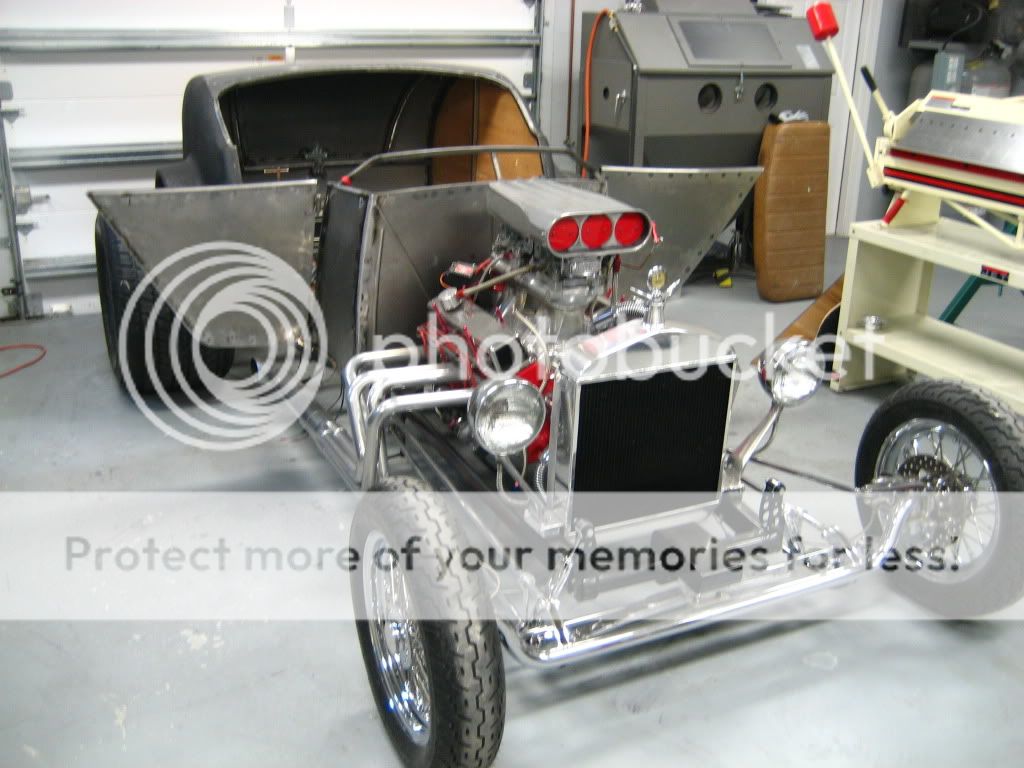
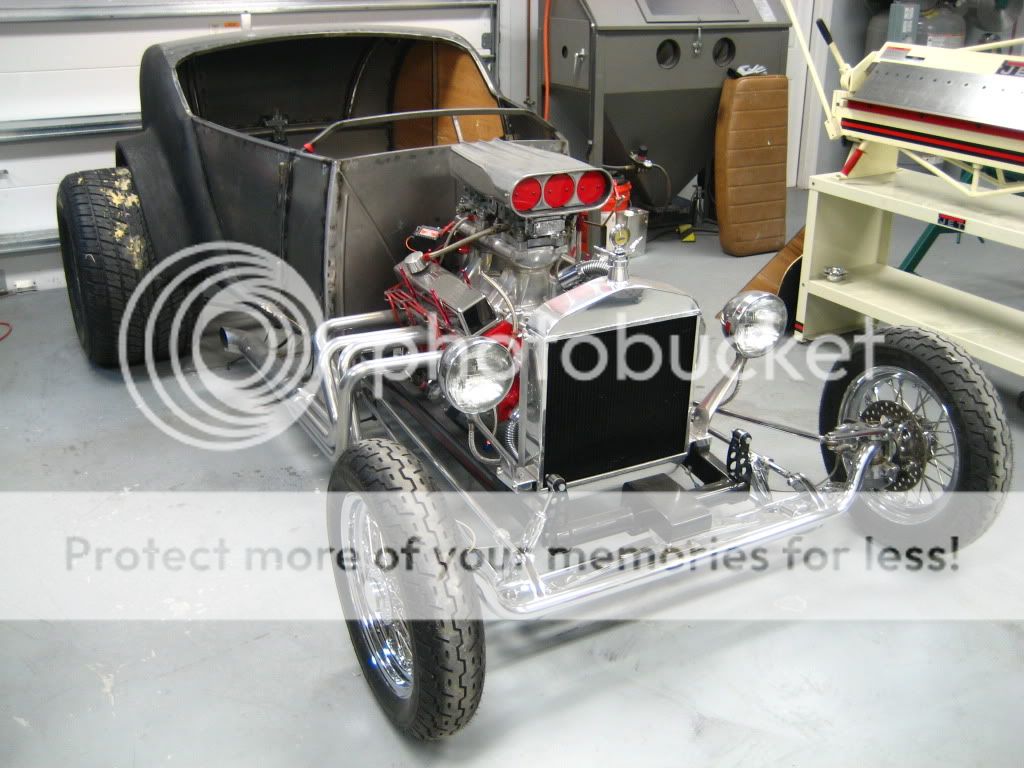
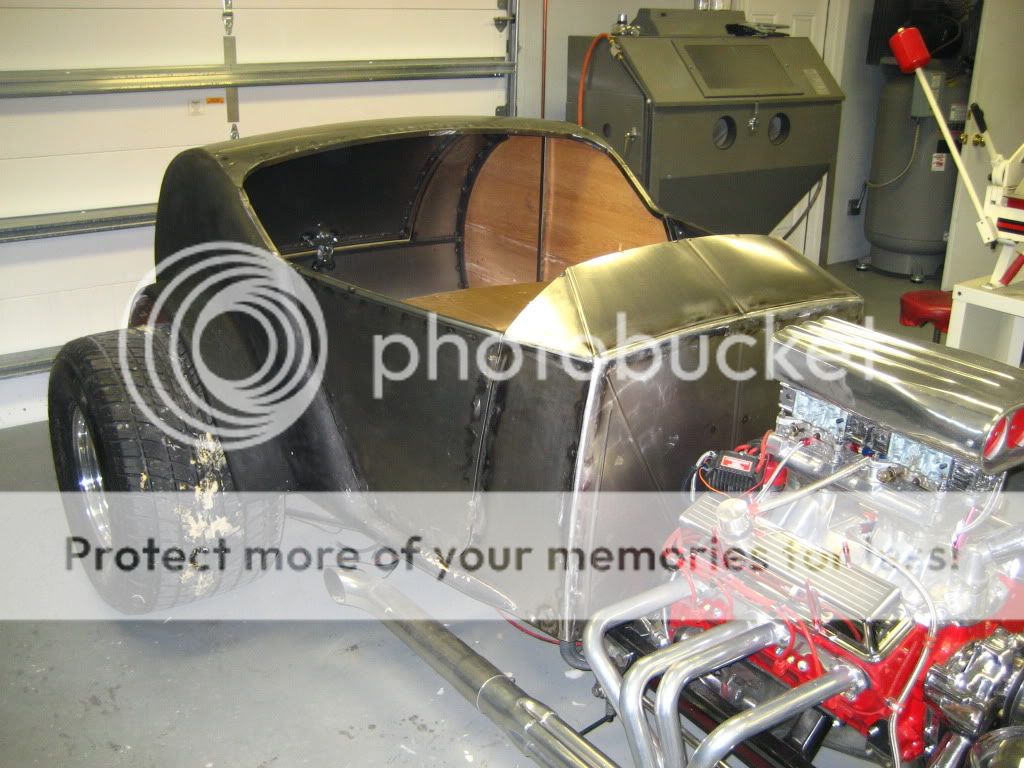
This is a cool build.
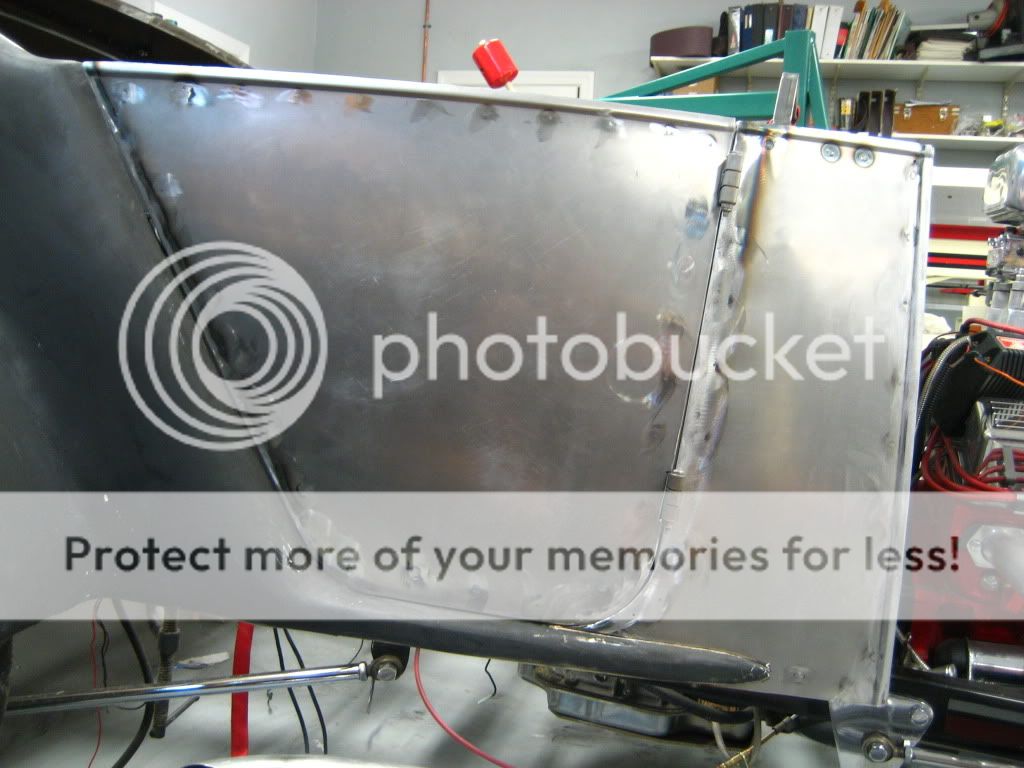
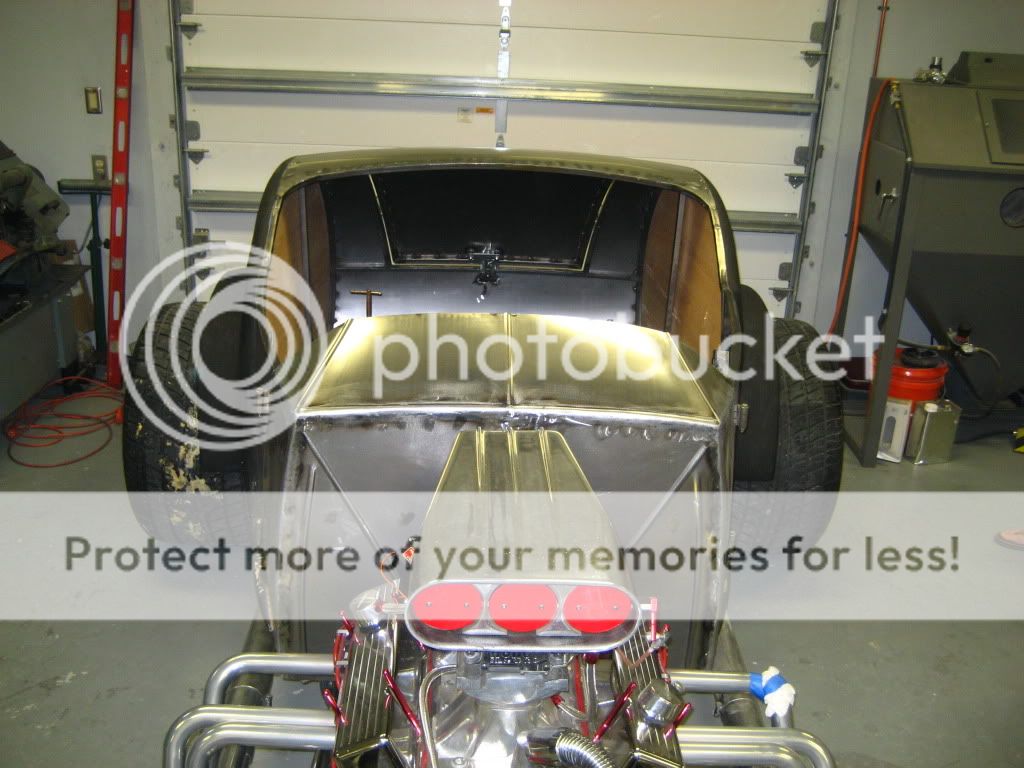
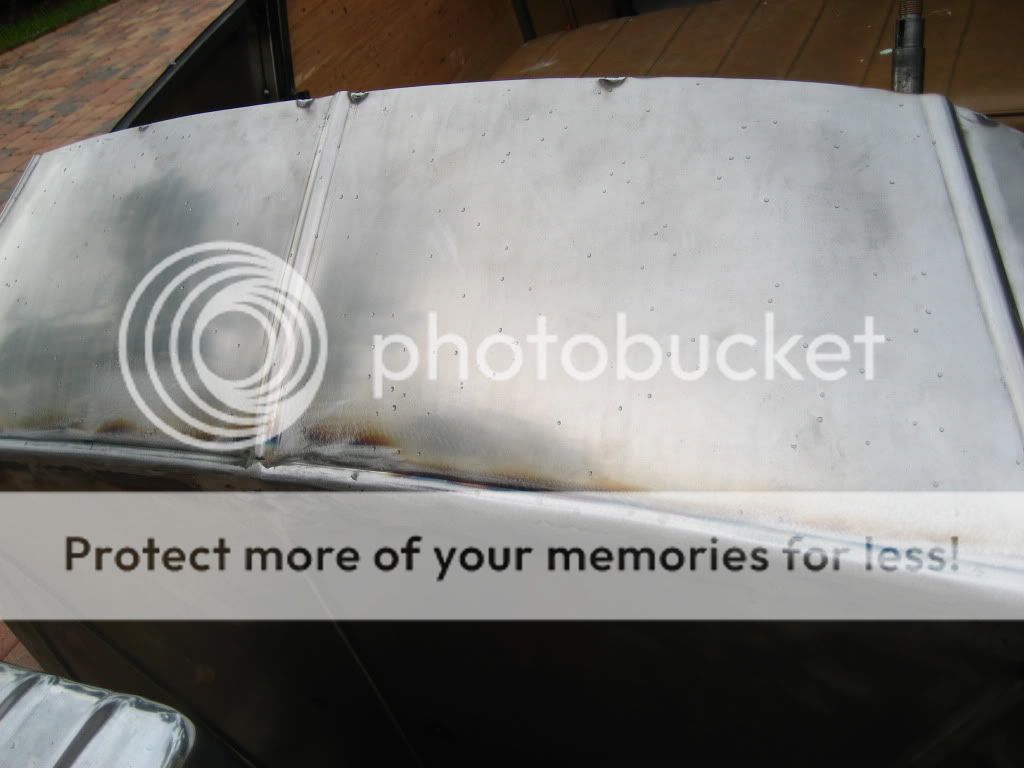
I noticed on the deck lid there are lines from the wheel work. Try cutting a piece of innertube to slide over your top wheel. this will help eliminate those. Another trick with a wheel is to use a go-kart slick for the wheel. I have made a driveshaft tunnel with very few passes through the wheel that way.
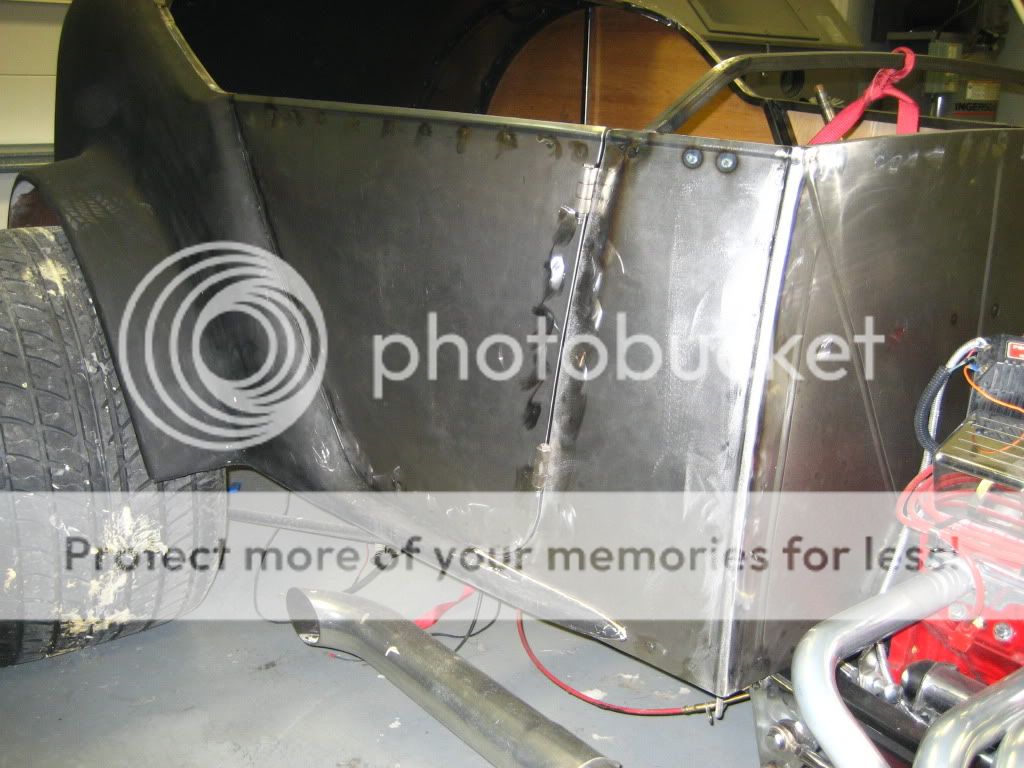
If you have a bead roller, offset the shearing dies a bit and you can roll a standing lip around your panels. That way you will get terrific body seams as you can weld the skins off the lip. Less chance of distortion on the skins.
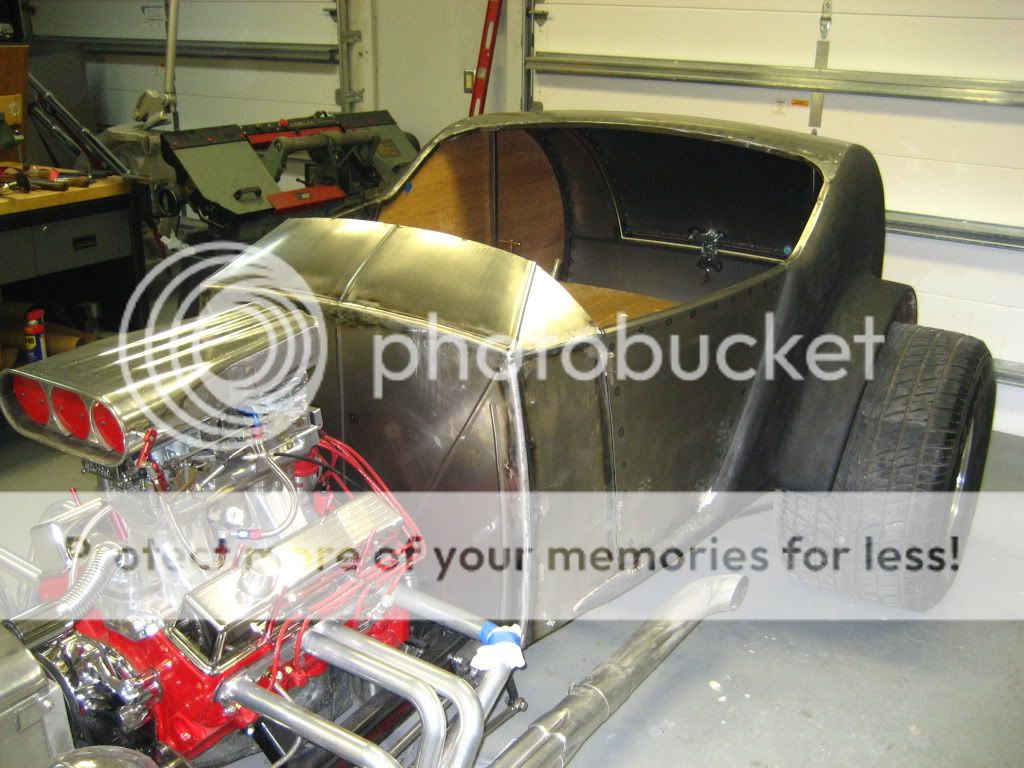
It will be interesting to see how you make the reverse curve between the quarter pannel and the fender. VERY difficult to do. Give some thought to a strecher/shrinker. I assure you it will make this project much easier. Just a thought here. If you use the slick and roll one long piece, you might be able to use the strecher/ shirker to shape this piece. I have run into the same problem with the cowl flare on the dirt car. Perplexing at best.
Please keep this thread alive. It's a great project!!!
Ron
I noticed on the deck lid there are lines from the wheel work. Try cutting a piece of innertube to slide over your top wheel. this will help eliminate those. Another trick with a wheel is to use a go-kart slick for the wheel. I have made a driveshaft tunnel with very few passes through the wheel that way.
If you have a bead roller, offset the shearing dies a bit and you can roll a standing lip around your panels. That way you will get terrific body seams as you can weld the skins off the lip. Less chance of distortion on the skins.
It will be interesting to see how you make the reverse curve between the quarter pannel and the fender. VERY difficult to do. Give some thought to a strecher/shrinker. I assure you it will make this project much easier. Just a thought here. If you use the slick and roll one long piece, you might be able to use the strecher/ shirker to shape this piece. I have run into the same problem with the cowl flare on the dirt car. Perplexing at best.
Please keep this thread alive. It's a great project!!!
Ron