Ron Pope Motorsports                California Custom Roadsters               

New Suspension parts from California Custom Roadsters!

irishluck

Member
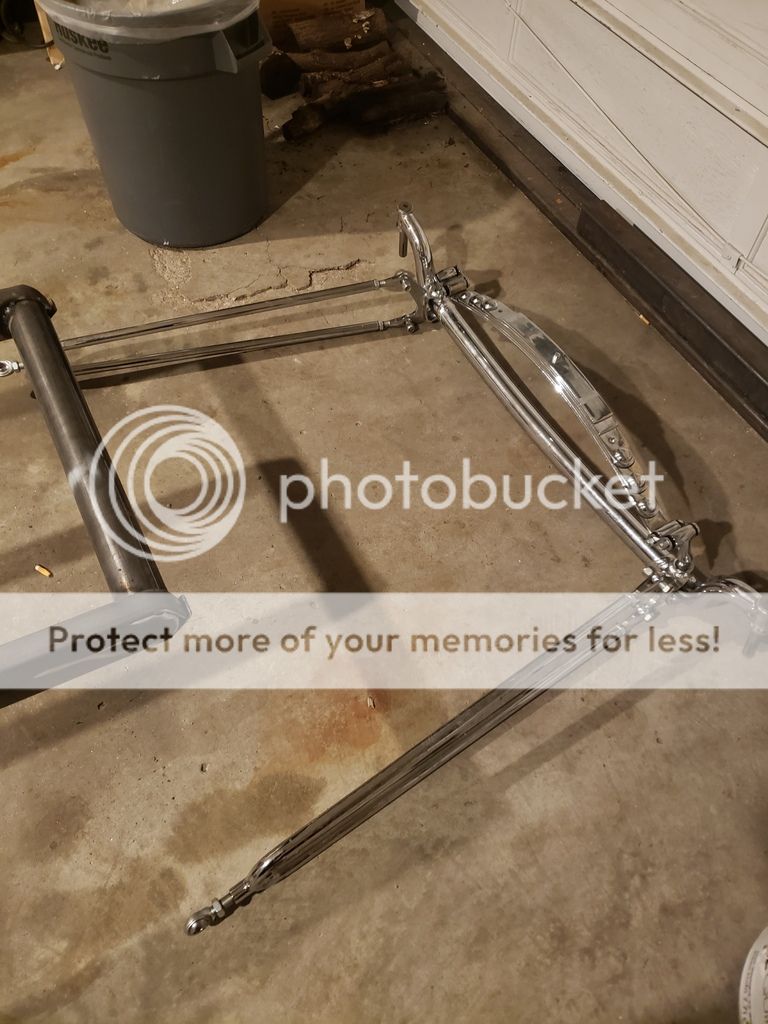
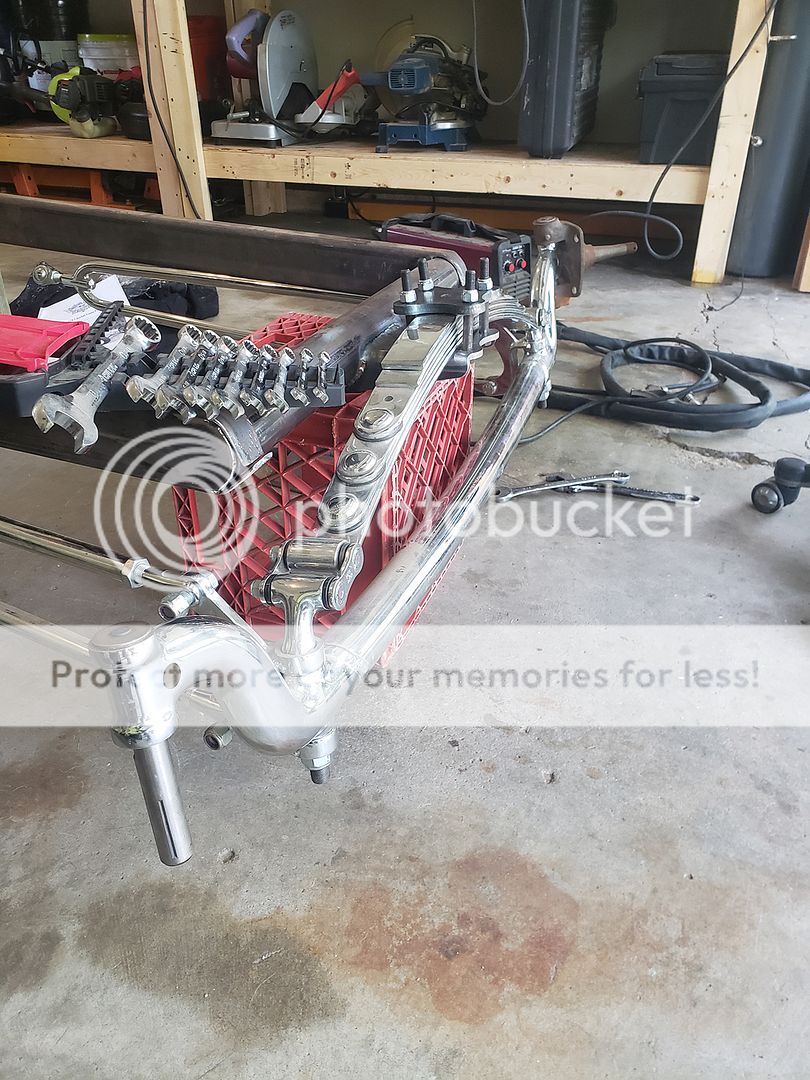
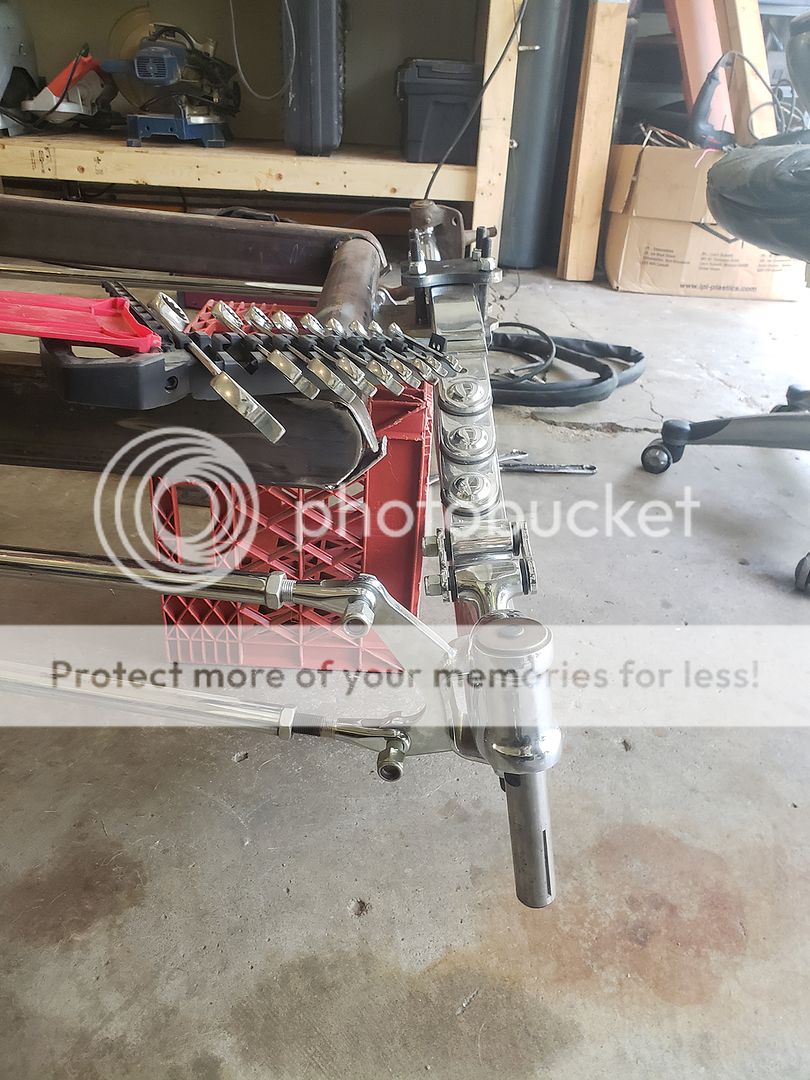
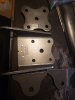
Received my order in today from CCR and cant wait to get them put on.
Ordered 2 rod hangers and my spring perch to attach my front suspesion to the frame.

Going to add 5*-7* to the front perch as suggested as well.
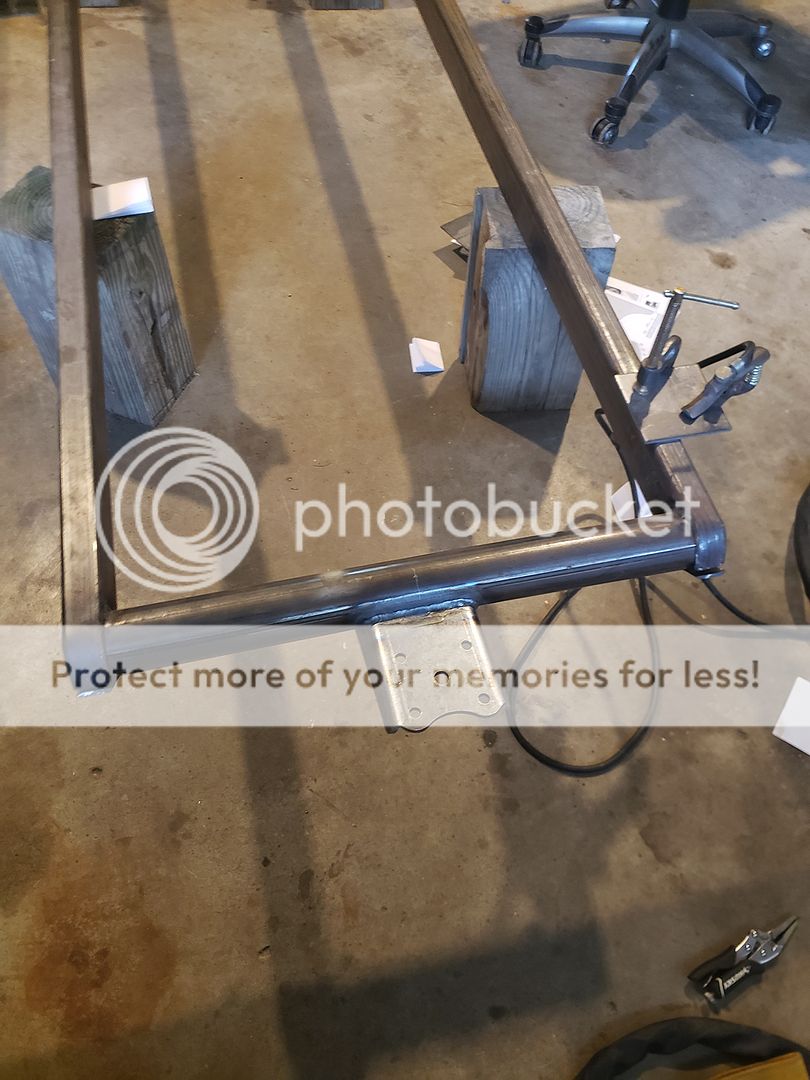
Any advice on attaching these or any do's/dont's, please let me know!

Will post pics after I attach these to my frame.
 

Attachments

  • 20190522_004759.jpg
    20190522_004759.jpg
    911.5 KB · Views: 91
You want the spring to be parallel to the road surface when the front end is at ride height. Most T-buckets have a little "rake" so be sure to take that into account when you weld up the perch. ;)
 
You want the spring to be parallel to the road surface when the front end is at ride height. Most T-buckets have a little "rake" so be sure to take that into account when you weld up the perch. ;)

Which would mean the rear end would need to sit up slightly higher than the front to get that front spring parallel with 5-7 degree added to that front perch correct?
 
Jerry, Can you have too much spring perch angle and the radius rods not able to move freely because it's binding with the spring?
 
That would probably depend on a few things, the length and angle of the rods and how extreme the perch angle is. It could be drawn out on a table easily to determine how much forward & back movement there is in the amount of travel (normally limited by the shocks). We try not to go less than 32" or 34" on a radius rod style bar, our (CCR) standard fronts are over 50" long so we don't run into those issues. With a 4-Bar that bar length can be less. Hope that's not too confusing, but the general answer would be no.
Shock Tower With Brace Rod 5 szd.jpg Shock Tower With Brace Rod 4 szd.jpg
 
Well i got the front perch welded on, now just trying to figure out the radius arm brackets. In the CCR plans, it shows to measure 49.5" back to weld a double radius arm bracket on. But my arms arent that long. So how far back from the front cross member do i need to measure to weld these single radius arn Brackets on the bottom of my frame?
 
Do you have your spring and axle? Bolt everything together and see where it wants to lie.
 
Yes, I have the whole front end. So there isnt any specific number or math i have to do to weld up the brackets?
Just see where it fits alright and weld them up? I read up somewhere that you dont want to weld the brackets parallel
on the frame but at an angle with the radius arms to help that the rod ends hold up for a longer period and not put added stress on them.

20190116_022258_zpskwscl6ju.jpg
 
I don't know if it's just perspective, but the radius rods appear to angle outwards instead of inwards . .

It's like the batwings are swapped side for side . . . please tell me it's just an optical illusion
 
I don't know if it's just perspective, but the radius rods appear to angle outwards instead of inwards . .

It's like the batwings are swapped side for side . . . please tell me it's just an optical illusion

I See what you mean by that. I just went and looked at them to see and your right, they do slightly look like they are torqued outwards and bit. I can easily
swap them, nothing is tightened up just yet, it was just put together at the time to see what I had, and didnt have.

But any info on welding those brackets up on the frame?
 
Those brackets, when used individually, should be installed to match the angle of the bars. That is probably only a 5° angle at the frame bracket so it really isn't that important. The front end should be put in place to locate those brackets and the bars pivot at the axle perch boss to pull inward. It doesn't look like they are swapped side to side. If that were the case the batwings wouldn't be straight up and down, they would be tilted from top to bottom.
 
Resinator, the parts you guys shipped me were perfect. Thanks for them. Like I said I did get the perch tig welded on (about a 6-7 degrees added) and ready to weld the arm brackets on.
I went ahead and bolted up the front end to see how it looked. So my radius arms are about 31-32" from the front cross member. Ive taken some pictures to show my front end bolted up so far.

I guess my concern is how far do my rod ends need to be in/out to measure where the brackets go on the frame correctly? Obviously I wouldnt want them to far out because that wouldnt make them as strong if they were threaded into the arm further. I feel like theres a "rule" here to follow that Im not aware of.

Hopefully you guys think my tig welds are alright.

20190523_145318_zpsivhcj1gv.jpg
20190523_145315_zps1yiwv5ss.jpg
20190523_145309_zpsfq6zkwsn.jpg
20190522_163854_zpsohixcrse.jpg
20190523_150345_zpsf8wwa96h.jpg
 
Last edited:
Usually it's what ever the diameter of the heims or clevis is, 5/8"dia.= 5/8" out. You should put the RR side by side and adjust the heims and clevis' so a bolt will slide into both of them in all three spots. You can pre adjust them for caster so it will be easier later. I welded up two "framing squares" out of 1" sq. stock to hold the axle even, I clamped one of the legs to the frame and the other leg was pushing against the axle on both sides.
 
These last pics make it more clear how your batwings attach, I was afraid they had been welded or tacked.

You'll probably want to put the supports under the axle instead of the frame so there's some weight on the spring before you tack the radius rod tabs in place.

Looks like they'll move rearward a little as the spring gets compressed towards normal ride height.
 
Just a question, is the front spring bracket on the right way round? Most of the ones I've seen are on top of the spring. This one has the whole front of the car hanging on two U bolts.
Regards,
 
Talk about a suicide front end! I didn’t see that, Aus. Good call.
Irish, everyone has given you good advice. If it was me, I would clamp/ tack items in place. Then check for alignment and make sure nothing is binding and everything is square. It’s easier to un tack something than to un weld it. something.
 

     Ron Pope Motorsports                Advertise with Us!     
Back
Top