fordsbyjay
Active Member
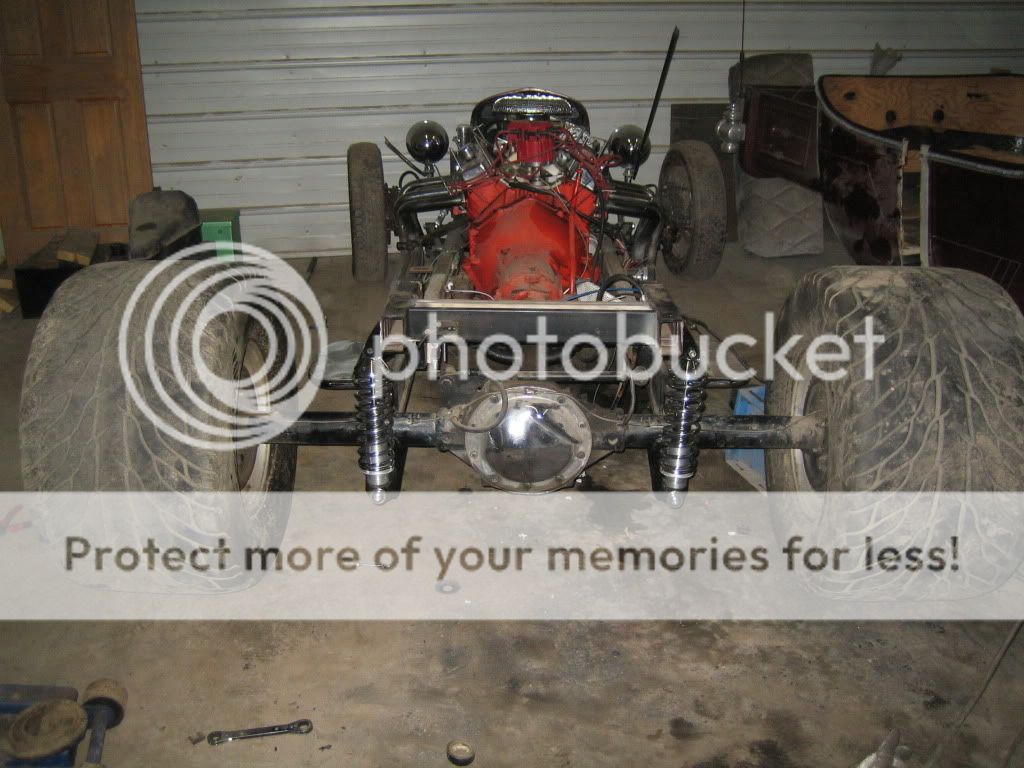
This weekend I removed the friction shocks from my Total Performance T bucket and installed some hydraulic shocks. Following will be a bunch of pics and some descriptions.
Parts:
Pro Shocks SM 300 shocks from Speedway Motors here
Shock brackets from Ron at RPM. shock mount kit
Rons brackets are made to be a bolt on deal but they did not work for my application. An explanation why was provided in this thread.
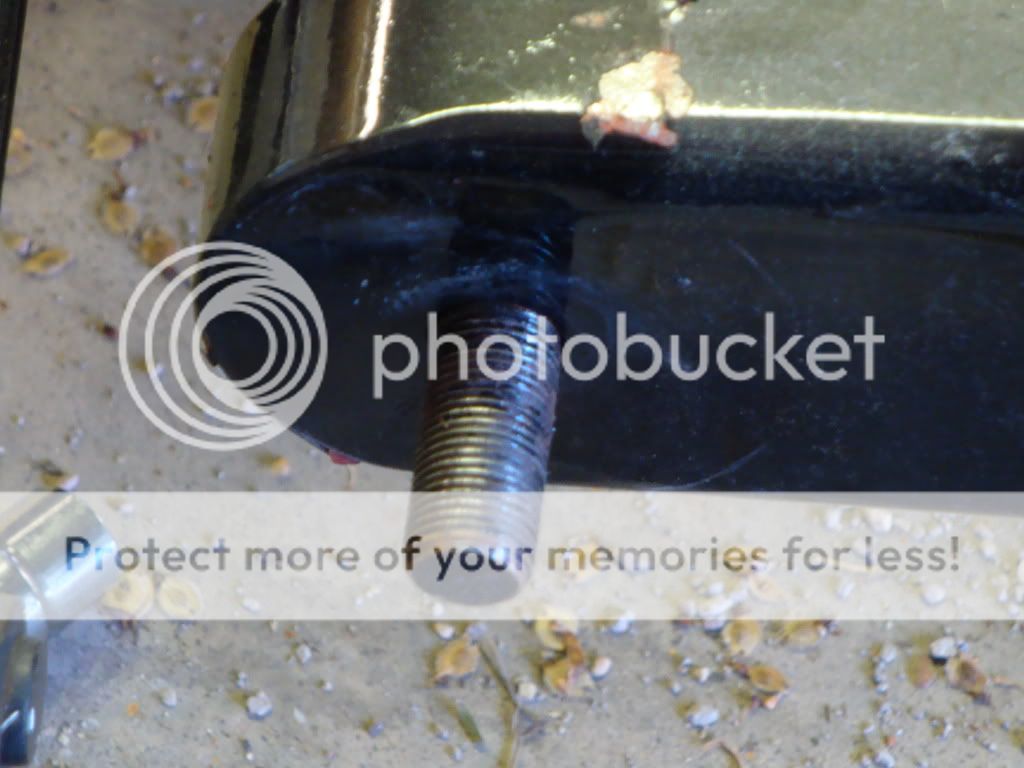
I had to remove the friction shock mount/stud. I used a cut off wheel on my grinder for this job.
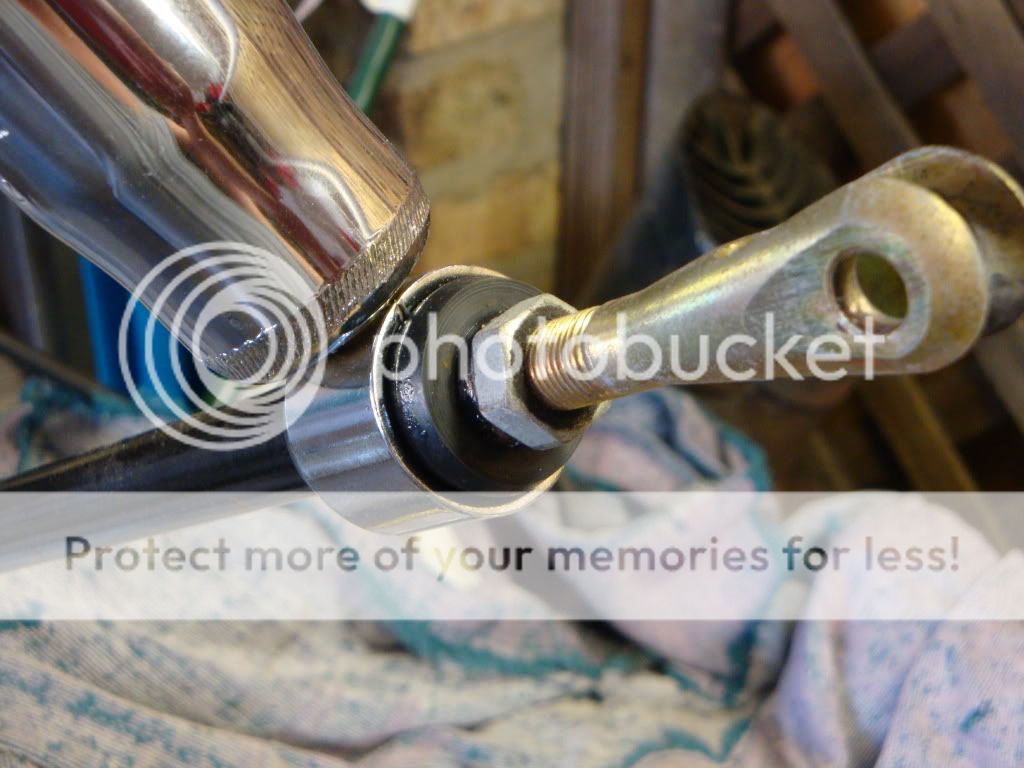
To mount the shocks I removed the metal sleeve on the lower shock mount.

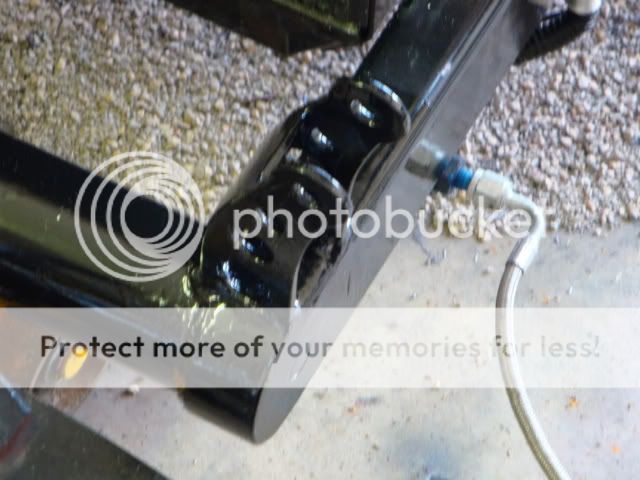
After that the shock is slid over the lower bar of the wishbone. It should be noted that the hole is 5/8" and the bar is 3/4" so it will not just 'slip' on. I used a little silicon spray lubricant to get it started then grabbed a wooden block and a BFH. Three good wacks and it was on. I used a deep socket to get it the extra 1/8".

This is what it looks like. I still need to add a bar in behind the shock that will tie the top and bottom bar of the wishbone together. Ron @ RPM has a bolt on deal but I will just weld a piece in there.
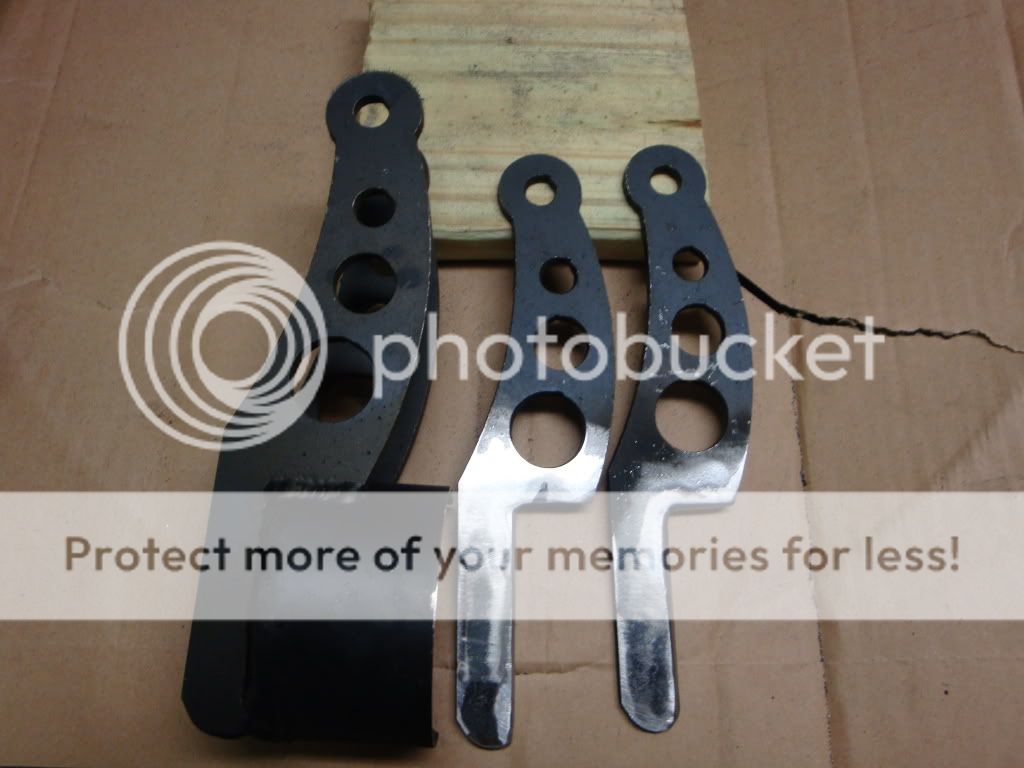
Because the shock brackets didn't fit my application properly I grabbed the plasma cutter and did some cutting.
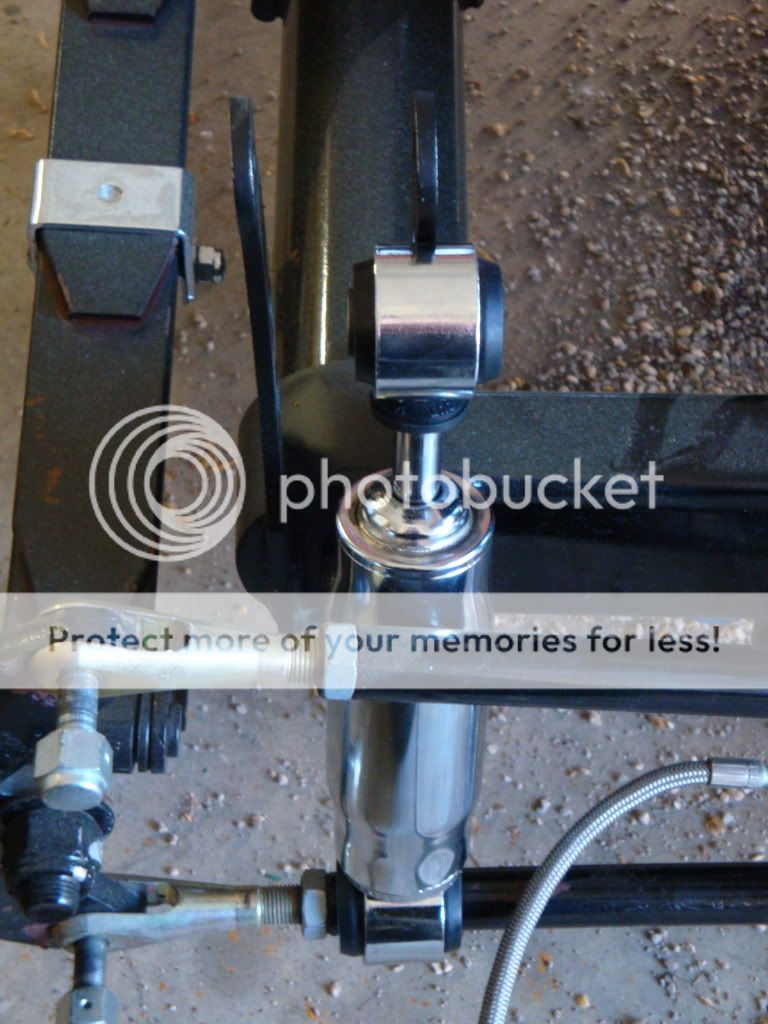
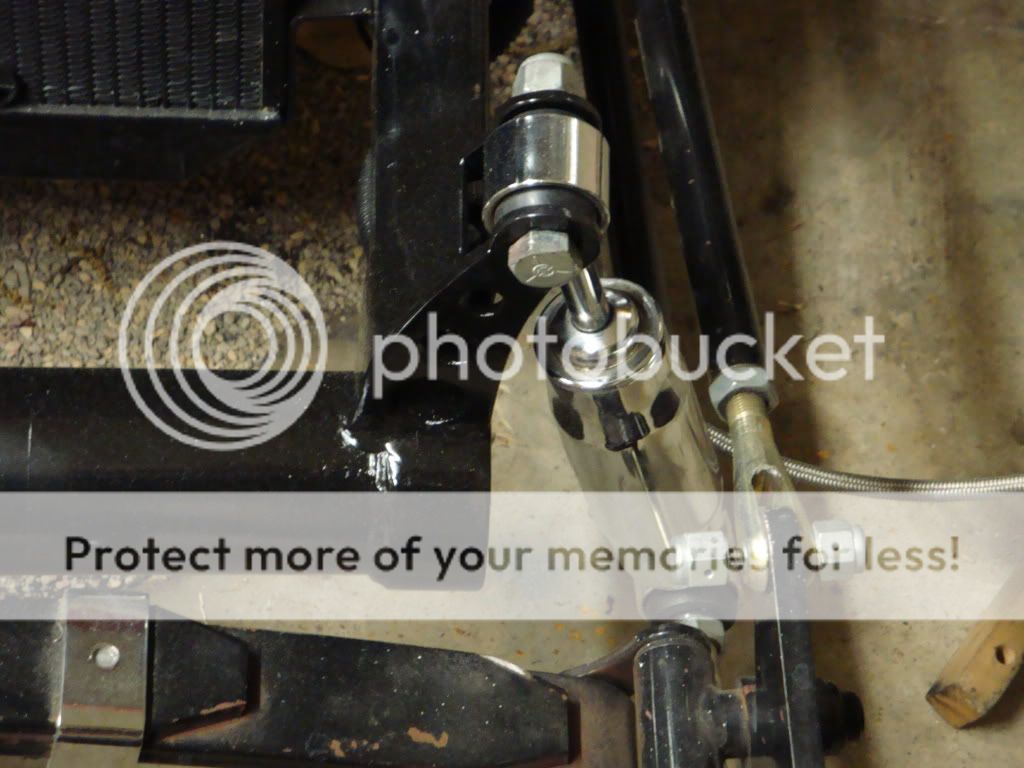
The next problem I ran into is that the shock bracket was too tall for my shocks. In this application the SM 401 would have been a better choice shock but it was Friday afternoon so I made due with that I had. I had to cut the shock mount shorter for a proper shock installed height. I braced in the rear and tied it into the round crossbar between the frame rails.
Here is a finished picture. I just need to tighten up all the hardware and go for a test drive.

Parts:
Pro Shocks SM 300 shocks from Speedway Motors here
Shock brackets from Ron at RPM. shock mount kit
Rons brackets are made to be a bolt on deal but they did not work for my application. An explanation why was provided in this thread.
The original intention/ design of the above shock bracket was for installing an I-beam axle in a Total T. The perch centers of the I-Beam are indeed wider than the welded on batwings on a T/P standard axle. The shocks used are pete & Jakes 8 1/2"-11" short shocks. It will fit if you have a standard T axle. However, it is tight. If using the bolt on style shock bracket that was designed to replace the friction shocks, you will need to change to a nylock jam nut and trim the excess threads off of the 5/8" stud. (it is a 5/8"-18 bolt welded to the inside of the rail before the front cap is welded on during the chassis construction)We recommend that when using this type of set up that you do add a brace between the radius rods as there is added pressure on the lower clevis.
Wintec Jim
I had to remove the friction shock mount/stud. I used a cut off wheel on my grinder for this job.
To mount the shocks I removed the metal sleeve on the lower shock mount.
After that the shock is slid over the lower bar of the wishbone. It should be noted that the hole is 5/8" and the bar is 3/4" so it will not just 'slip' on. I used a little silicon spray lubricant to get it started then grabbed a wooden block and a BFH. Three good wacks and it was on. I used a deep socket to get it the extra 1/8".
This is what it looks like. I still need to add a bar in behind the shock that will tie the top and bottom bar of the wishbone together. Ron @ RPM has a bolt on deal but I will just weld a piece in there.
Because the shock brackets didn't fit my application properly I grabbed the plasma cutter and did some cutting.
The next problem I ran into is that the shock bracket was too tall for my shocks. In this application the SM 401 would have been a better choice shock but it was Friday afternoon so I made due with that I had. I had to cut the shock mount shorter for a proper shock installed height. I braced in the rear and tied it into the round crossbar between the frame rails.
Here is a finished picture. I just need to tighten up all the hardware and go for a test drive.