


I have a car going together in the shop now that has a used body on it. The dash that came with the body had holes for 9 guages in it. Since most builders prefer a 5 or 6 guage set up, I thought a new dash was needed.

This is what was left after removing the old dash.
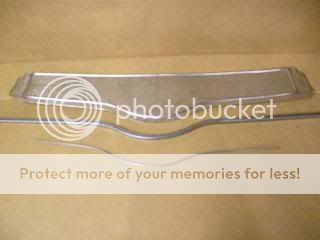
Here are the pieces for the new dash. The panel is a piece of 18ga. with 1/4" beads rolled in it. For support, a length of 1/2" square 14ga. tubing was shaped to fit the bottom contour of the dash. Because I wanted to fold 1/2" of the panel at a 90 degree angle without losing the bead, a 3/16" rod was shaped to match the tube.
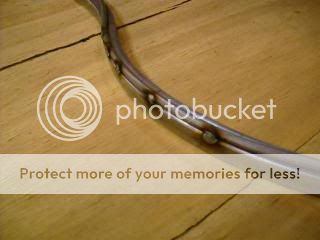
This shows the rod being tacked to the bottom edge of the tube. I tacked it about every 1".
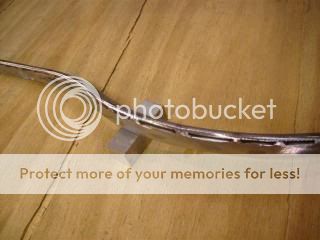
The finished tube/rod ground and ready for assembly.
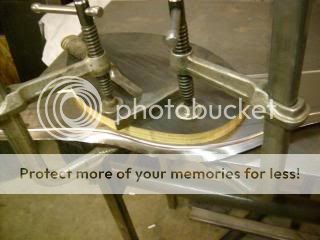
I used 2 pieces of 3/4" plywood to buck the panel while hammer forming the bottom lip.
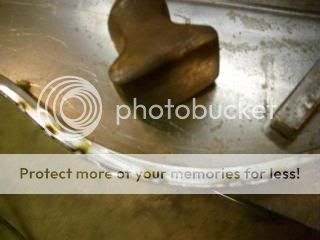
Starting from each end, I tacked the panel to the tube. When i reached the middle, there where several puckers. I tacked the middle of the curve first, then split the distance between that tack and the previous on on each side with another tack. Then repeated that, hammer shrinking the puckers as i went.
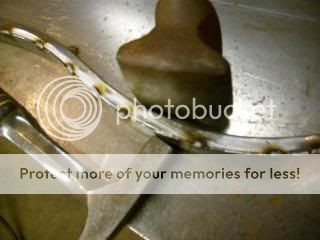
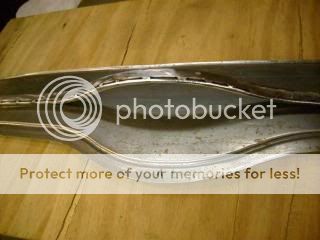
As you can see the puckers are gone.
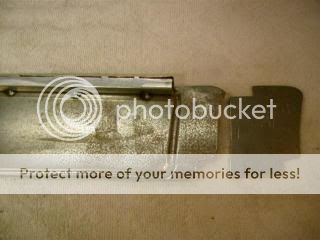
Since the dash is 18Ga. and had a bead rolled in it, the ends needed a backing. For this I used pieces of 12ga. shaped to match the ends of the panel.
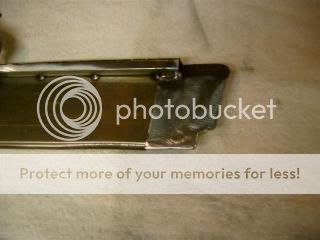
Here they are welded in place and ground.
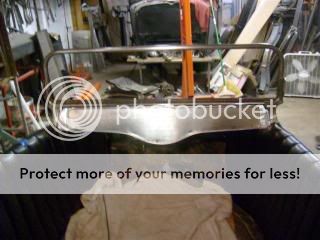
Here's the finished dash waiting for the new owner to install the gauges. This project took about 6 hours to complete including the thought process and Pepsi breaks. It was done with simple hand tool that most everyone has on hand in their toolbox. Nothing magical to it. Try it yourself!
This is what was left after removing the old dash.
Here are the pieces for the new dash. The panel is a piece of 18ga. with 1/4" beads rolled in it. For support, a length of 1/2" square 14ga. tubing was shaped to fit the bottom contour of the dash. Because I wanted to fold 1/2" of the panel at a 90 degree angle without losing the bead, a 3/16" rod was shaped to match the tube.
This shows the rod being tacked to the bottom edge of the tube. I tacked it about every 1".
The finished tube/rod ground and ready for assembly.
I used 2 pieces of 3/4" plywood to buck the panel while hammer forming the bottom lip.
Starting from each end, I tacked the panel to the tube. When i reached the middle, there where several puckers. I tacked the middle of the curve first, then split the distance between that tack and the previous on on each side with another tack. Then repeated that, hammer shrinking the puckers as i went.
As you can see the puckers are gone.
Since the dash is 18Ga. and had a bead rolled in it, the ends needed a backing. For this I used pieces of 12ga. shaped to match the ends of the panel.
Here they are welded in place and ground.
Here's the finished dash waiting for the new owner to install the gauges. This project took about 6 hours to complete including the thought process and Pepsi breaks. It was done with simple hand tool that most everyone has on hand in their toolbox. Nothing magical to it. Try it yourself!

