Ron Pope Motorsports                California Custom Roadsters               

how to do interior.

putz

Member
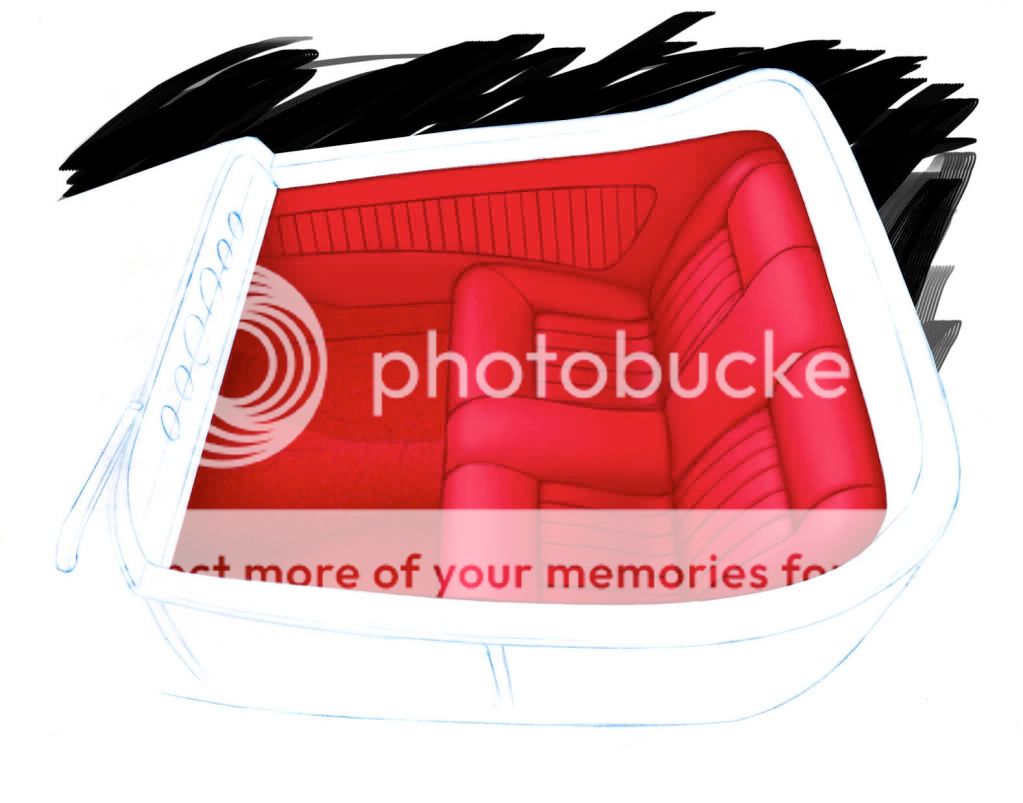
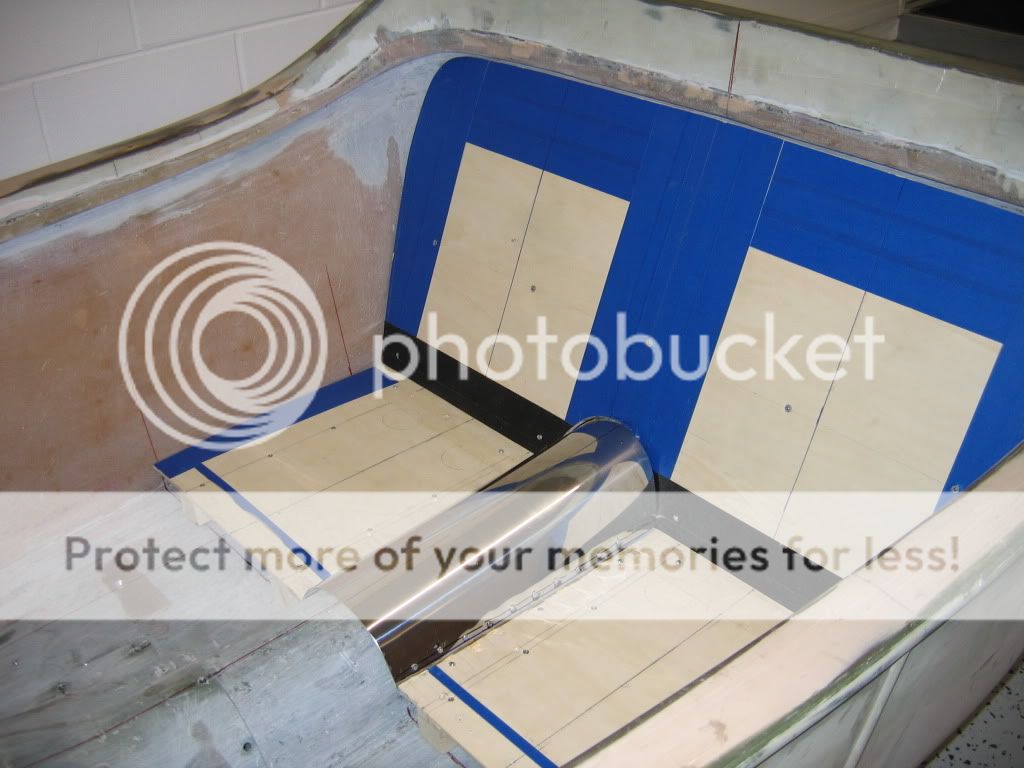
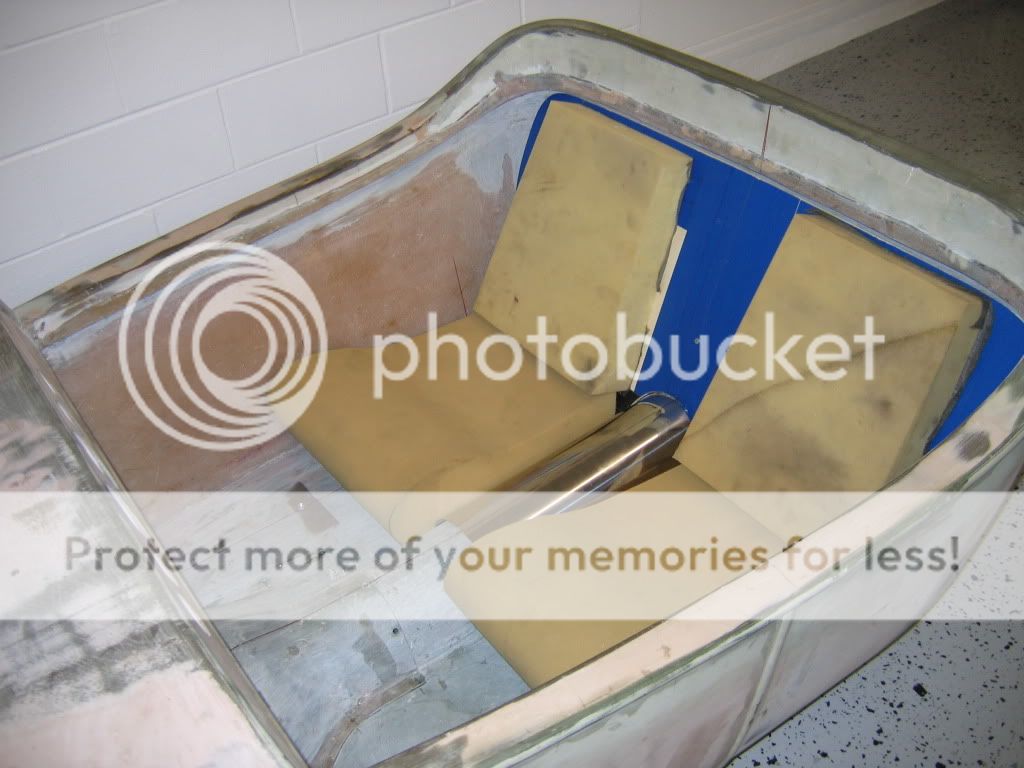
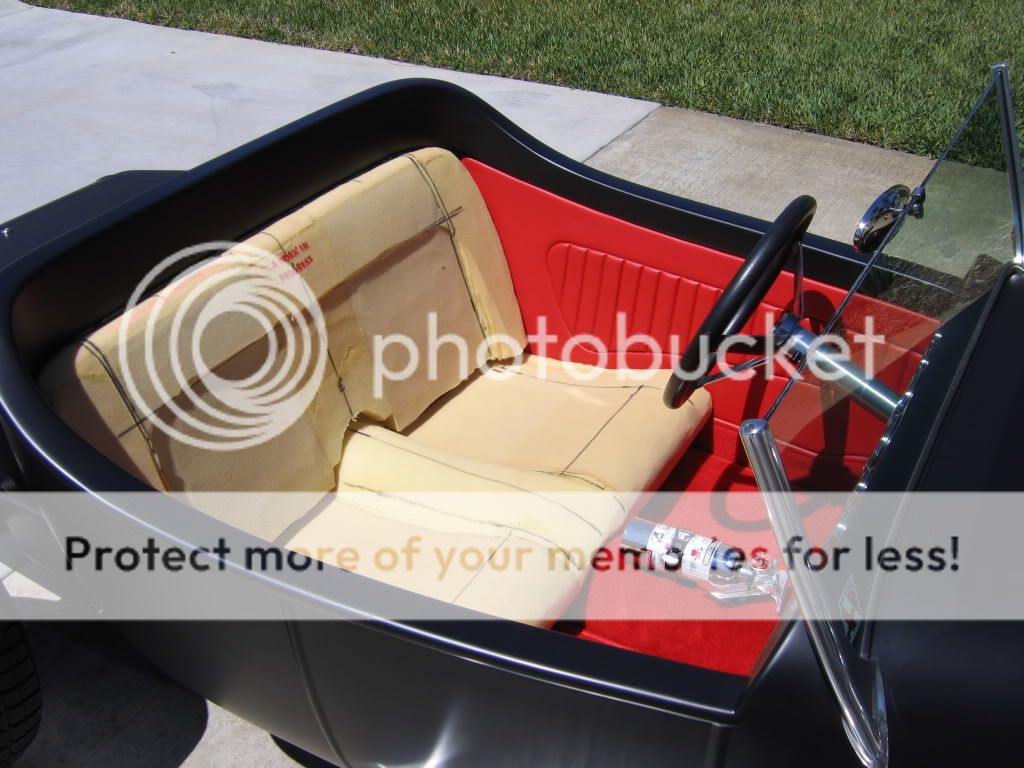
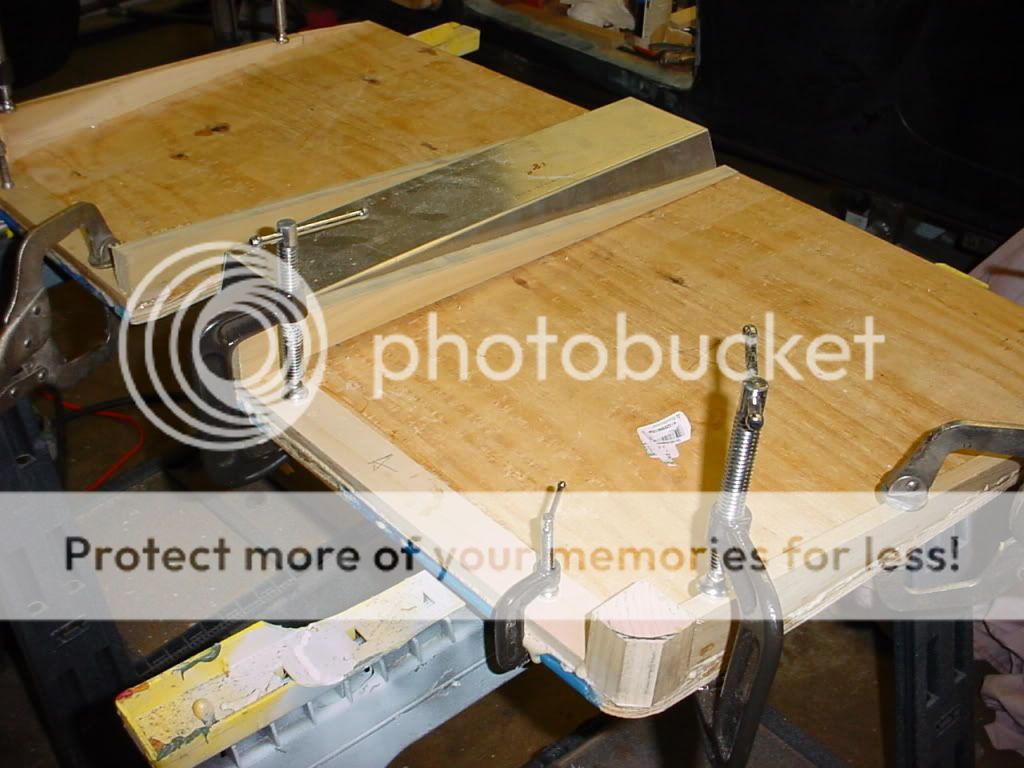
Here is a really cool link it shows how to build a basic seat without spring by using furniture webbing.You cut your seat pattern out on plywood then cout out area you are going to actually have your rearend. Then put furniture webbing.Elasbelt (Latex or rubber) Webbing - for furniture seats, Furniture Webbing, Webbing, Elasbelt (Latex or rubber) Webbing - for furniture seats, Elasbelt (Latex or rubber) Webbing - for furniture backs from Rochford Supply - Your Online Textile and Up
Then use foam and you will have a little spring without springs.Go to bench seat from scratch on interior page.Hotrodders Bulletin Board - Interior
 
That's how my seat was done. I don't have much of a riser, but the wood is cut out where the butt is and it is webbed with a similar product. Once it is foamed, there is a nice cushyness that foam over flat plywood doesn't have. Not as good as springs, but for some rides like mine, I need to be sitting low!:sorry:
 
Mine has solid it will be changed now that winter is here.
050.jpg

This was yesterday 3 inches.
 
Putz, from the center of Phillips my front door is 349.3 miles South of you. While I'm prepared for the white stuff I'd consider it a personal favor it you can hold it up there for another couple of weeks.
 
It is all melted now everything melted with rain now just sloppy and wet.I can hold onto the snow for a little while that was our second storm.
 
Wet is something I know about, it's been raining constantly for the last two weeks. 19 days below normal temps and 11 overcast days to the point you need the lights on in the house all day long.
 
I got badly sunburned today at the Billetproof Drags. :eek::sorry:

Sorry, we Florida guys are required by law to rub it in as often as possible, :toast::lol:

Don
 
donsrods said:
I got badly sunburned today at the Billetproof Drags. :eek::sorry:

Sorry, we Florida guys are required by law to rub it in as often as possible, :toast::lol:

Don

Yeah, I am with you on that Don. Being able to enjoy our outdoor toys 300 + days a year is pretty tough to cope with. I guess that's why they make sunscreen for us Floridians in all types.:thumbsup::thumbsup::thumbsup:
 
ummmm ... Don and Mr Fixit .... pffttttttttttttttt................lol

Ron
 
lots of good info there. In addition to the webbing, a piece of burlap between the webbing and foam with extend the life of the foam. Webbing can be found at your local Wal-Mart as can the burlap. Quality foam is an uplostery shop item. I have reused foam from couch cushions with great results tho.

Ron
 
OK, I dug through some old pictures to try and find some of my seat build up. The first picture is a concept drawing that my older son, Chuck, sketched. I am a firm believer in having a finished product in mind.

interiorconcept1.jpg


Next I built a base and outlined where the pattern would be.

IMG_0444.jpg


Then I "dummied" it together with some scrap foam from an upholstery shop.

IMG_0448.jpg


After that, I filled in the blank spaces with more foam and proceeded to shape it with a 4" grinder to look like the concept drawing.

IMG_0794.jpg


Then I took it to the upholstery shop with my concept drawing and had it upholstered.

IMG_0818.jpg


There is nothing "high tech" in my approach. I used no webbing, only foam. The seats have proven to be VERY comfortable on a long ride. As a matter of fact, my wife and I did a little over 150 miles this past weekend and even with her arthritis she was able to get out and walk around with no ill effects.

Perhaps, because she only weigh about 110 pounds soaking wet and I weigh in at 160 pounds may have some bearing on our comfort level.

Jim
 
Awesome interior and the way you put it together.
 
I always did like your car and you hit it dead on to the pic.That is one sweet ride.
 
Thanks for showing how you planned you interior. I am currently in the process of planning an interior for my T. Yours looks great!
 
Great pics Jim! I did mine similar, but didn't take too many photos of that process for some reason. I did start with a sketch which is very true to the end result. If I can find it, I'll post it. I built a separate seat back and bottom. The seat back bolt to a 1" steel tube support that is braced back to the floor. The seat bottom was fabbed from a few pieces of plywood, some popular and some bent aluminum to match the tunnel. The top piece of plywood (not pictured) is the part that had the butt are cut out and webbed. The seat was then foamed similar to Jim's. Not that I'd need to get under the seat much, but the bottom is bolted from below, and when the bolts are taken out the seat slides out for access. The seat back bolt are accessed from behind a upholstered vertical panel in the trunk.

One item that I did add at the end was adding a pair of the speedway seat heaters. The money was well spent-I strongly recommend them. It doesn't warm your face, but it definately helps the back and butt on the chilly drives for us northerners (not the FL guys like Track-T and Ex-Junk!).

Bens27259.jpg

DSCF1648.jpg

DSCF1650.jpg
 
Beautiful job Ben. It looks to be very comfortable because you paid close attention to the rake angle of the seat. Many guys do not take this into consideration when building a seat.

Jim

P.S. I did not use seat warmers because I installed a 28K BTU heater up under the dash with a 3 speed blower. I may live in Florida but I like it warm when driving home on some chilly nights or for that matter, early mornings also.
 
Ben and Jim, beautiful jobs on your interiors. I can't wait till I get to that point in my build.

Eric
 
A little note for the future, If you have an electric carving knife they work great for trimming foam. I stumbled across this idea years ago, and it worked very well.

Eric
 
That's awesome, Ben!
 

     Ron Pope Motorsports                Advertise with Us!     
Back
Top