Keeper
Active Member
Ted,
Would yo mind explaining that? Are you talking about the engine mounts?
I'm not sure I understand what you are referring to.
Pretty sure is talking about the corners on the front of the frame.


Ted,
Would yo mind explaining that? Are you talking about the engine mounts?
I'm not sure I understand what you are referring to.
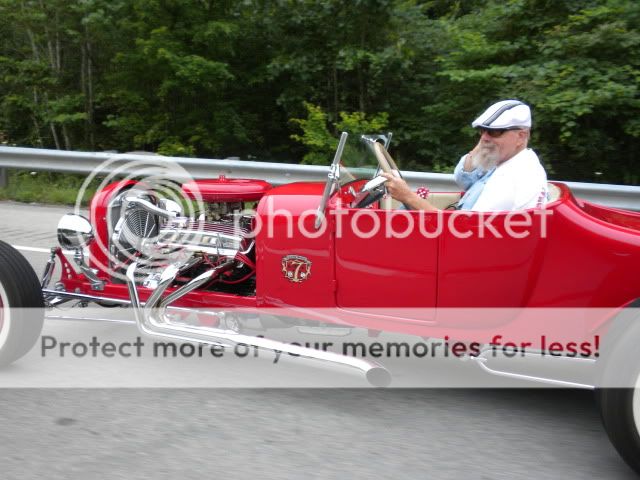
The biggest reason to leave the top open is glass replacement is much easier . I also had tinted glass[not dark just a little] installed good choice in my book.I picked up some 7/8" aluminum round stock for my new windsheild frame this week. The local metal shop will only sell standard lengths so I had to buy 12 feet, but it only cost $36. They were able to direct me to a local machine shop that will mill the 3/8" channel for $50, and they will weld the corners for $20 when I get them cut to the right length. I could have tried to cut the channel myself, but for $50 I'll let them do it and make sure it is correct. I'm still debating if I want to include a bar across the top of the glass. I have the caps off the old windshield if I decide to leave it off, and I'm going to cut down and re-use the existing support posts.
Altogether (including the glass) I should only be into this for about $200.
The biggest reason to leave the top open is glass replacement is much easier . I also had tinted glass[not dark just a little] installed good choice in my book.
Ted,
Would yo mind explaining that? Are you talking about the engine mounts?
I'm not sure I understand what you are referring to.


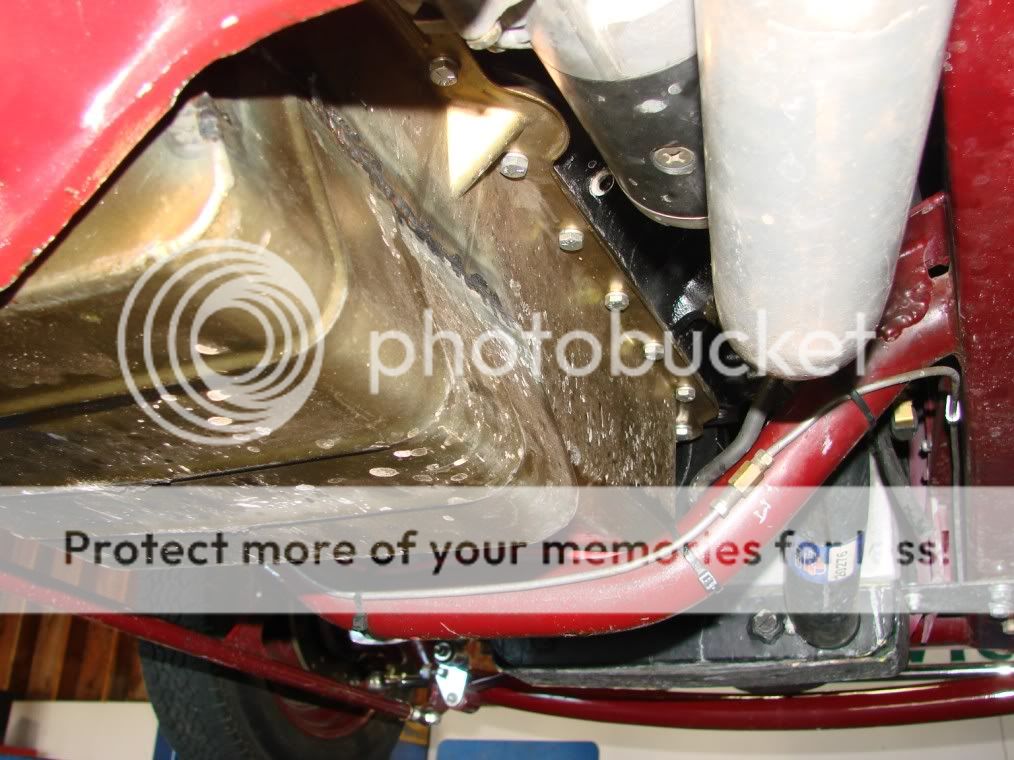
I'm sorry, I just have a problem with the shocks mounted on the hairpins that way. Seems like a lot of stress on those threaded clevis' and thin hairpin tube threaded section. The set up Ron pictured is a far better way to go as I see it. JMO
Ron
What about something like this.
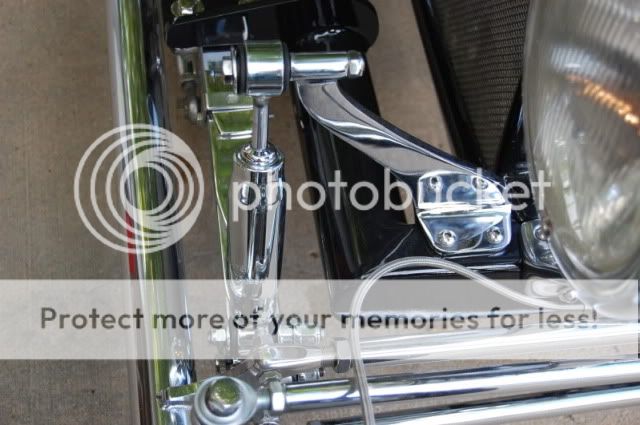
Now there is an engineered solution. Gets my vote.
IMHO only.
Still see no reason for not going the friction shock route if maintained. Every race car gets (or should) a nut check after each run. Im afraid I treat my non standard cars the same way.
Gerry
") I will post a pic in my gallery pics, shortly showing my shock/headlight mount... Good luck with whatever you decide.
I will post a pic in my gallery pics, shortly showing my shock/headlight mount... Good luck with whatever you decide.Steve, any chance of locating a shock mount like Ron's on the outside of the frame?
Ron
I'm sure I can find something that will work. But...
I have been mulling over what you said earlier about building a new frame. I stopped by a local metal yard today to see what they had and found all the frame material for $65. I came home and got the dimensions and he even cut it to length. This frame will be 6" longer than the old frame, 24" wide in front and 30" wide in the rear (the old frame was 26 1/2" wide front and back). The kickup in the rear will be 7" (the old frame was 10"). I'll have to get new radius rods for the rear axel, but otherwise I think this will solve most of my clearence issues.