WOW gab. I've been using oxy-acetylene for 40+ years and I've never made that clean of a cut. what's your secret??????
Russ
Russ


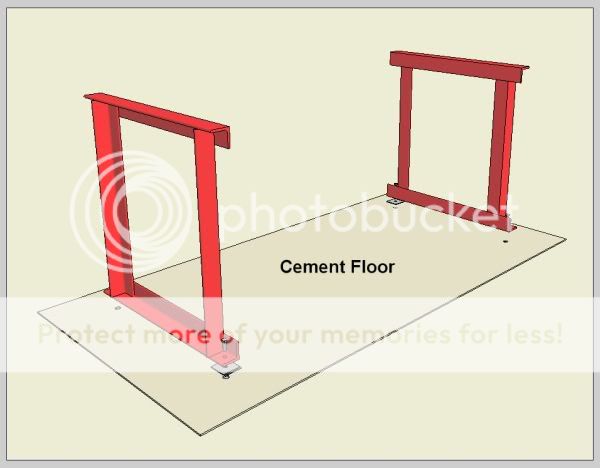
Last couple of weekends I have been making use of wasted shop space. The two that came to mind are my drill press, and band saw. The bandsaw has the standard base that takes up a lot of room and offers very little storage. So for that I built this:
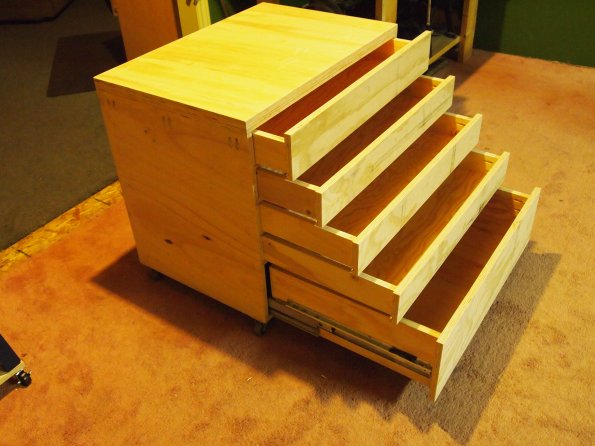
This will hold most of my metal as well.
WOW gab. I've been using oxy-acetylene for 40+ years and I've never made that clean of a cut. what's your secret??????
Russ


How about a picture with the body off?
Added some 1/2 x 2 to the ol' bead roller. got it all done and THEN found a way to motorize it.
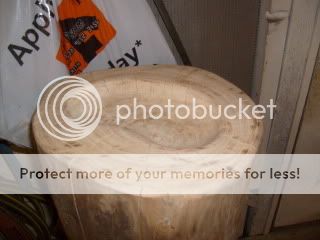
Got this maple stump from the guy down the street last fall. Last week I found a rotary wood rasp at the farm store and by God it worked great!
Working on a stand alone hole punch now. Pic's by the end of the week, I hope.
Ron

")