Garage Merch                Ron Pope Motorsports                California Custom Roadsters               

Under floor clutch and brake petals

Thanks Dave! I think I have just about milked the leg room cow dry, lol. I will get some pics together and posted so everyone can comment if so inclined. I do appreciate suggestions and observations, it gives a different perspective if nothing else, and makes me look at it a little different.
 
>
101_3960_zpsc6yozoag.jpg
[/URL][/IMG]
101_3958_zpsxtem5ej8.jpg
[/URL][/IMG]
101_3963_zps7ac8ybsh.jpg
[/URL][/IMG]
101_3967_zpsyrtwka1e.jpg
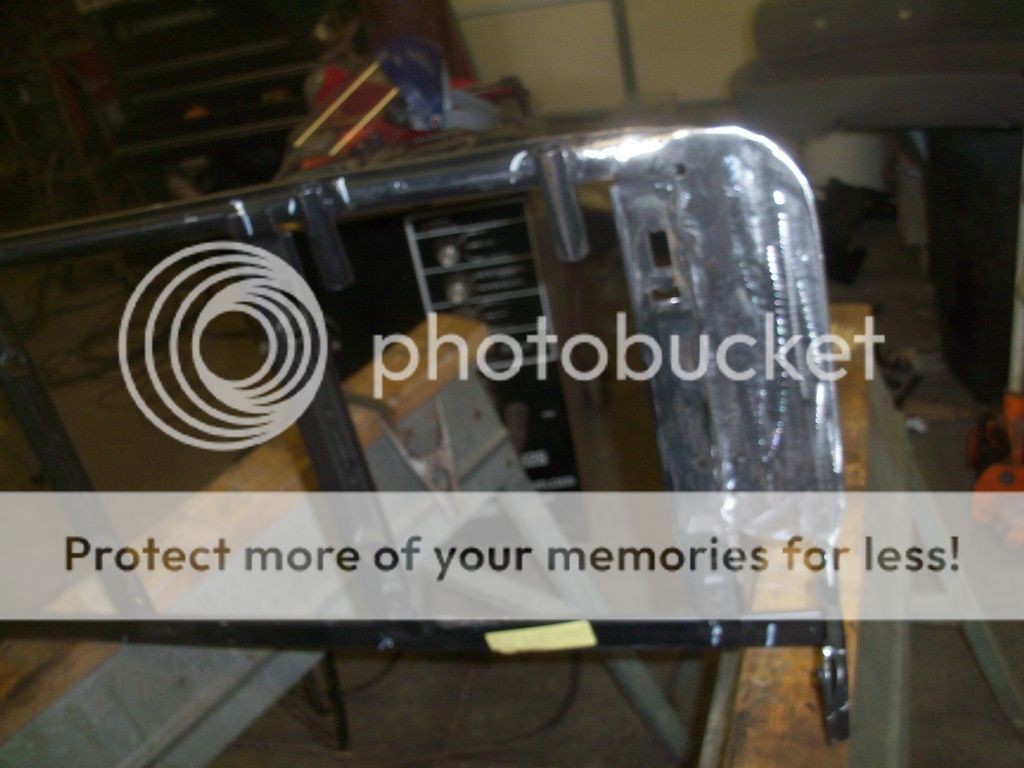
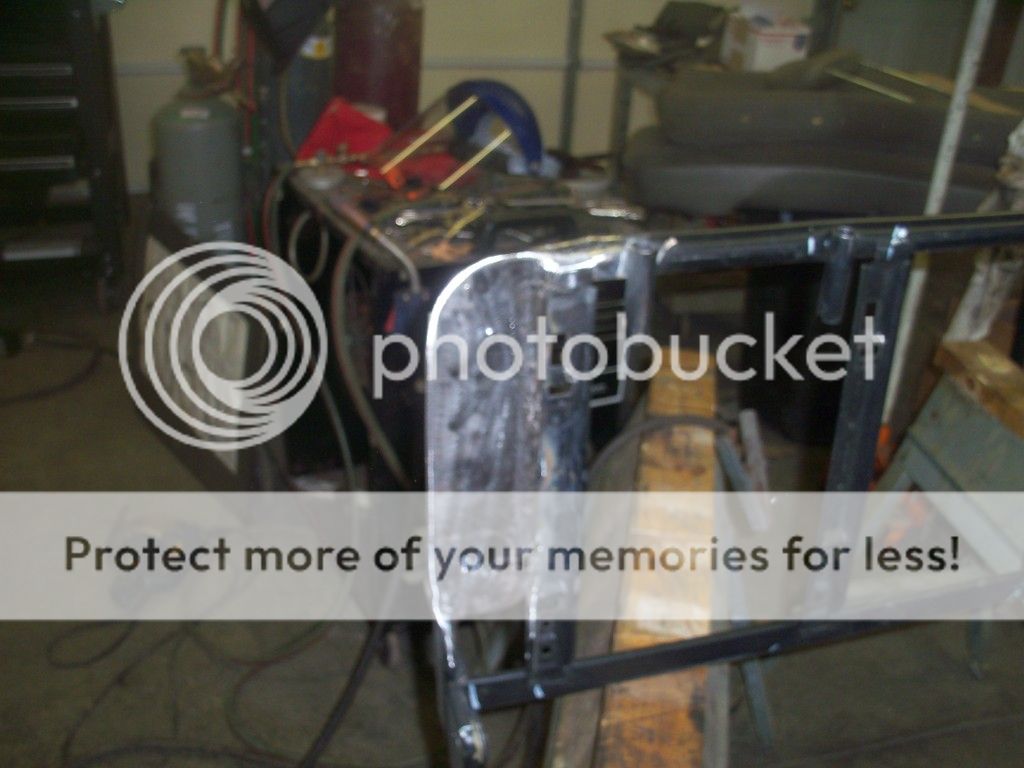
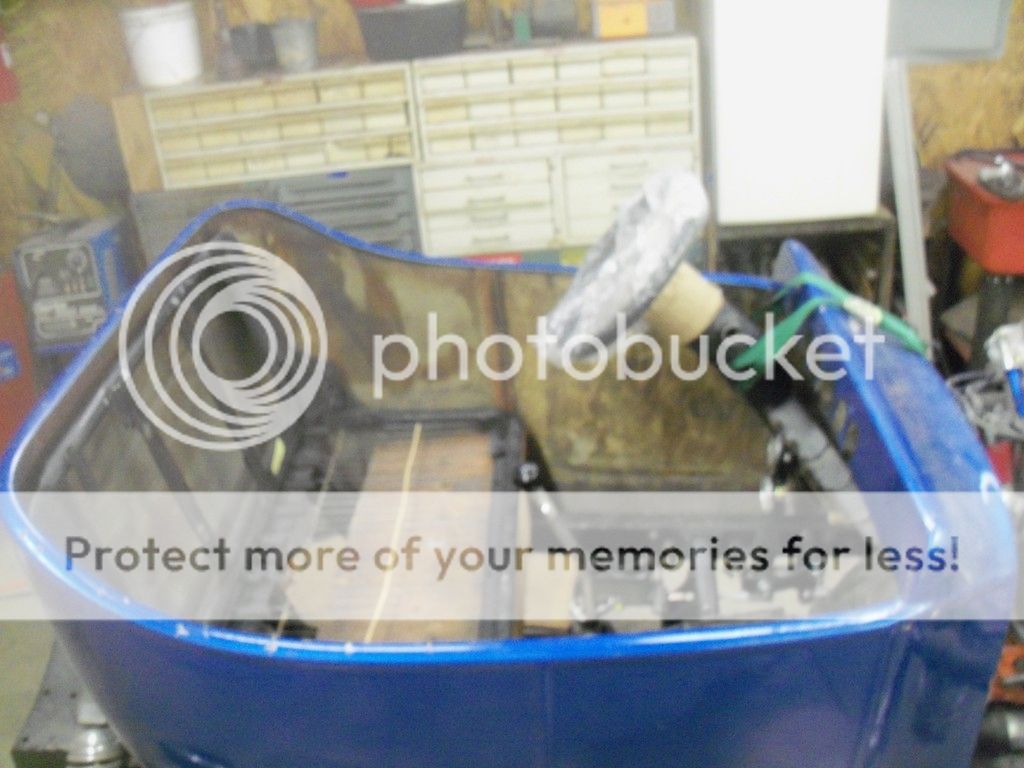
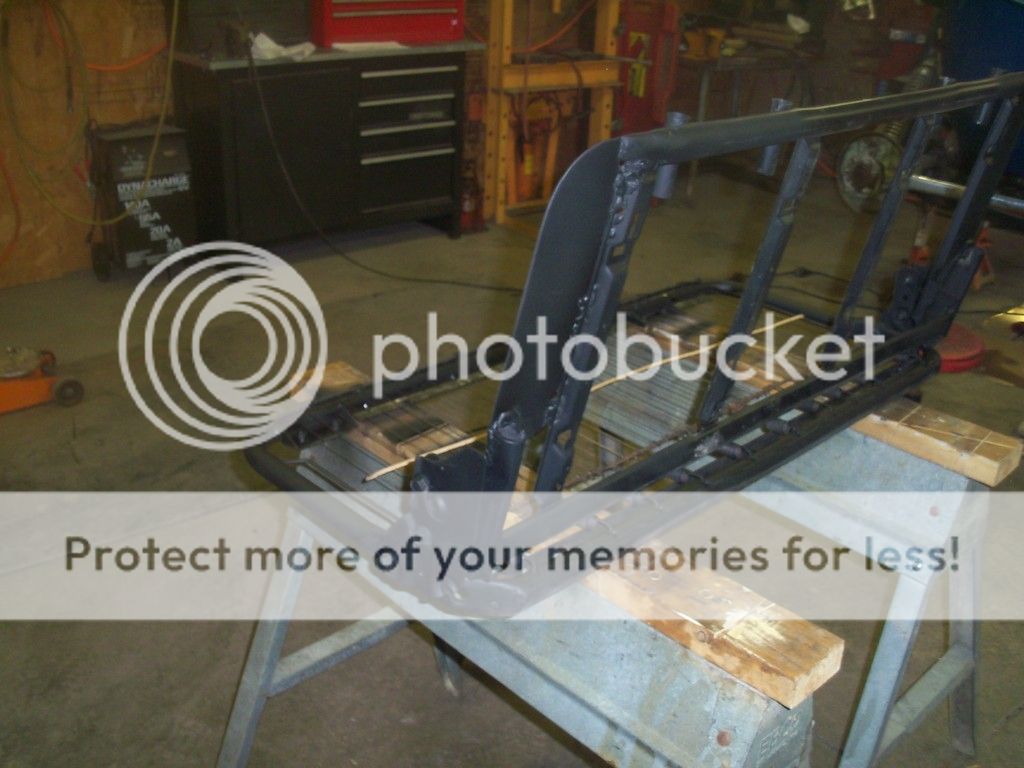
[/URL][/IMG] Ok, with any luck, here are some pics of the seat mods. I cut the top corner tubing and replaced them with plate to allow the seat to fit back in the tub, the inch i removed really helped. Then I cut the rear, lower corners to allow the bottom to fit back in the tub, also shortened and re angled the actual seat by reworking the bracket that attaches the back to the bottom. the seat fits great, now I need to have the apolstry redone, leather for sure.
Sorry, I had a bunch of pics of progress, but this is a pain in the , oh well...
 
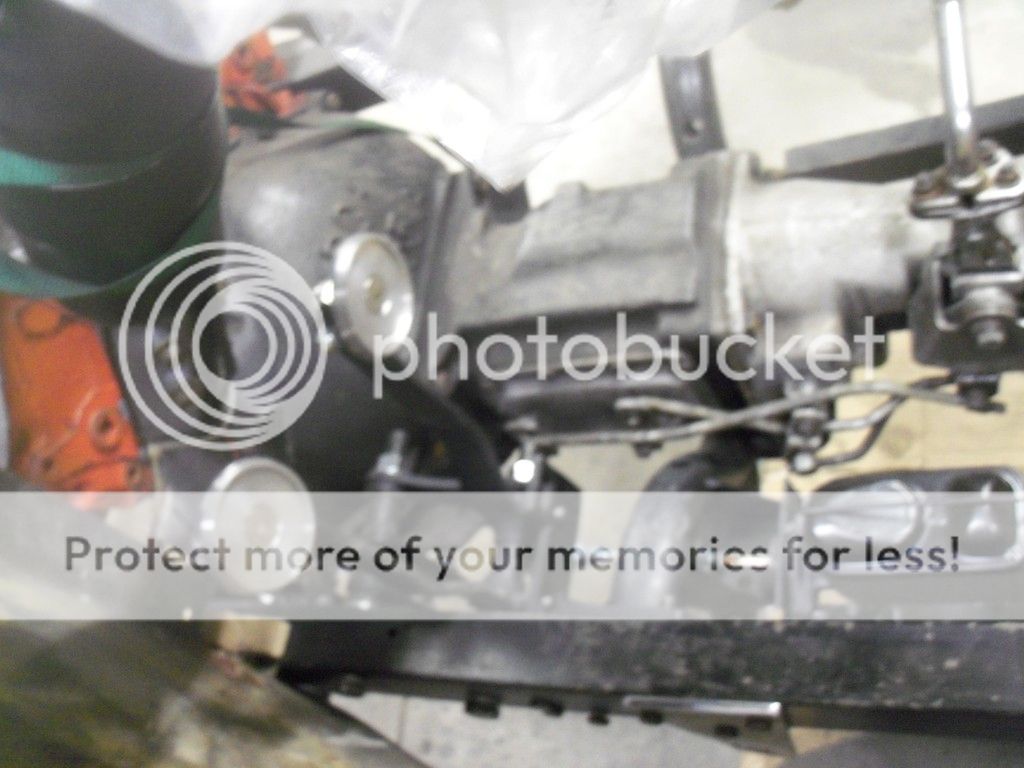
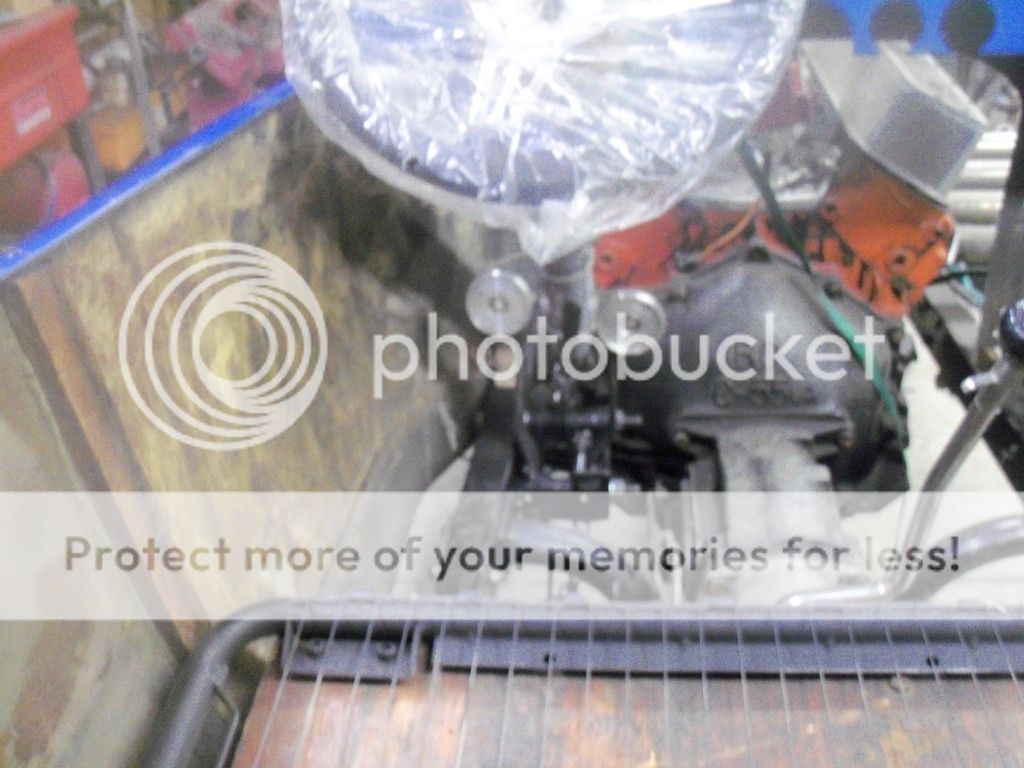
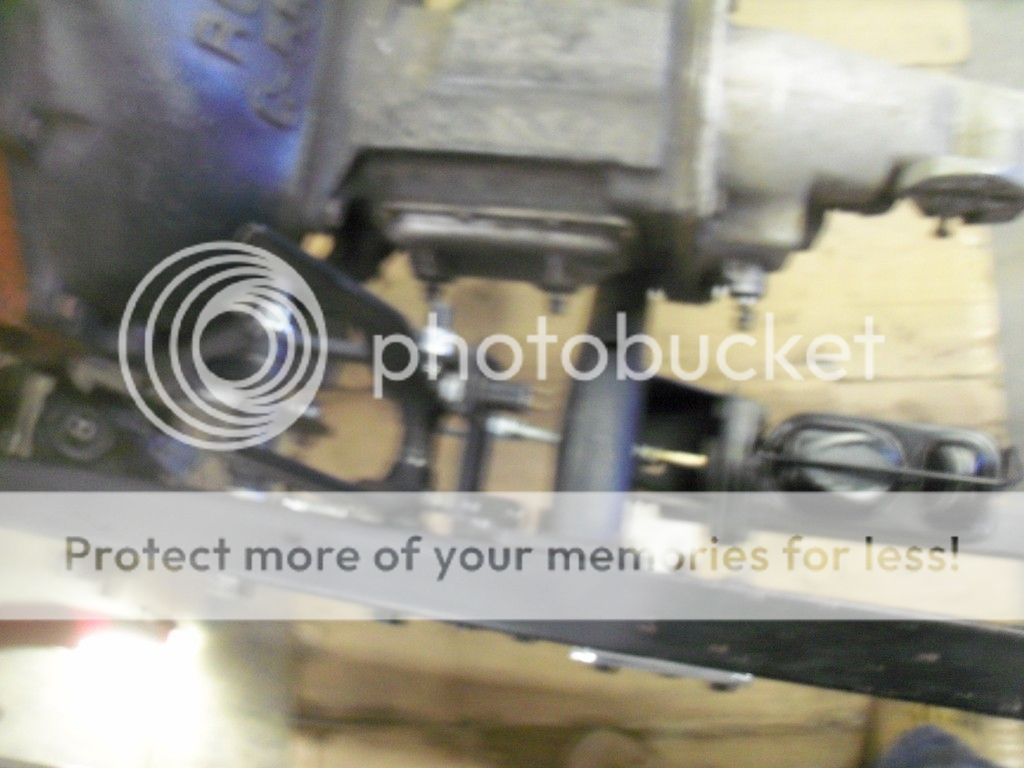
Sorry guys, I dont know if its my old lap top, the internet, photo bucket, or what, but I am having a time... the pice here are of the pedals i made from the old parts, and many fabbed parts. I included a bell crank to straighten the linkage out and allow mechanical advantage and reduce pedal travel, worked great. I also decided to used bolt on pedals to allow easier body removal, once finished. I was able to incorporate fully ajustable stops on both pedals, both directions, and a manual, old fashioned brake light switch. I was able to clean up the garbage they had welded to the cross member, and used part of their mount to fab a master cylinder mount that gives me enought room to install the adjustable proportioning valve and line lock beside it on the frame and access all via a 5"x8" trap door i plan to install in the floor. Also, you can see the hibred shifter I came up with via a vette shifter and a hurst comp plus... it works and fits exactly right, I got lucky with a box of old shifters and I dont think I could have bought one to fit the application any better. I have a custom billet knob with line lock button comming for it too. I finally got the controls to a point where it will be comfortable to drive, what a feat!
 
>
101_3960_zpsc6yozoag.jpg
[/URL][/IMG]
101_3958_zpsxtem5ej8.jpg
[/URL][/IMG]
101_3963_zps7ac8ybsh.jpg
[/URL][/IMG]
101_3967_zpsyrtwka1e.jpg
[/URL][/IMG] Ok, with any luck, here are some pics of the seat mods. I cut the top corner tubing and replaced them with plate to allow the seat to fit back in the tub, the inch i removed really helped. Then I cut the rear, lower corners to allow the bottom to fit back in the tub, also shortened and re angled the actual seat by reworking the bracket that attaches the back to the bottom. the seat fits great, now I need to have the apolstry redone, leather for sure.
101_3960_zpsc6yozoag.jpg
101_3959_zpssiqnq0fr.jpg
101_3958_zpsxtem5ej8.jpg
101_3967_zpsytbxv5pq.jpg
101_3963_zps7ac8ybsh.jpg
 
Pics are pretty blurry but if it works , that's a good thing ...I'd gusset the pedal brackets..
dave
I think dust got on the lense, the garage camera usually takes very good pics... The bracket is very stout, there are steel 3/4" tubes welded trough the frame with grade 5 5/8" bolts through them. The cage is 1/4" plate, all welded with a tab bolting it to the frame as well as the post through bolts, it caps the ends of the post tubes that the through bolts stiffen. The pedal and bell crank posts are self supporting and rigid, I built the cage more for the pedal stops and brake light switch mounts than support, but felt like strapping the two posts together would insure uniform geometry and rigitidy. I bet I could jack the car up by it... It's much stouter than it looks, perhaps overkill, but I wanted to keep it open for access to the grease fittings and heim joints. Besides that, I had the material laying around. I will get a better photo once I get the tub off again so I can get a good angle. It's pretty tight right there with the pedals, bell crank, clutch arm, brake master cylinder, steering box, column, linkage, etc... The other thing is the cross member is forward, and mounts to the transmission at the tail shaft bolts as apposed to the actual mount, but it actually works out well. The bucket looks ruff, but that will all change in rapid order, once the mock up and fitting stage is complete. Getting the controls worked out with a seat was a milestone for me. It was challenging to make it fit me.. Should be down hill from here, all strait forward basic stuff.
 

     Ron Pope Motorsports                Advertise with Us!     
Back
Top