

You are using an out of date browser. It may not display this or other websites correctly.
You should upgrade or use an alternative browser.
You should upgrade or use an alternative browser.
fletchersons T project
- Thread starter fletcherson
- Start date
butch27
Active Member
As for the door outlines. I had to move my right side lines back 1" and then remake them with Duraglass. they had no room for the windshield posts to fit. A lot of bodies in the early days were like this. I now have 5/8" between the w/s posts and the front of the door outline. A lot of work. BUT now instead of a 17" door like Ford had I have a 16" door .
fletcherson
Well-Known Member
I was looking at CCR and mr roadster too. After spending another day in the shop working on it, I dont thing a laid back windshield will workout because I have it setup so the tilt wheel allows the steering wheel to fold up almost to the glass to allow as much room as possible for egress and I think it will interfere. I done that because I want a door on both sides, one for the wife, who likely won't ride in it, one for the driver because the gear shift will make it difficult to slide across. That's another bonus if I grind the body line off and move the door, it will fit a little better as far as clearing the steering wheel. I actually like the one I have, but it's worthless as a windshield, it's actually a split frame setup that had one glass missing, so I combined the top and bottom frames with the remaining glass and it looks very nice, fits the body ok, but I am going to rework the dash area and plan on making it fit the posts exactly, so if I was to make a change, this is the logical time to do it. I now think that my posts will be fine, even if I decide to go with a taller frame and glass. They are chrome, good shape, I may blast and paint them. I don't want an abundance of chrome. I will decide as the project moves on. I was able to work the battery box out. Got it fit and the hole cut in the floor today. Also built a top box to cover the battery and seal the hole so no elements enter the car, even though it's under the seat. I also laid up a flat panel to install on the front of my seat riser to accomodate my glove compartment, and allow for cigarette lighter, and any other accessories that I don't want on the dash. The door outlines definitely won't allow me to cut the outside line because the posts will interfere. I am still up in the air about it. I am leaning towards just sanding them flat and cutting the doors to suit me. I would have started glassing the oak, etc, but haven't made up my mind on it yet...
fletcherson
Well-Known Member
It's a lot more accessible than reaching for the dash. I don't want much on the dash other than the gauges, indicator lights, and the headlight switch. All of the other controls are going to be on the column, and gearshift so they are at fingers reach, no reaching or stretching. Because of where the shifter is and how I built the riser, there is a spot that lends itself well to the cigarette lighter and any other accessory switches, or whatever I may later add that is easy to reach and it will not be prone to interference with legs, etc. I am still debating weather or not to add a radio. Initially not, but I may incorporate provisions for a later upgrade. The seat riser will be the likely spot. It will be less than advantageous to see the selection though. Maybe I will just install an amp and speakers because I normally listen to my iPod anyways. Running out of space in a hurry.I was debating what to put in my seat riser, maybe even my ignition switch. I don't know how functional that will be.
fletcherson
Well-Known Member
I haven't actually paid any attention to the differences in the bodies because I just bought this car because of the components that are dated to my hey day.... It's a older molded body and has created a lot of work for me in my attempt to make it more to my taste. I was set to scrap it in favor of a stretched body, but after much debate, decided that I might as well build a new car if I stretched it because nothing was going to work without major redesign. Buying a new standard body would have likely not been much less work to adapt to my chassis, etc, so I just went with it. Comes a point where you either go with what you have or jump ship. I have it, so here we go... I didn't set out to buy or build a bucket. I actually have several other steel projects, but I happened across this and made a impulse sort of buy... I had recently sold a couple toys, so whatever. I was actually seriously considering a willy's coupe, still like them. I bet adding that door outline detail was a chore! I could pull it off, but building my dash was no fun. I thought I had it figured out, but the sub strait that I used to mold the basic shape didn't remain rigid enough and I ended up shaping and sculpting.... A tedious, repetitive task. What type hinges did you go with? I decided on the cast steel generic model A type. They are definitely overkill for the light doors. I have seen several variations using hardware store type, etc... But I was afraid they would look out of place and chose automotive style. Pretty pricey for no more than they need to be.As for the door outlines. I had to move my right side lines back 1" and then remake them with Duraglass. they had no room for the windshield posts to fit. A lot of bodies in the early days were like this. I now have 5/8" between the w/s posts and the front of the door outline. A lot of work. BUT now instead of a 17" door like Ford had I have a 16" door .
2old2fast
Active Member
I made my concealed hinges , pretty much ripped off CCR design....used GM repl. bronze bushings , repaired a original 27 T style latch...whatever you decide to do , think ahead...I put T-nuts in the wood framing before glassed in the wood.... used wood/glass backed up by steel in the jambs for the striker & hinges.....If you have a facebook account & want pics , I can do that....PM if you wish ..
dave
dave
fletcherson
Well-Known Member
I made my concealed hinges , pretty much ripped off CCR design....used GM repl. bronze bushings , repaired a original 27 T style latch...whatever you decide to do , think ahead...I put T-nuts in the wood framing before glassed in the wood.... used wood/glass backed up by steel in the jambs for the striker & hinges.....If you have a facebook account & want pics , I can do that....PM if you wish .. dave
I made my concealed hinges , pretty much ripped off CCR design....used GM repl. bronze bushings , repaired a original 27 T style latch...whatever you decide to do , think ahead...I put T-nuts in the wood framing before glassed in the wood.... used wood/glass backed up by steel in the jambs for the striker & hinges.....If you have a facebook account & want pics , I can do that....PM if you wish .. dave
I made my concealed hinges , pretty much ripped off CCR design....used GM repl. bronze bushings , repaired a original 27 T style latch...whatever you decide to do , think ahead...I put T-nuts in the wood framing before glassed in the wood.... used wood/glass backed up by steel in the jambs for the striker & hinges.....If you have a facebook account & want pics , I can do that....PM if you wish .. dave
fletcherson
Well-Known Member
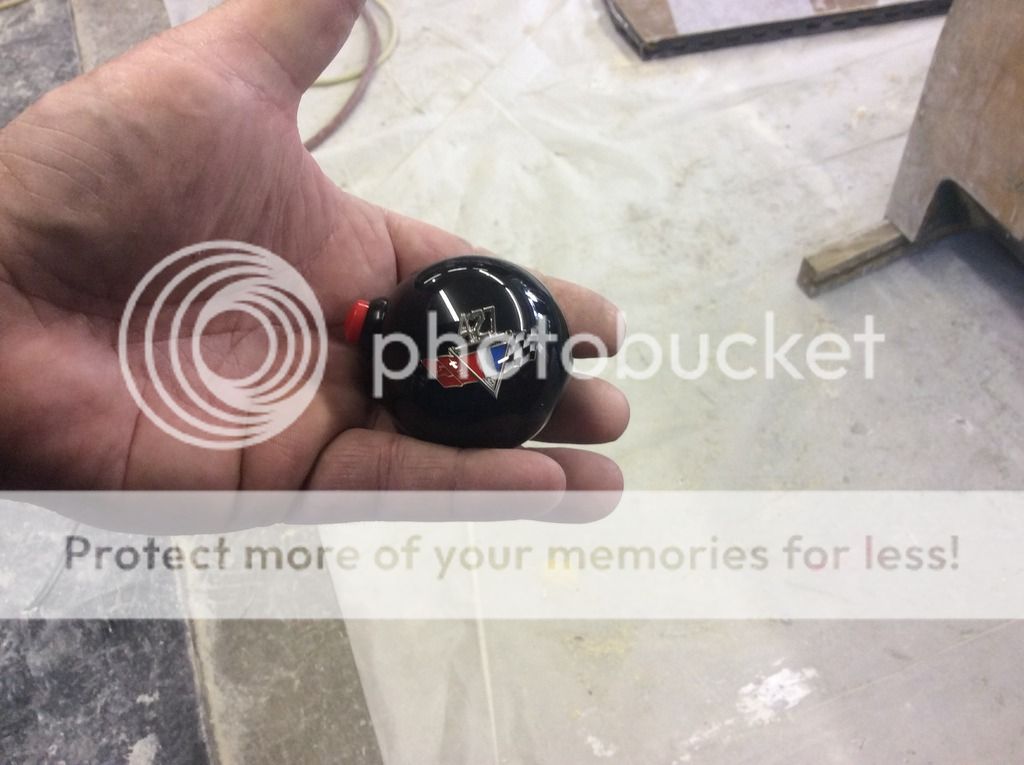
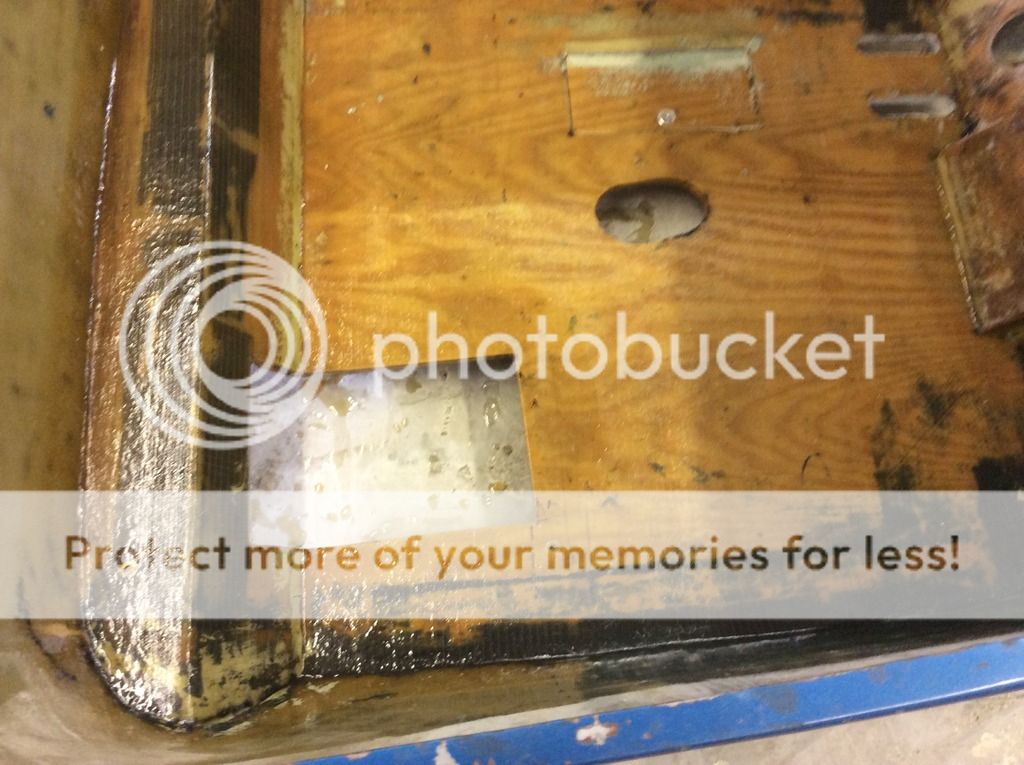
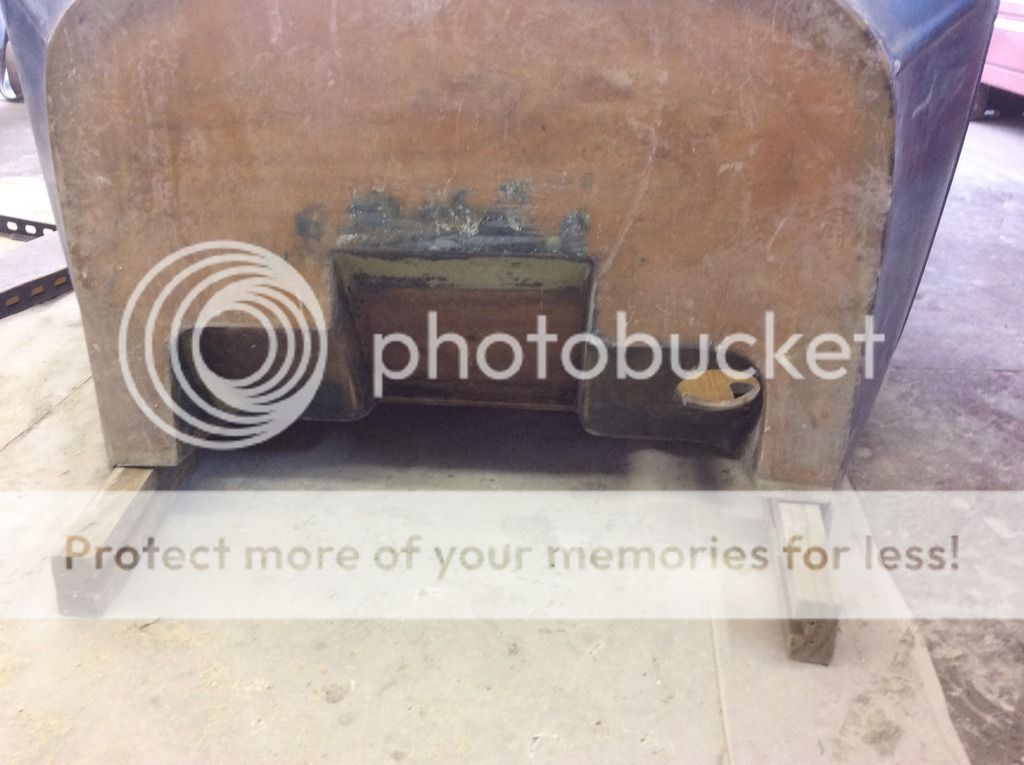
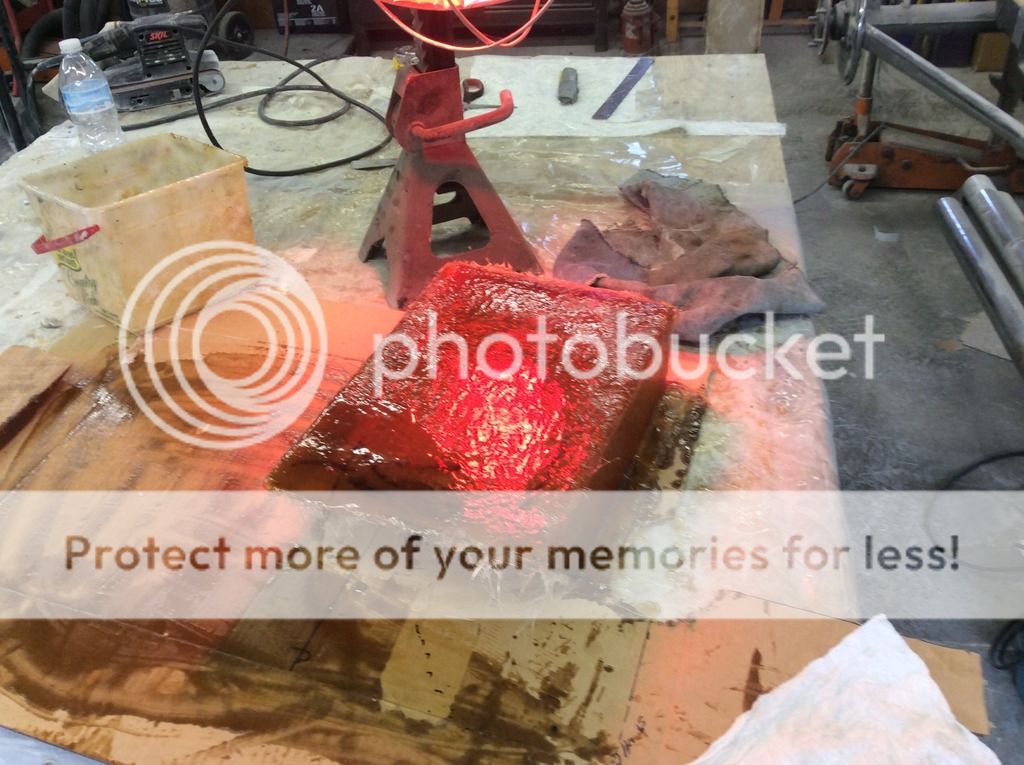
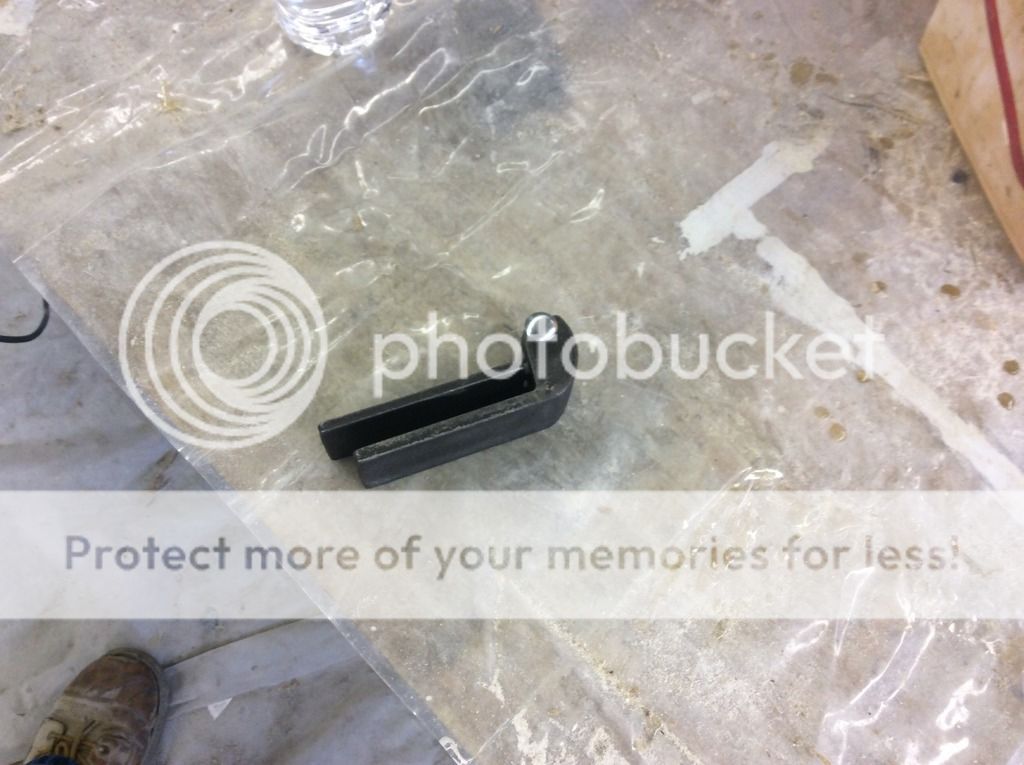
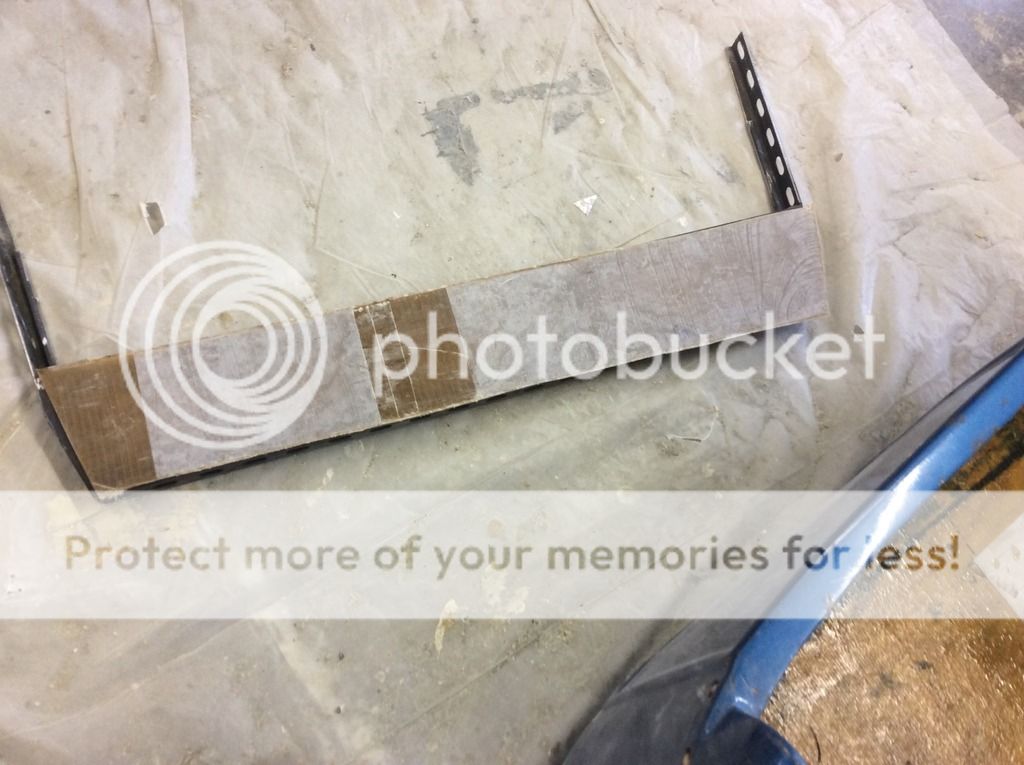
Ok, I finally received my shifter knob today, twisted shifterz done a nice job. Next is the hole for the battery box, it's crooked because it mounts to the frame. Next is the cowl shot that illustrates that there is actually a bell housing bump, it's about seven inches, the bell is six. Then there is the battery box cover getting a tan. Here is the hinge that I ended up with. Notice the gap when closed. I am not sold on using them. I have no idea why they are this way. I wouldn't have ordered them had I known. I suppose they are modeled from a production hinge that had a large door gap. The last one it the flat panel I laid up for the seat riser. The print from the acrylic that I used as a mold lifted and is now on my glass...looks like dung, but is nice and smooth.
fletcherson
Well-Known Member
Dave, thanks! I have no idea what I done wrong, but I thought I had replied to you earlier. Anyway, that's a good idea about the t nuts, I hadn't thought of using them. I did consider the latch and strike. I plan on routing them in after the oak has been attached and finished perfectly flat inside before cutting the door out, then glass everything. Im stuck on the hinges... I can make the ones I have work, but I really don't want to cut such a deep pocket for them. Still under debate, lol.I made my concealed hinges , pretty much ripped off CCR design....used GM repl. bronze bushings , repaired a original 27 T style latch...whatever you decide to do , think ahead...I put T-nuts in the wood framing before glassed in the wood.... used wood/glass backed up by steel in the jambs for the striker & hinges.....If you have a facebook account & want pics , I can do that....PM if you wish ..
dave
Last edited:
Intrepid
Active Member
This is what I was planning on using
SOSS® Invisible Hinges - Lee Valley Tools
SOSS® Invisible Hinges - Lee Valley Tools
fletcherson
Well-Known Member
Those are cool, do you know anyone who has used them for such? I am wondering about the door swing, since it's not a plumb jamb, how it would swing. The ones I've seen use different length hinges to rectify it.This is what I was planning on using
SOSS® Invisible Hinges - Lee Valley Tools
fletcherson
Well-Known Member
I like their design. I found some reproduction model t hinges at Macs antique auto parts that are one piece and has the design that allows for the strange opening geometry, basically one hinge is longer than the other, sort of A shaped, so the door opens level. I am thinking about trying them out. I also like them because they are one piece, and the mounting is over a larger area, so it should be stronger...? I think that if both hinges are the same length, the door will fall shut, because the body is angled in at the bottom. The bottom hinge needs to be longer to compensate if you want the door to open normally and not fall shut. I don't know how much it would matter in reality because the door isn't too heavy, but it wouldn't stay open. At least that's my thought. I am trying to visualize it.... I may have it wrong, it may be the inverse, lol...Not sure ,, I just saw them online and thought they would be perfect.
I was just going to buy them and make them work.
fletcherson
Well-Known Member
I decided to put a layer of biaxial over the inside of the door areas to strengthen it before attaching the oak because I am more than likely going to remove the reveal lines and move the doors rearward about an inch to allow for the posts. I did glass the inside hollow of the reveal with fibered bondo, but the uniform layer will assure its rigidity. I also laminated the rear part of the tub behind the seat with two layers and it is much more rigid. I won't have to reinforce the tub around the top now, which is good, because I won't have to sacrifice any space for the seat to tuck in there as far as possible. I did install the seat riser/jamb reinforcement and one side of the oak, I plan on doing the other side today, got the battery cover finished, running out of glass projects, thank God! Lol... Just kidding, it's not so bad. I am getting very irritated over the hinge situation. I think I might just go buy some cheap quality hardware store hinges and weld an extension on them to suit me. I can't believe how much they want for such a simple device....and the doors are so small and light, I just have a hard time justifying the expence. So tired of being gouged for simple things. I reject the new normal! I am also worn out with this horrible weather here in the Ohio valley....this is supposed to be the nice time of year. I haven't even gotten either convertible out of storage, and the bike hasn't seen daylight since March. Errr! It's tuff getting motivated when it's dark all of the time. I will post some pics of progress later.
Similar threads
- Replies
- 26
- Views
- 5K
- Replies
- 8
- Views
- 718
