kcline40
Member
The other plus is w/only 1 thickness of glass , it will be much simpler to mount your gauges !!
dave
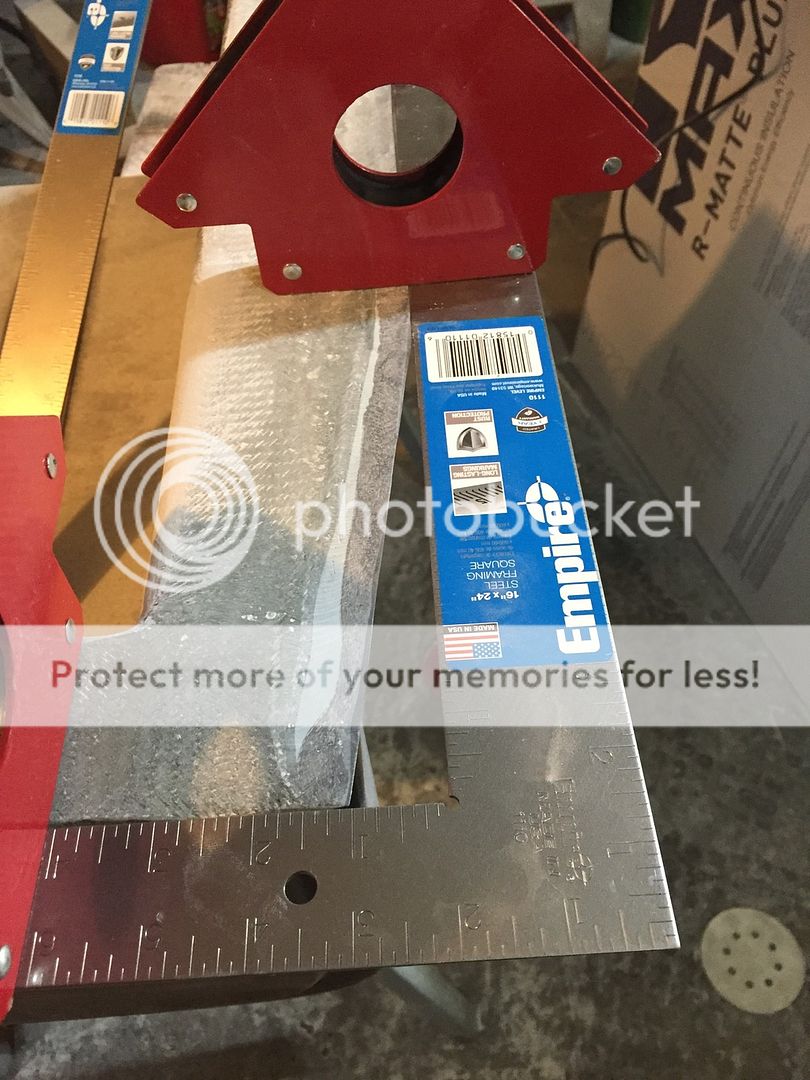
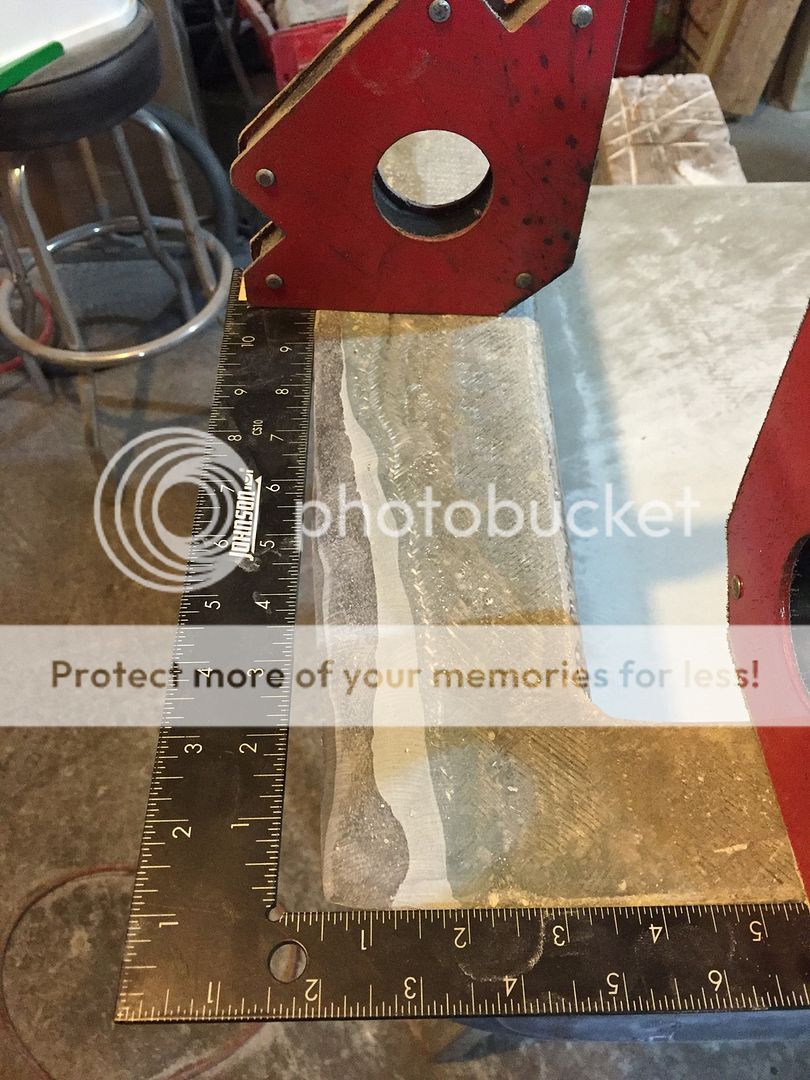
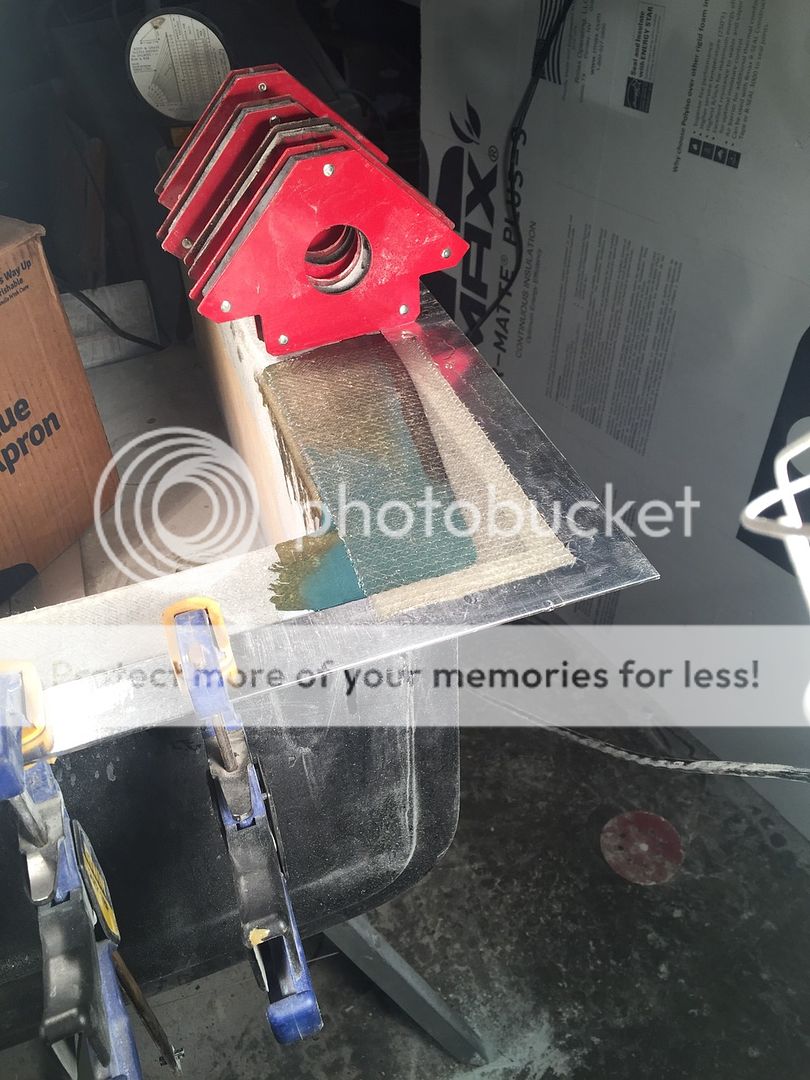
Have to cut steel support beam to make gauges fit any way. Grey circles and rectangles are area the needs removed to install gauges.


The other plus is w/only 1 thickness of glass , it will be much simpler to mount your gauges !!
dave
I ran the angle across the top of the dash, inside, above where the gauges mount. I cut pieces of flat stock to fit in the corners above the door posts, where the windshield posts bolt to the body, and welded the door posts, and the cross brace to them. Now the dash, door posts, windshield posts are all tied together and strong. I then cut a flat piece to fit against the inside of the firewall at the top and the bolts that hold the stainless firewall plate holds it in place. It will be glassed in later as well, I also routed the inside of the firewall for that plate to recess and be totally flush, so when I glass over it, it will be invisible, flat, strong, and thin. There are some flat pieces that connect the dash cross brace to the cowl plate up tight against the inside of the cowl forming a cage, sort of. I also welded some flat stock that drops down from the angle cross brace (dash cross brace) against the inside of the back of the dash with a plate between it and the firewall plate for the column drop to connect. The bottom of the door posts are also welded to plates that are routed into the floor and bolt to the frame. It's all very strong, allows rigid mounting of everything, and out of the way of dash components. I will also encase everything in glass moving forwards to eliminate any possible rattling and to make everything stronger. Perhaps you could modify your setup with that in mind if it will help.Have to cut steel support beam to make gauges fit any way. Grey circles and rectangles are area the needs removed to install gauges.
The face of my dash was made from some engine turned sheet stock that I bought from Speedway.I like your dash, clean, symmetrical, not cluttered. Nice! That is similar to what I have in mind for my project. What did you use for the plate? I salvaged a nice large piece of brushed stainless steel from a side by side refrigerator door that I have been contemplating incorporating on my dash. I am not committed yet. I really like the look of the auto meter American Classic series with the stainless face plates, but I'm still choking on the price... When I bought the bucket, it came with a old dash plate gauge bezel that is shaped like a '32 dash center section, it's Ss with a brass plate in the center. I like it, and it's different than most I see, but it only has provisions for one large and four smaller gauges, so I'm on the fence because I want a dash mounted tach that matches, and the symmetric thing...


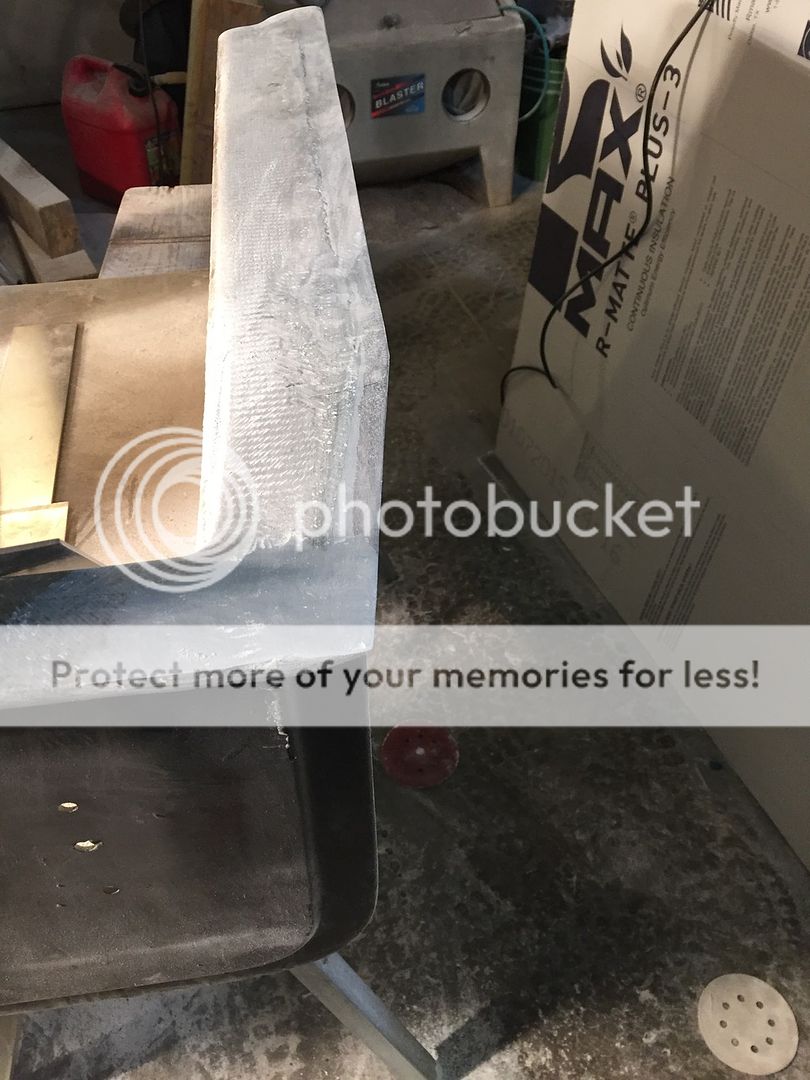
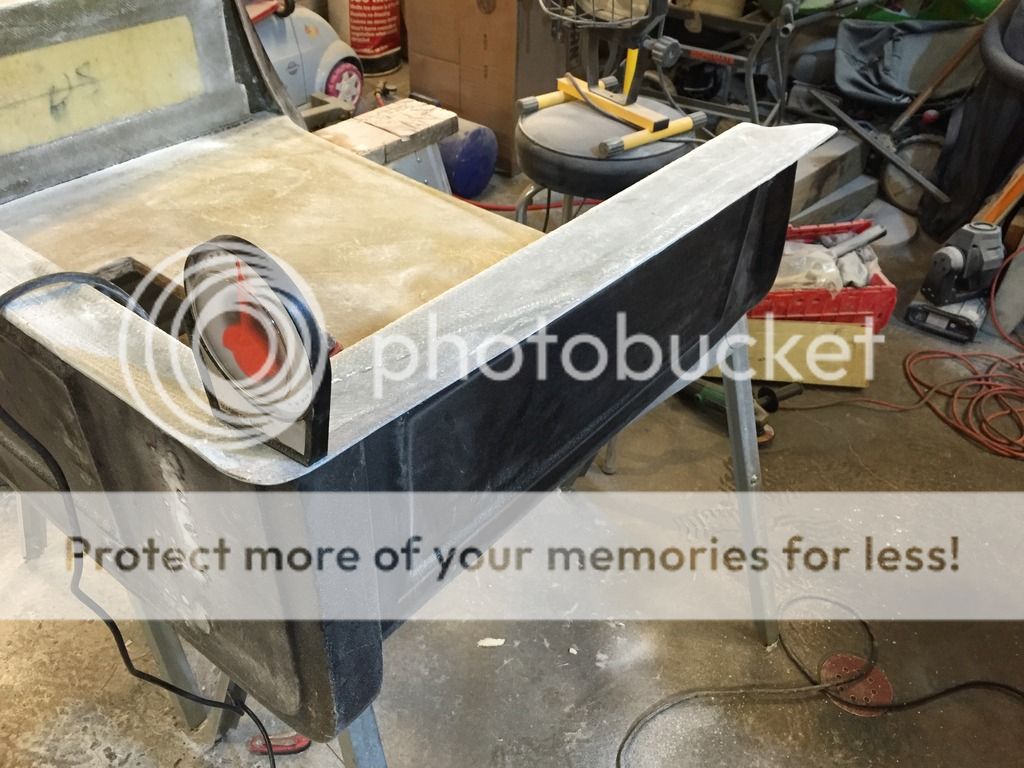
This is the first I recall noticing your dash. I'm planning on centered speedo & tach like you have, but I'm up in the air on the auxiliary gauge placement. I had originally planned on a simple under dash 3 gauge panel...but that's not going to work. My 2nd choice right now is to put the 3 to the right of the speedo & tach, but I'm concerned about the readability. My dash is at least 4" farther away than usual because of the stretch. What diameter are your gauges, and how is the readability of the right gauges?Perhaps this picture may give you some ideas. The bottom of my dash is a piece of 3/4"x3/4" square tubing. It is supported by the same tubing on either end that goes clear to the floor and connects to a piece of 3/16" plate that extends inward and stops over the frame creating a strong body mounting point to the frame. The tubing in the bottom of the dash mounts the homemade column drop and it is completely wrapped in glass creating a feature that compliments the feature that wraps over the top of the dash.
Jim
This is the first I recall noticing your dash. I'm planning on centered speedo & tach like you have, but I'm up in the air on the auxiliary gauge placement. I had originally planned on a simple under dash 3 gauge panel...but that's not going to work. My 2nd choice right now is to put the 3 to the right of the speedo & tach, but I'm concerned about the readability. My dash is at least 4" farther away than usual because of the stretch. What diameter are your gauges, and how is the readability of the right gauges?
I'm thinking MPH & RPM centered, with temp, oil, & volts on the right. That's going to put the volts clear to the right end of the dash, and the one I'm worried the most about readability. I'm planning on the shifter to the left of the MPH & RPM. The ignition and light switches will go in a pod on top of the steering column, or clear to the left end of the dash. The dash treatment is going to be simple...just aircraft style rings on each gauge.Bill, the OD of trim rings on my gauges is 3 1/2" and 2 1/4" respectively and the space between each gauge trim ring is 3/4". The layout of the gauges from left to right is Temp, Oil, MPH, RPM, Fuel & Volts. As for readability, I've had no problem. But that has a lot to do with the position of the seat, the steering column and the steering wheel. I'm a great believer in ergonomics. Without taking that into consideration you'll have a very uncomfortable driving experience.
When building my car I spent a lot of time experimenting with seating positions and steering column angles etc. to make an enjoyable driving ride. My wife and I both have RA so comfort is VERY important. We can cruise for several hours and many miles with absolutely no discomfort.
Jim


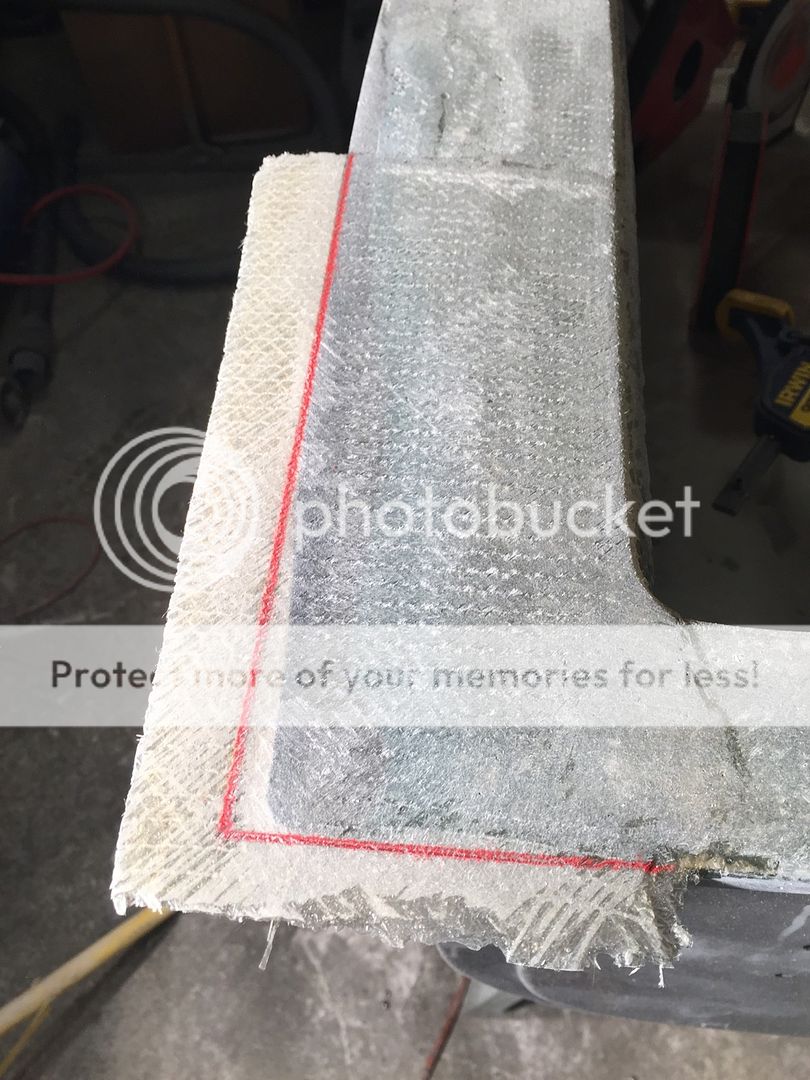
Did adding the glass pull the flanges up?


I was thinking of adding small strips of Matte to build up in areas and then use filler to smooth out the transition between the two.
Also what deck hinges did you use on your lid?

I was thinking of adding small strips of Matte to build up in areas and then use filler to smooth out the transition between the two.
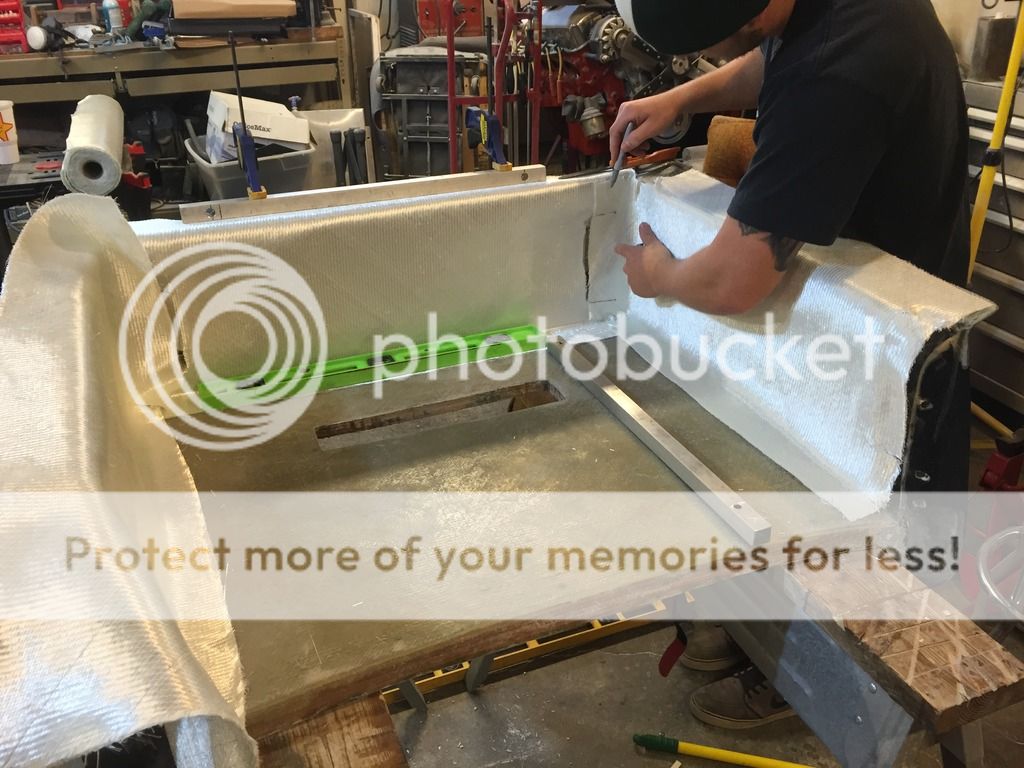
Yes, most of it was sculpt with filler that has fiber glass strands in it. We made a template out of a piece of aluminum and used that to shape the filler.Jim, how did you do the the raised portion of your dash? I was thinking of sculpting it with body filler.
Thanks Bill