Ron Pope Motorsports                California Custom Roadsters               

Purple Powder Pickup

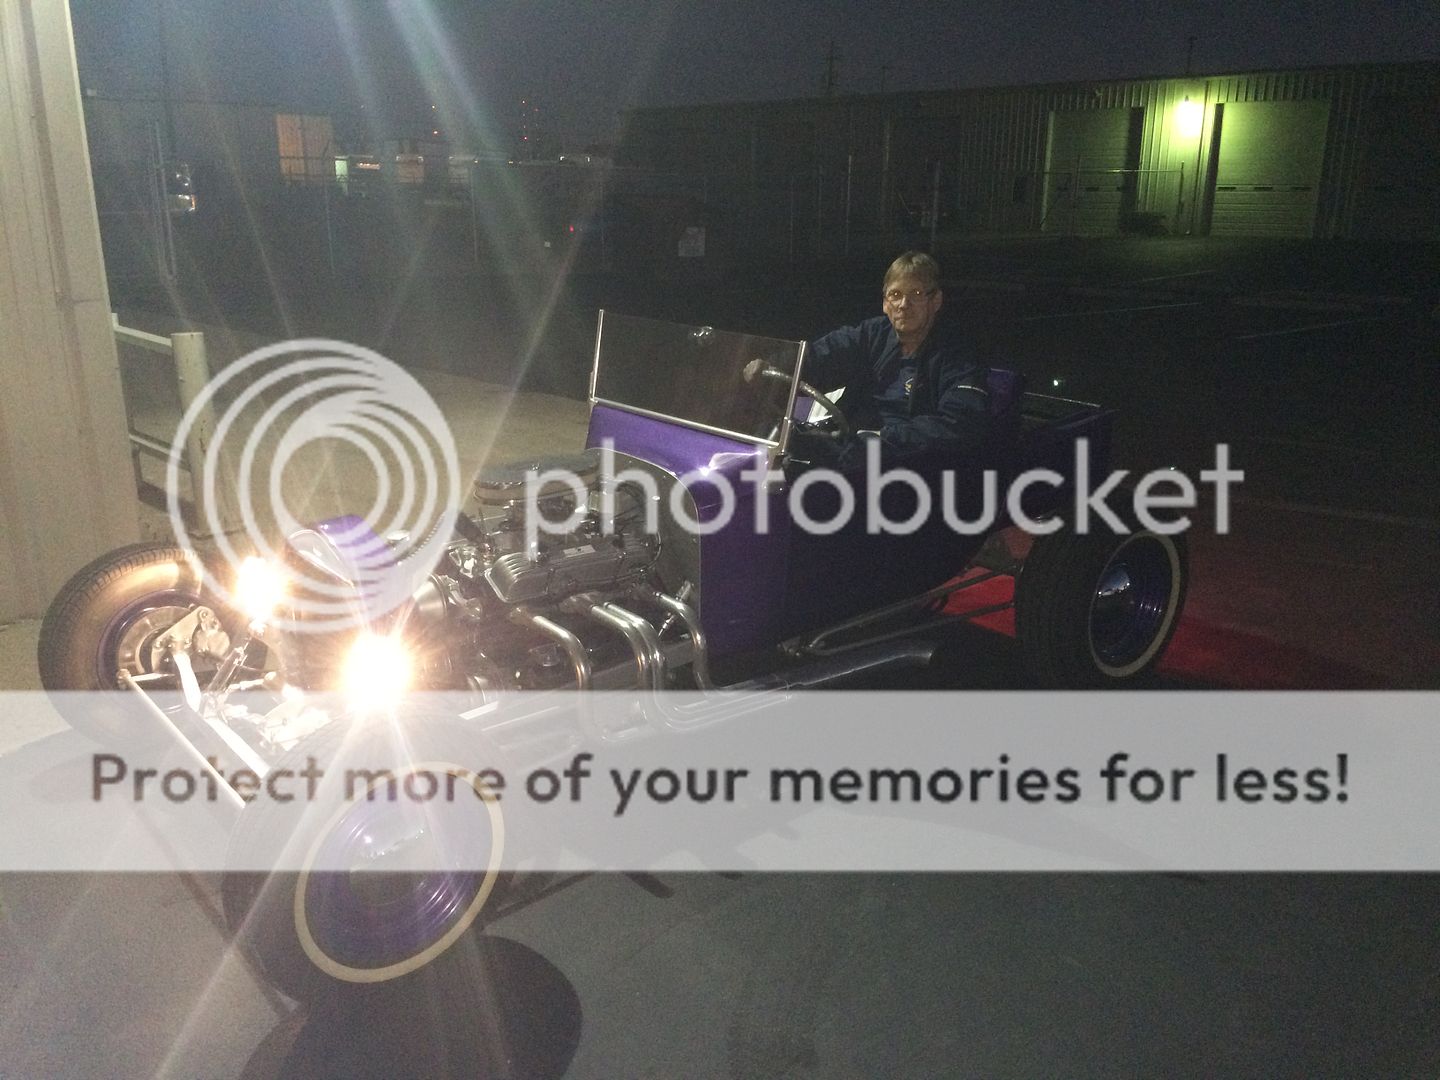
Thought I'd do a quick update on the project. Since the last post back in early September, we hosted the NTBA Indy Regional event which I consider was a success. We had a turnout of approximately 40T's and 50+ registrants. 11 states were represented as well as the country of Sweden! As I alluded to in the last post, we got the Purple Powder Pickup done in time to get a few hundred shakedown miles done before the event. I'm happy to report that besides a few small fluid leaks, the T performed very well. The seasoned 283 is a respectful performer and started easy and ran really well the whole time. As you can imagine, my Uncle Dennis was having a ball and really enjoyed the fruit of the labor of the last couple years of the build. Since the event, he's taken it out as much as possible before the weather makes it unbearable. We still have a few items to tackle over the winter. Finish the bed cover, speedometer cable, fix the small trans and oil leaks, and get the rest of the interior finished by the upholsterer. We hope to have the car displayed in our booth at the Indy World of Wheels show in February.

After we're totally done with this build, I guess we'll have to move on to the next build. We have two more bodies and my wire actually mentioned after the regional event that it might be fun if she had one too...Fuchia Pink and flat black !

Here are a few pics from the event with the PPP in it:

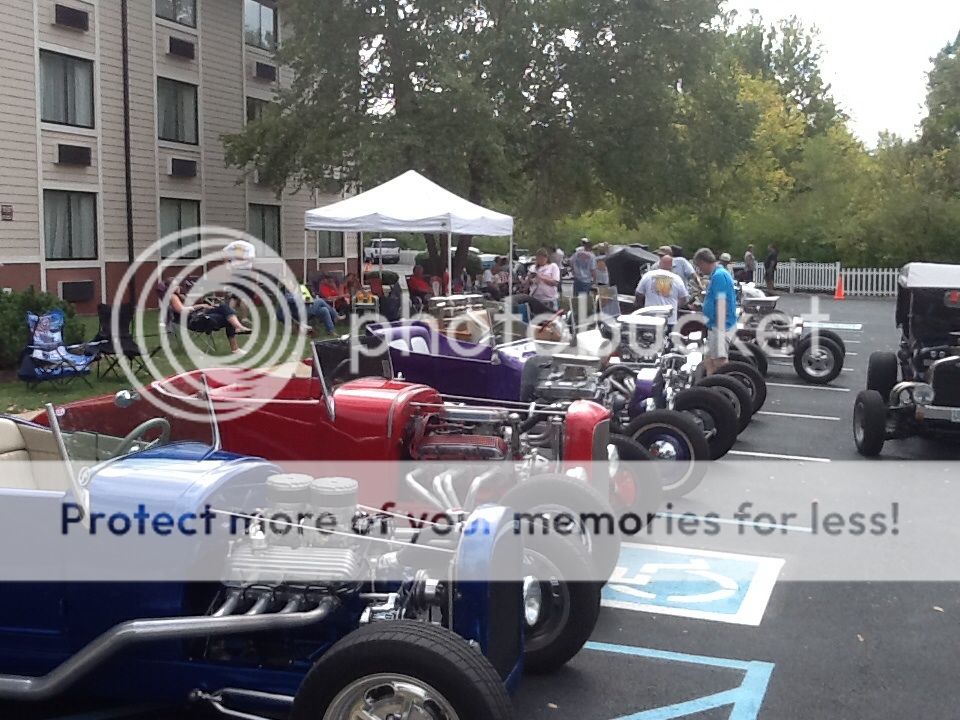
At the host hotel. My blue '27 in the foreground, Dad's red '27 and Dennis '23...


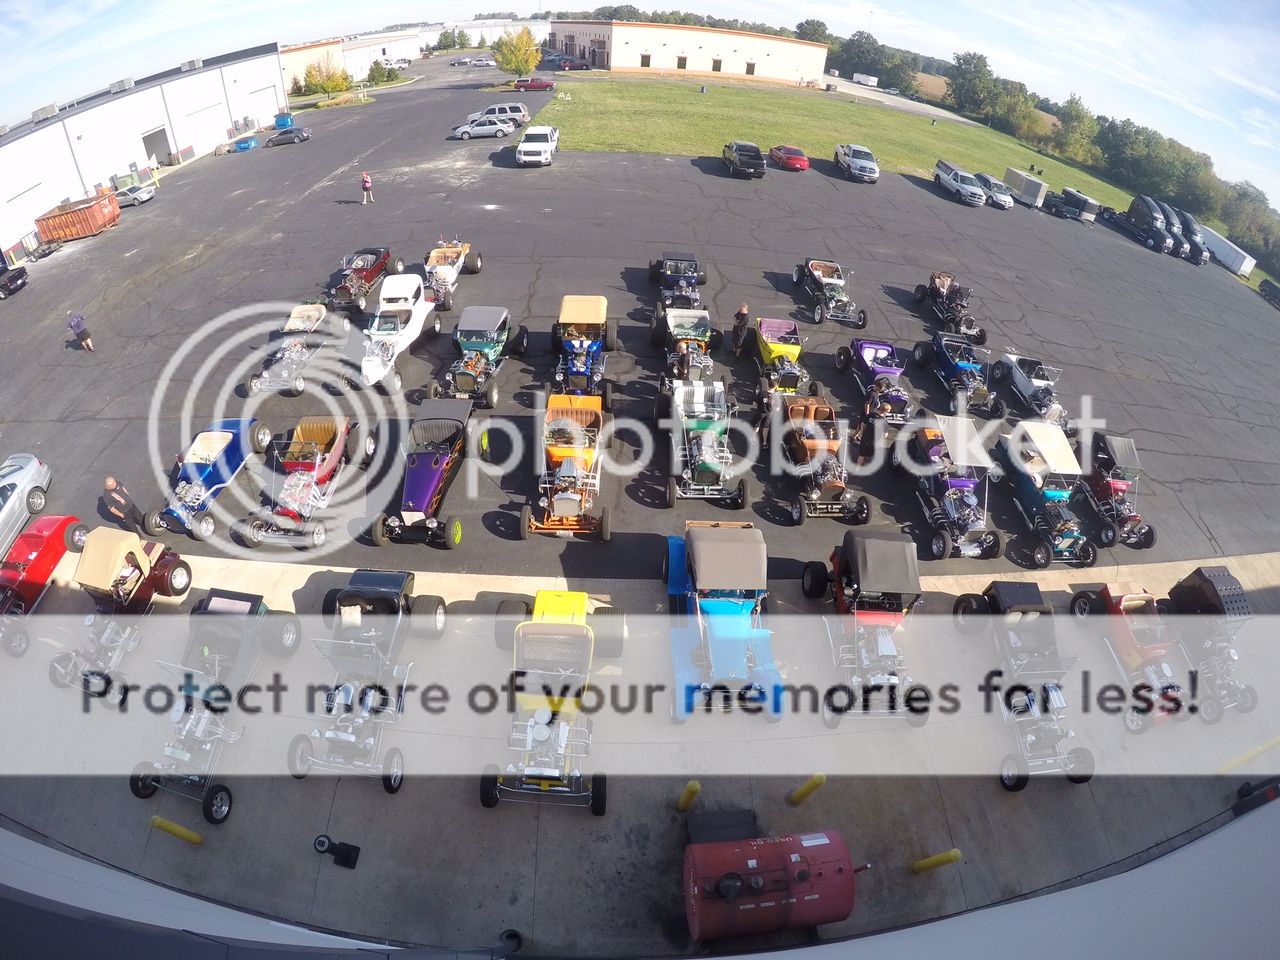
Parked at Don Schumacher Racing for a tour of the fab and machine shops:


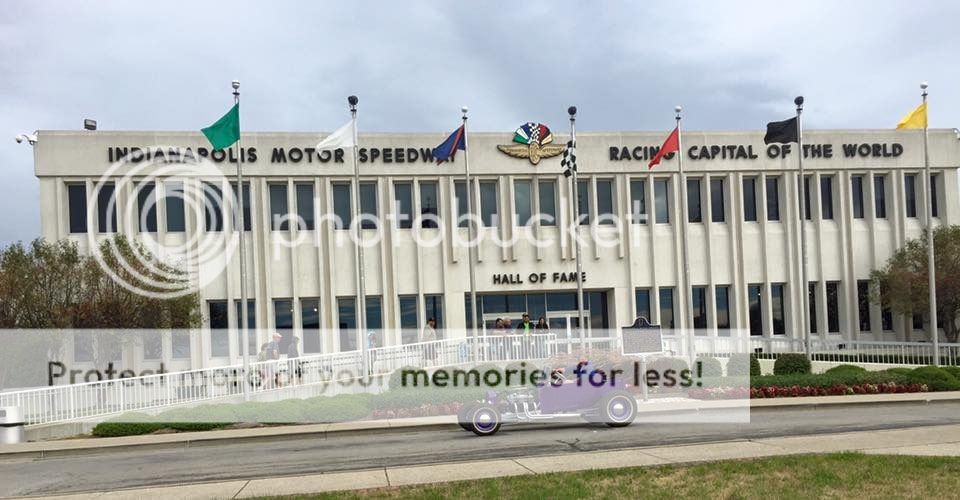
At the Indianapolis Motor Speedway Museum:


Getting in all the T-bucket time that Fall has to offer!:
 
What a clean, simple, sensible build!
100% PROVES you don't need to go off the deep end to get a T that really turns heads and it must be a pleasure to drive besides.
No chrome...who needs it. Looks awesome without.
Really blown away by this build. Congrats on a job well done.
 
Oh...meant to ask. What are you using for a fire wall and how thick?
 
Thanks Hackerbilt! The firewall is a piece of Surplus Aircraft Aluminum that Dennis scrounged at work. I forget the number, but it can't be bent. The firewall is about 5/16" thick and has been powder coated. We used the same material for the dash.
 
Still some progress to report on: This morning we picked up the car from the upholsterer who had it for about a week to get it finished up. If you remember, we only sent him the seat prior so we could keep the car to finish before the Indy Regional last fall. We think it came out fantastic and was just as we designed it. Dennis and I will be cleaning and polishing up the car this week for the Indy World of Wheels show this weekend. The Purple Powder Pickup will be in our booth promoting our powdercoating and ceramic coating business, Pro-Kote Indy. I'll post a few pics when we get the disclay set up. If any of you are coming, stop by and say hi!


Closeup of the purple and silver vinyl:

And my super crude concept sketch and reality:
 
Very very nice interior! BTW, I dig those tail lights.
 
That is one sweet looking ride, Ben.

Jim
 
Beautiful ride! Not big on purple.....but, wow the purple and silver is very sharp!! Excellent job on your craftsmanship.
 
Still some progress to report on: This morning we picked up the car from the upholsterer who had it for about a week to get it finished up. If you remember, we only sent him the seat prior so we could keep the car to finish before the Indy Regional last fall. We think it came out fantastic and was just as we designed it. Dennis and I will be cleaning and polishing up the car this week for the Indy World of Wheels show this weekend. The Purple Powder Pickup will be in our booth promoting our powdercoating and ceramic coating business, Pro-Kote Indy. I'll post a few pics when we get the disclay set up. If any of you are coming, stop by and say hi!


Closeup of the purple and silver vinyl:

And my super crude concept sketch and reality:
That is a beautiful car Ben! What could I expect to pay to have my frame, radius rods, and front axle powder coated? also cost to have the seat done. Not trying to be nosey, but i'm at the point where mine is
almost done so I'm ready to tear down for paint, powder coat, and upholstery. Just a ballpark figure?
 
I paid 275.00 for my frame to be powder coated. That was sand blasting, color, and a clear coat. The color I wanted was a rough surface, hence I needed the clear to make it smooth.
 
Very nice. TU.
Purple is a great colour when you get it right.
 
Alright, time for a short update:

We've been hard at it. Primary focus is getting anything frame related done. I designed some shock mounts for the speedway shorty shocks and had them waterjet cut from 3/8" plate. Installed and mounted. Dad fabbed up the master cylinder mount and pedal. We had the pedal arms cut out as well and he tigged them up on some chrome moly tube. We got all the brake stuff we needed to run all the lines next week.

Got the 'P' logo radius rod braces welded in. This is from the company logo...and works with the "Purple Powder Pickup" project name.

We got all the body mounts, misc cross members, and other misc brackets on the frame and built the battery box and a tool box. Not much room on these things and I'm a firm believer of maximizing space as we take long trips every year in our cars. We cut, broke, and welded up some sheet metal and hung the boxes under the frame. They will be accessed from under the seat (in which the bottom will hinge). It looks tight, but there is plenty of room left for the drive shaft and we integrated a drive shaft loop. Waiting on the final drive shaft to weld in the top portion.

We also welded in a "hitch mount". I put that in 'quotes' as this will not be for any sort of towing, but a receiver for the license plate bracket and for a hitch carrier that we modified. When it gets installed, the license plate installed in the back of the hitch carrier.

In the steering dept, we got the front tie rod and draglink cut and threaded. Panhard bars are installed. We are going to swap out the rear panhard mount for one cut from 3/8" plate that looks like the front shock mounts.

On the body, we got the bed installed and glassed to the body. We got the bed floor glassed in as well. We also cut and glassed in plywood on the inside of the firewall to stiffen the firewall and give us something to screw the aluminum firewall cover to (not yet fabbed).

Started some work on the steering column. We are using the shaft and housing tube from the old Ford pickup that donated the front axle. We got bearings that will press in each end and some collars. We have a mount to weld in the steering wheel end to mount the wheel, but I was struggling with some sort of cup to hide the ugliness. One day cleaning up the shop, I stumbled across an old fuel filter that I had run on my car but took off. It occurred to me that the if we cut it up, it would be perfect for it. We did just that and once we get the seat installed in the final position, we can set the column length and finish it up.

Got the radiator fitted and mount to the frame. Bent up rad shell tabs and welded to the radiator. The radiator is one Dad had on his '27 back when it had a track nose. He had it re-cored (4 core) by Steve Long so it will be up to the task. It fits really nice. We'll have some really fine expanded metal that we'll use as a radiator screen. I used the same material on mine.

Got headers from Speedway. These are bare roadster headers. These will be the start to the exhaust. I'm planning on cutting the collectors off and doing something more early 60's in style...stay tuned! Once fabbed, we'll ceramic coat them in house.

Finally, we needed the seat badly. Remember the battery and tool box, well the seat must have a folding bottom, and I wasn't real keen on building one again, so we went the route of modifying a production one. We pulled a middle seat from a late 80's Plymouth mini-van and went at it. Today after some careful measuring, we took it apart and cut 3-1/2" out of it and welded it back together. Once 3-1/2" is taken out of the foam and re-upholstered, it will fit great. Our next step is the mounts and bottom pivot hinges. Its a simple frame and won't be too difficult to get it to articulate.

Next up on the list is the windshield. We have some NOS posts to set and we took delivery of 7/8" dia solid 6061 Alum. We will be putting the Bridgeport to task cutting the slot for the frame.

We have lots yet to do, but I feel we are on track for this summer, minus the final body paint and upholstery (that will be over the winter). Our goal is the NTBA Mt Home Nats in late June. We've already registered and this car will make it even if it is in a trailer!


Ben could you give me a quick walk thru/ material list for the box set up you did under the seats. I was going to do something similar out of wood, but I like the metal idea. I'm quite new to fabrication, but I'm not scared to try, just need pointed in right direction!
 
Ben T, would you mind helping me to figure out what I need to install the under seat bins you have? I was planning on something close to yours but made of wood, metal sounds so much better! I'm new to fabrication, but I will give it a good try! Any advise or material lists would be appreciated!
 

     Ron Pope Motorsports                Advertise with Us!     
Back
Top