Quick Update on the seat:
After narrowing the seat frame last weekend, yesterday we finished up the seat build by fabricating some mounts and tab to allow the seat bottom to hinge. It was actually easier that originally thought and will make it really east to access the battery and tool boxes below the floor. Since the back and bottom were essentially separate pieces and the back was just welded on, we separated the two when we narrowed the seat 3-1/2". The seat back needed to be mounted to the floor and we so we welded each side of the back to a modified triangulated mounting tab. Each tab has a corresponding tab welded to the frame below the floor so when bolted the seat (and belt) will anchored to the frame. The seat bottom already had a few holes places where it appears the seat was made to articulate (presumably depending on options), so we reinforced the one that worked the best with a couple of washers and then bolted 1/8" thick tabs that were welded to the seat back, thus creating a hinge. When it all bolts together, a thick nylon washer serves as a bushing between the two halves of the seat. The hinge tabs push the seat bottom out slightly which allows for the seat bottom to hinge up with out binding on the seat back.
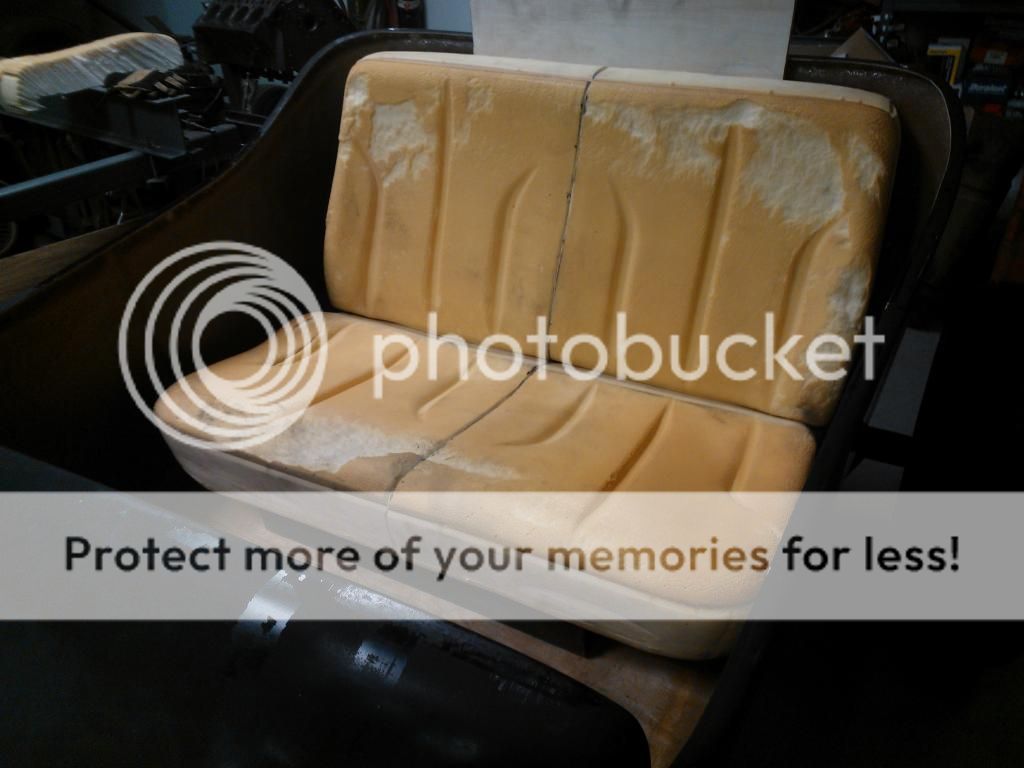
We obviously mocked up the seat several time to get the proper ergonomics before welding on tabs and mounts. The seat bottom front will be supported on a riser about 3-1/2" tall (basically a 2x4) that will be integral to the body. It will have some sort of pin that engages the seat bottom and lock it in when down. Finally, we removed the seat foam from the upholstery and removed 3-1/2" from the middle of them and glued them back together. They slip back on and when it hits the upholsterer, we'll have him add foam where necessary to smooth the seats out and fill in the sides and back to further fit the contours of the body.
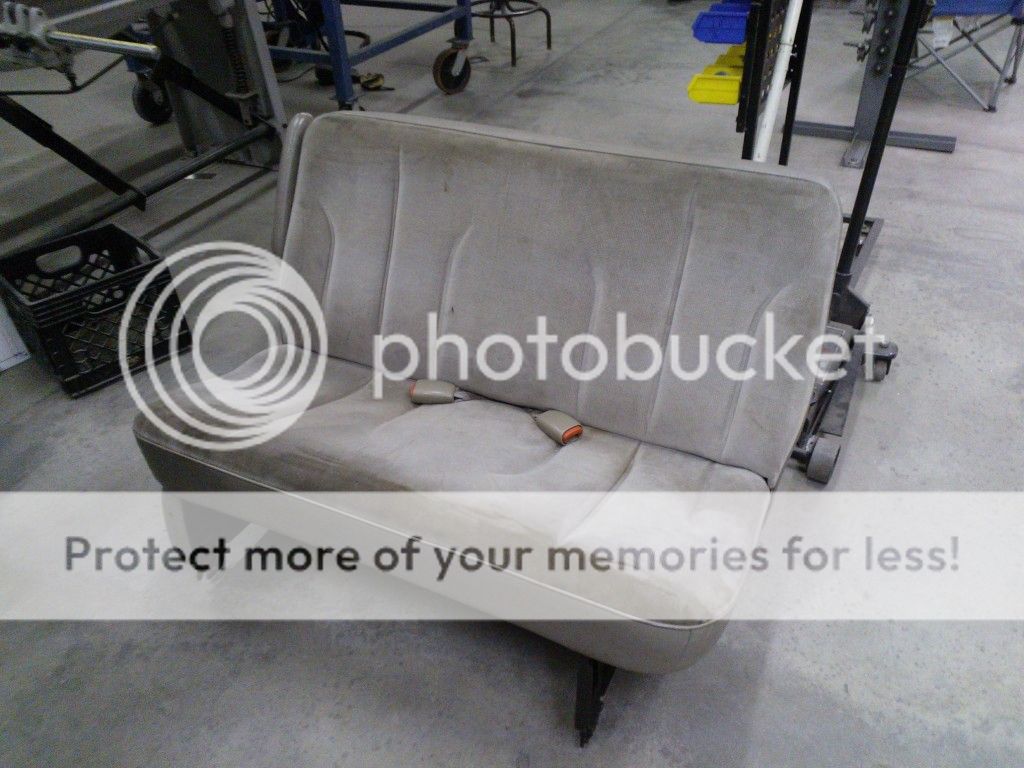
To say we're pleased with it is an understatement. We have about $45 in the seat total which accounts for the $40 purchase price of the seat and about $5 in prefabricated tabs. We have about 6 hours total in the modification of the seat from when we removed it to now. It should save us some coin over a fabricated seat when it hits the upholsterer. Until then, an authentic Mexican blanket will be used. The seat was a middle seat to a late 80's early 90's Plymouth mini-van.
Here are a few pics:
As picked:
Frame Narrowed:

Now frame hinged and mounted:
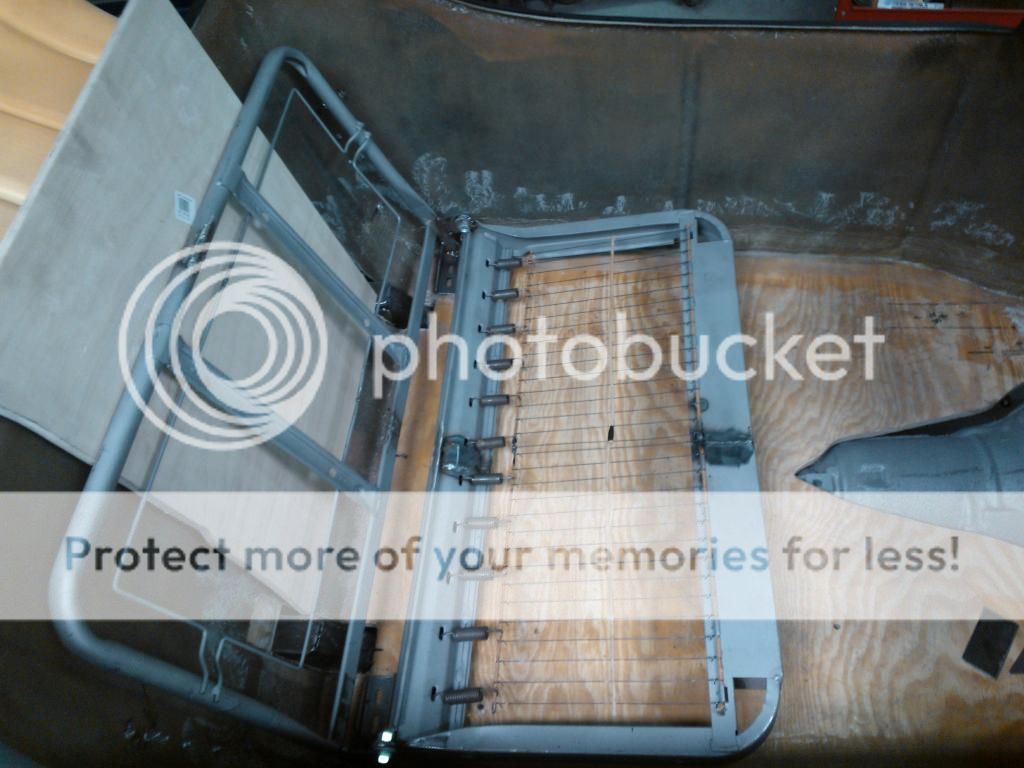
Hinge and mount:

Working Hinges!

Foam Narrowed and installed:
More to come!


