


You are using an out of date browser. It may not display this or other websites correctly.
You should upgrade or use an alternative browser.
You should upgrade or use an alternative browser.
T-Boy Body
- Thread starter Mr. Fixit
- Start date

Mr. Fixit
Member
Very cool. You going to paint a red hourglass on the back?
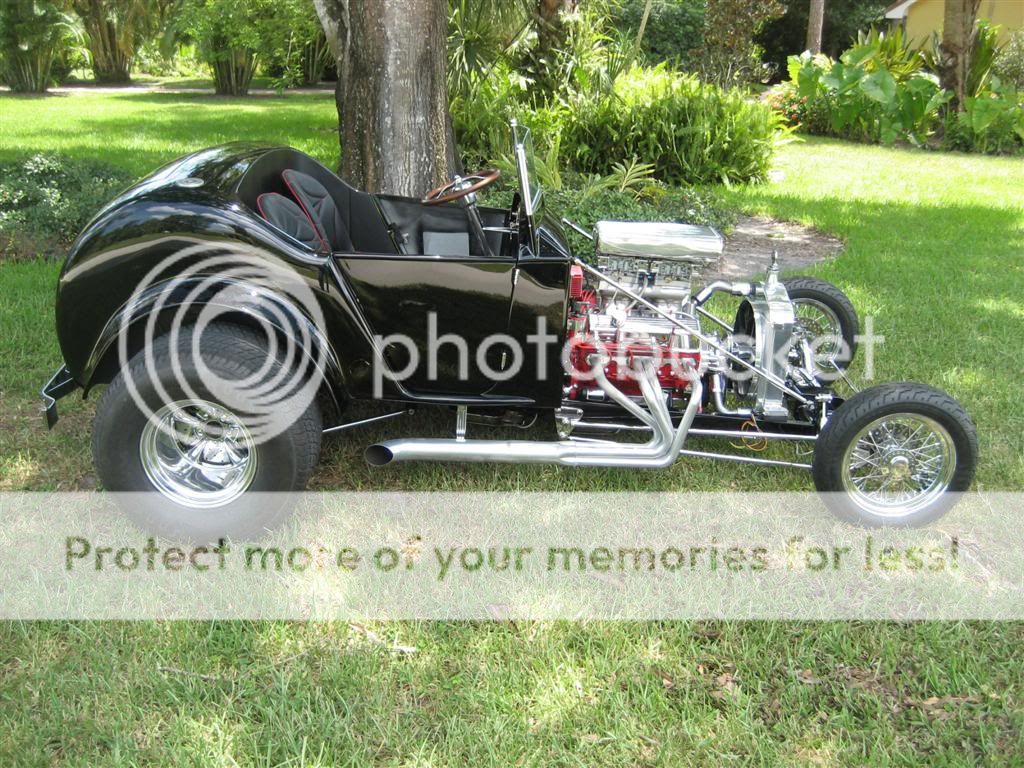
No red hour glass this time! I am done with paint for a while...
Mr. Fixit
Member
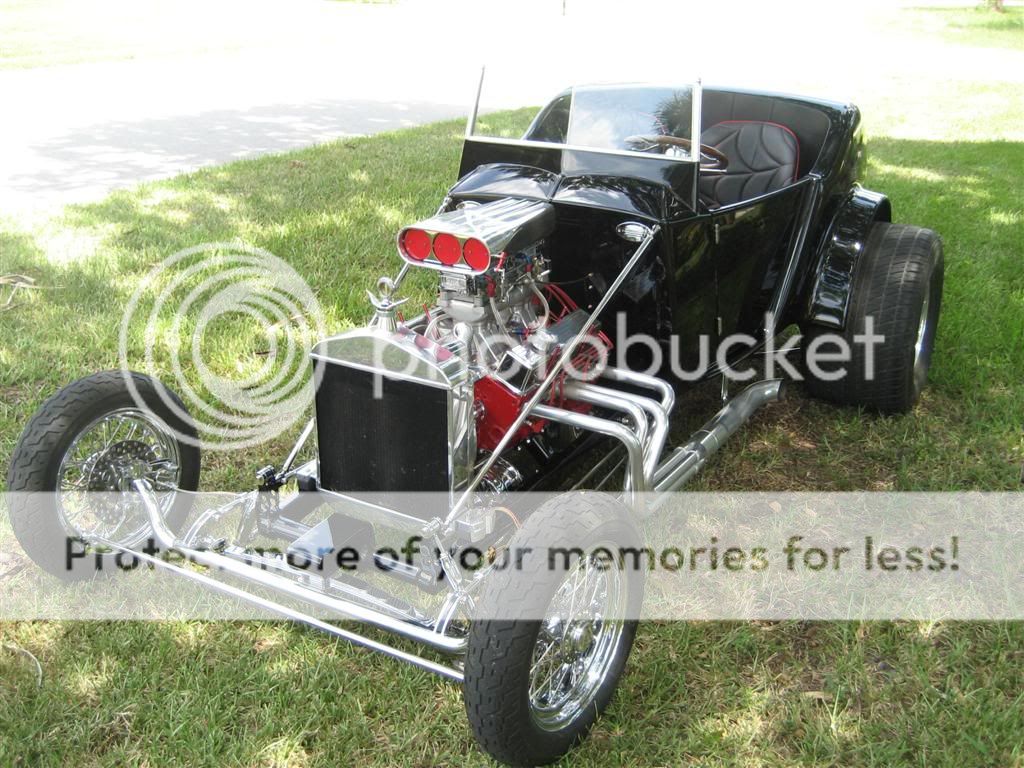
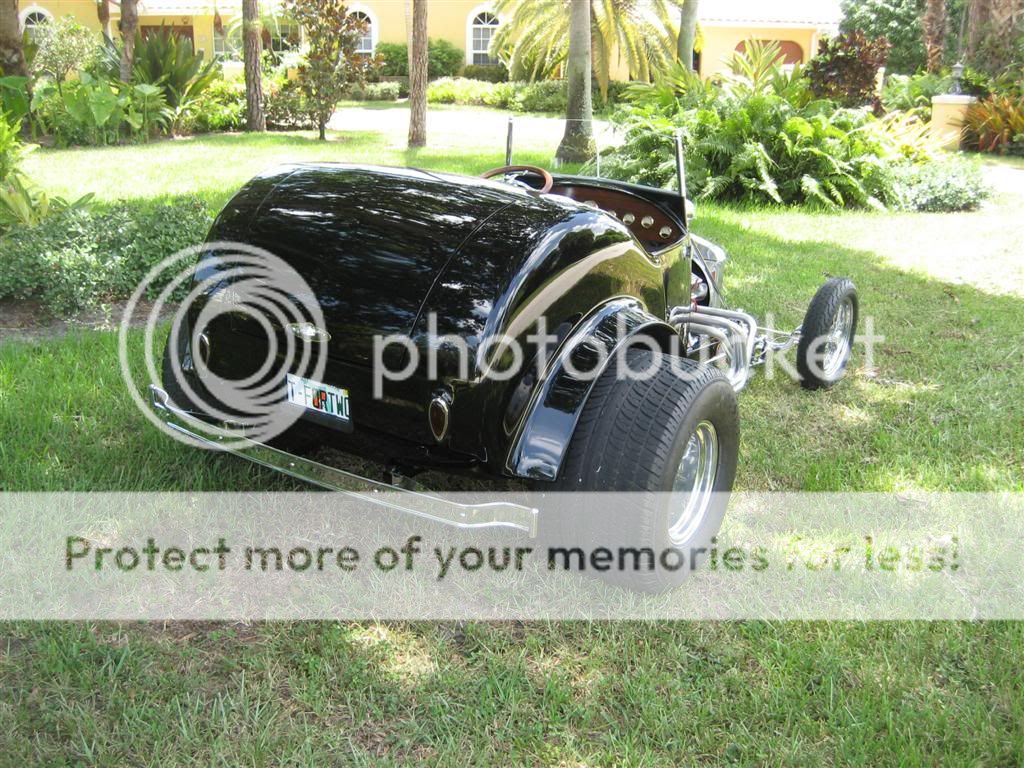
Although I am far from completed (are we ever done?), I did get my headlight brackets fabricated, polished and installed which permitted me to go to a local car show last night. Everything seemed to function very well on the roadand it was an exciting time since it has been years since I have been able to go to the show with my car. Here are a few photos of the most recent photos. The three plastic amber lenses which came from a motorcycle running light set up were incorporated into the tube with the holders as seen below.
The middle light is the running light and the upper and lower flanking it are the turn flashers.
http://i561.photobuc...20110821007.jpg
http://i561.photobuc...20110821009.jpg
http://i561.photobuc...20110821012.jpg
http://i561.photobuc...20110821008.jpg
http://i561.photobuc...20110821005.jpg
http://i561.photobuc...20110821004.jpg
http://i561.photobuc...20110821003.jpg
http://i561.photobuc...20110821002.jpg
http://i561.photobuc...20110821001.jpg
Mr. Fixit
Member
Those are very cool. I have been looking for some front turn signals but have not been able to track any down. Those would fit the bill.
Thanks, I really like them too. Good luck in your search for a good solution..
Mr. Fixit
Member
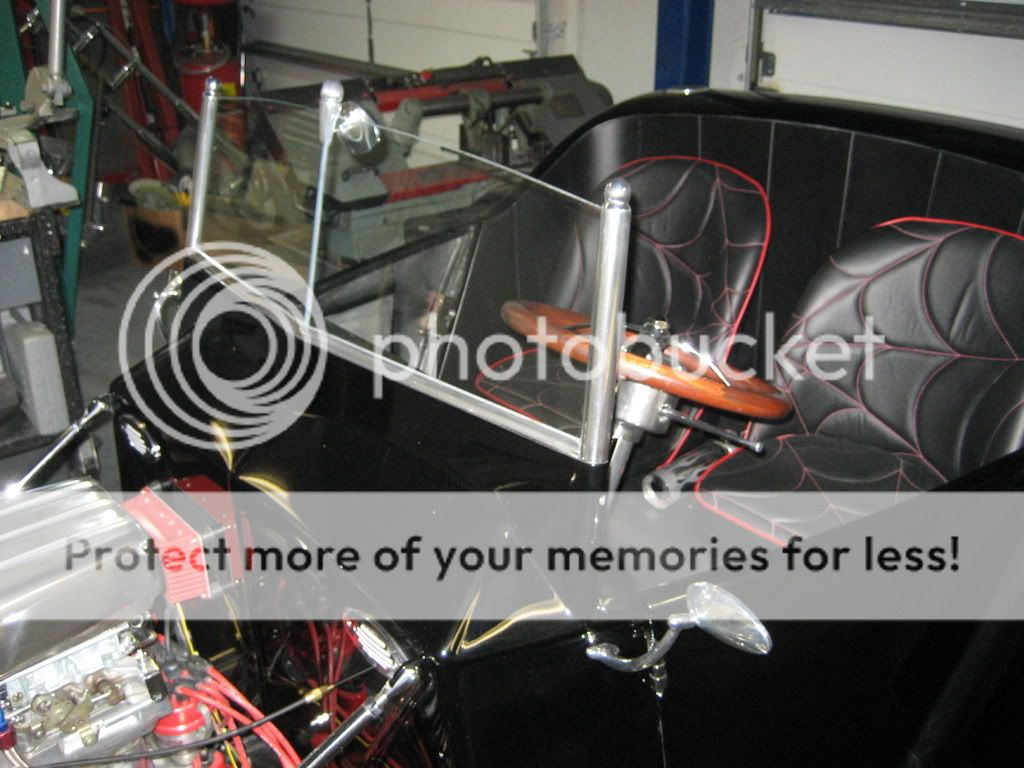
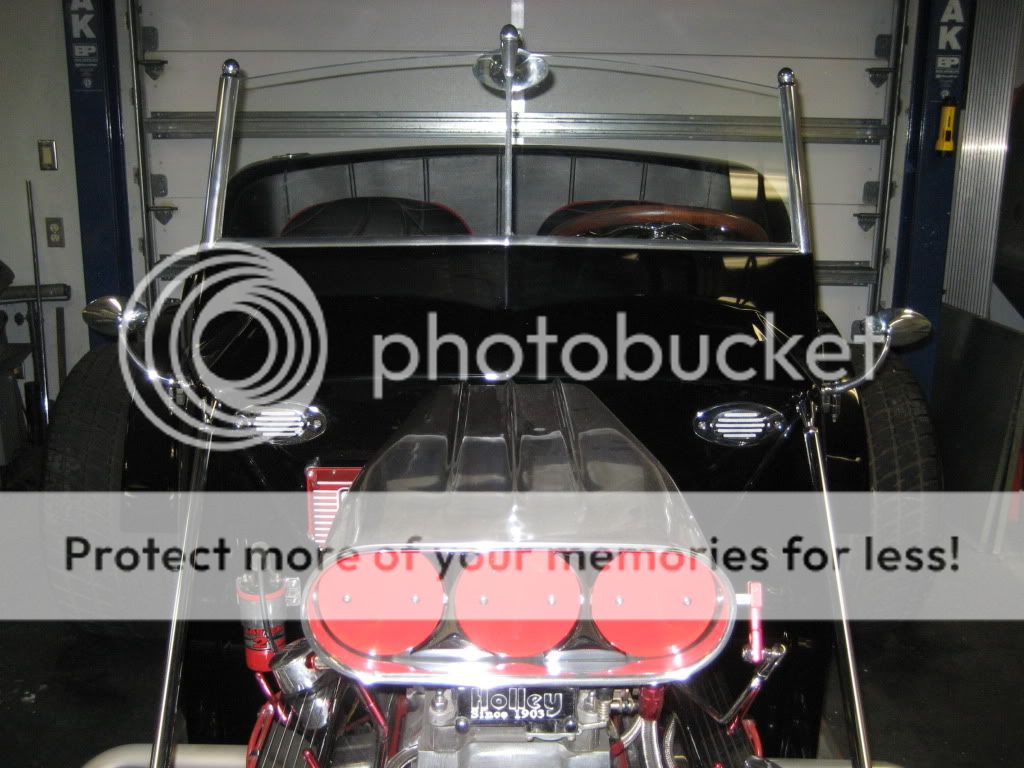
I can finally see where I have been. Just got my mirrors installed and really like them, They are from Billet Specialties and although they are very proud of them ($$$). It is nice to buy US made items of real quality.
http://i561.photobuc...20110916002.jpg
http://i561.photobuc...20110916001.jpg
http://i561.photobuc...20110916003.jpg
http://i561.photobuc...20110916002.jpg
http://i561.photobuc...20110916001.jpg
http://i561.photobuc...20110916003.jpg
Lee_in_KC
Active Member
What are the vents next to the support rods for?
Never mind... just looked at the previous pix showing the signals on the headlight stands.
Mr. Fixit
Member
Fixit when posting pics put the address in the post image instead of in the link box. Image icon is over 2 symbols from link looks like a picture. Great progress
What are the vents next to the support rods for? look good just wondering.
Thanks for the help with the photo posting. It seems that each time I do this, I forget how to do it correctly. What were we talking about? LOL
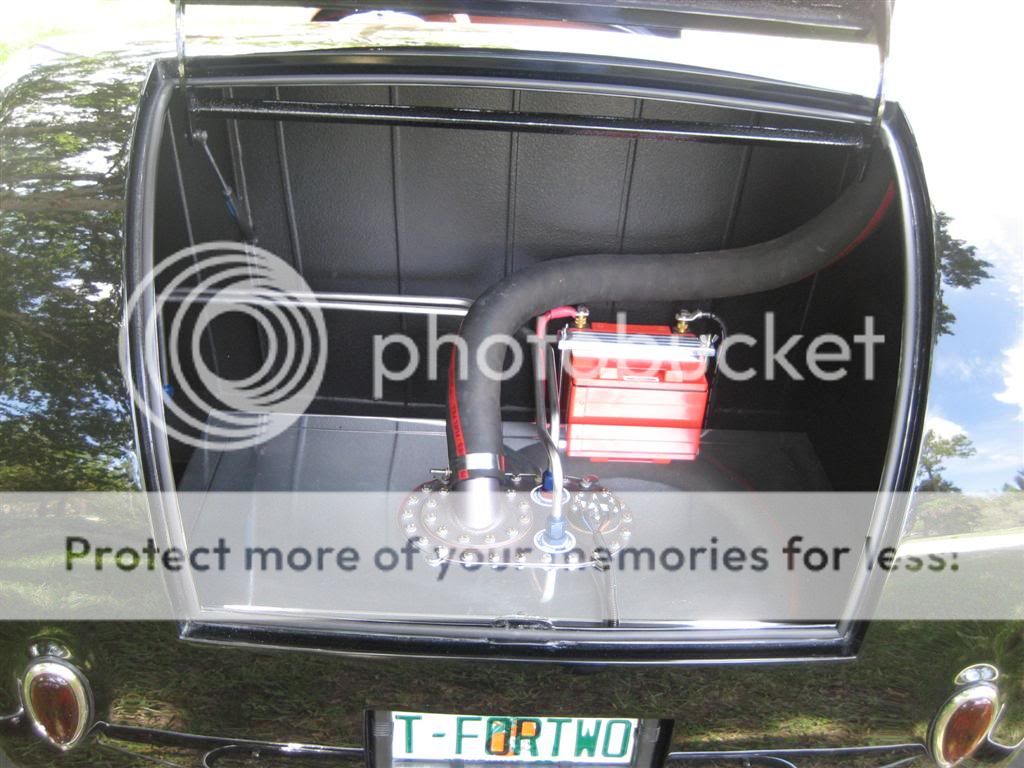
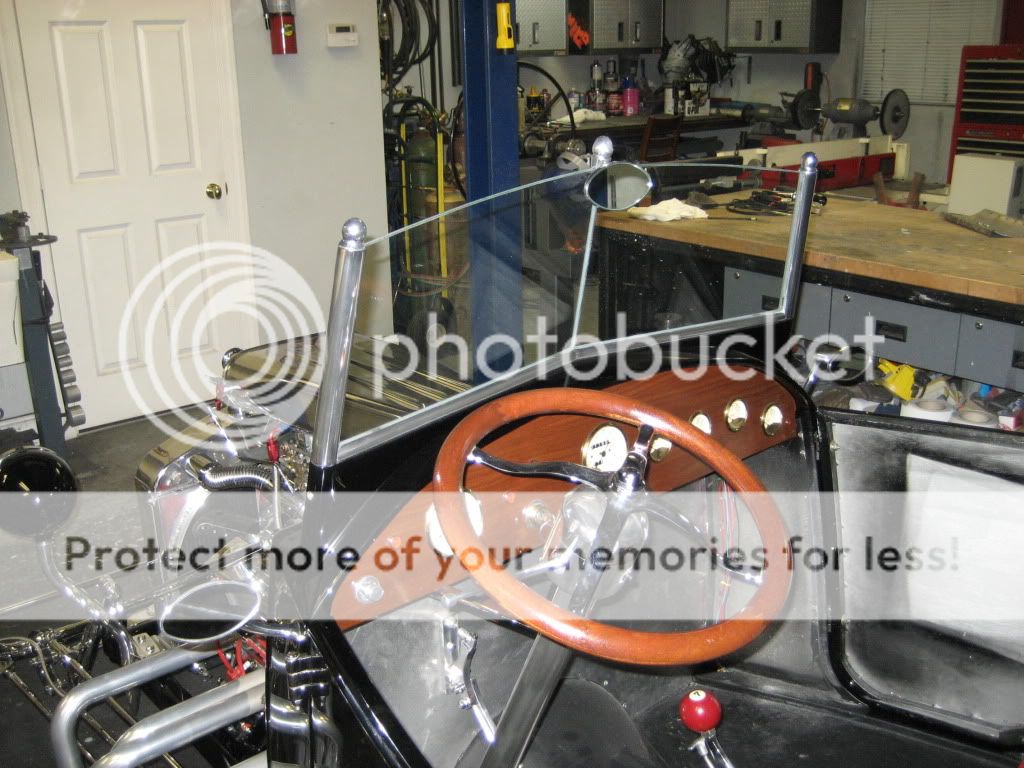
The small vents at the front are stainless steel louvered covers for the horns that are behind the dash.
Mr. Fixit
Member
Thanks for the help with the photo posting. It seems that each time I do this, I forget how to do it correctly. What were we talking about? LOL
The small vents at the front are stainless steel louvered covers for the horns that are behind the dash.
No more problems now with the pics, with your assistance that is..
The horns are really good, completely rust resistant and LOUD too.
Thanks,
Mr. Fixit
Member
WOW!!! Best thing about being busy with other things for a long while was I was able to fast forward through your build... Very nice!!!
Thank you. I am finally on the road and really enjoying all of the hard work. Not finished yet, but getting close.
putz
Member
You are funny Don't you know a bucket is never done?Thank you. I am finally on the road and really enjoying all of the hard work. Not finished yet, but getting close.
Mr. Fixit
Member
You are funny Don't you know a bucket is never done?
Very true.. :angel: but the build is as much fun as the drive for me..
Mr. Fixit
Member
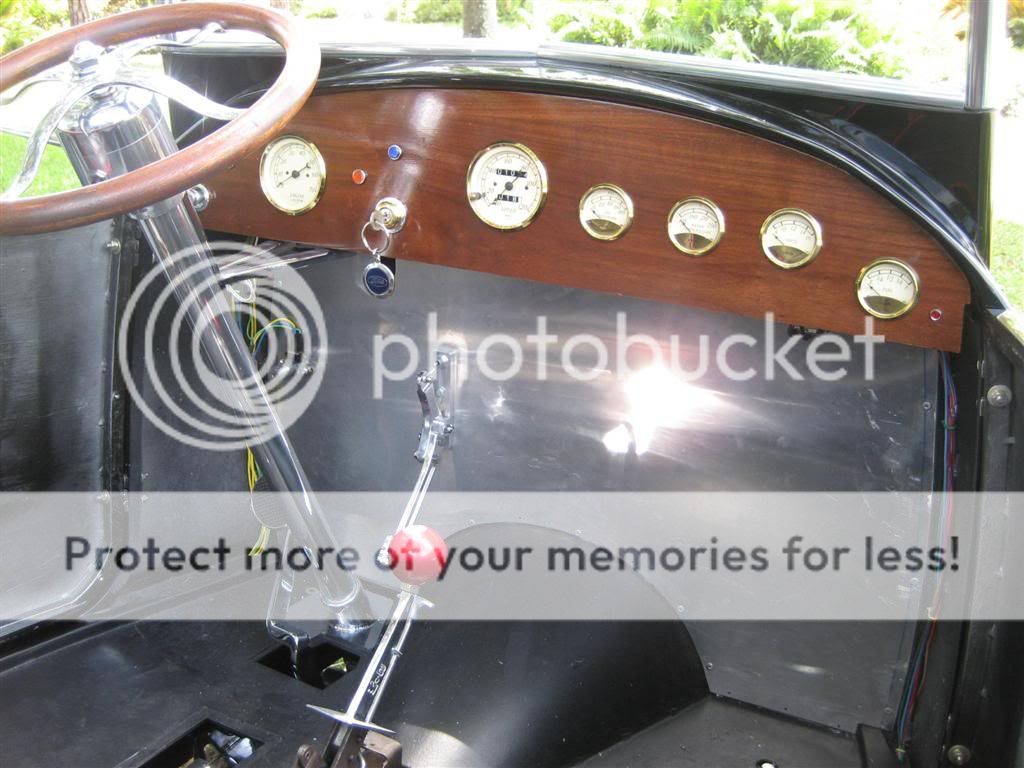
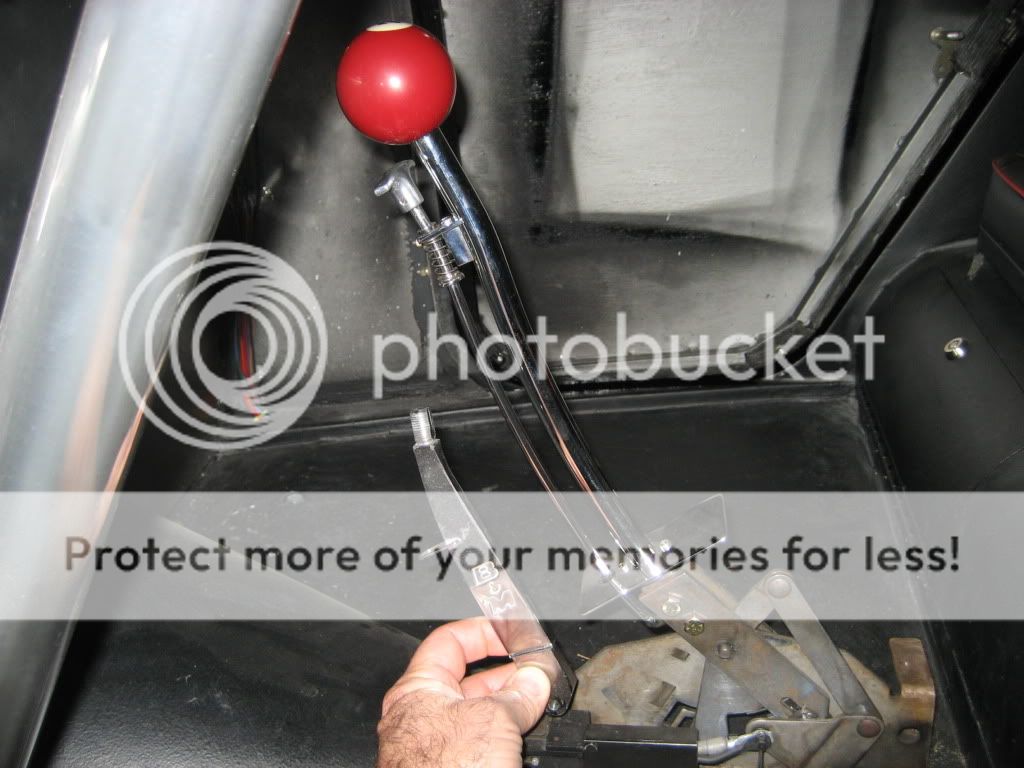
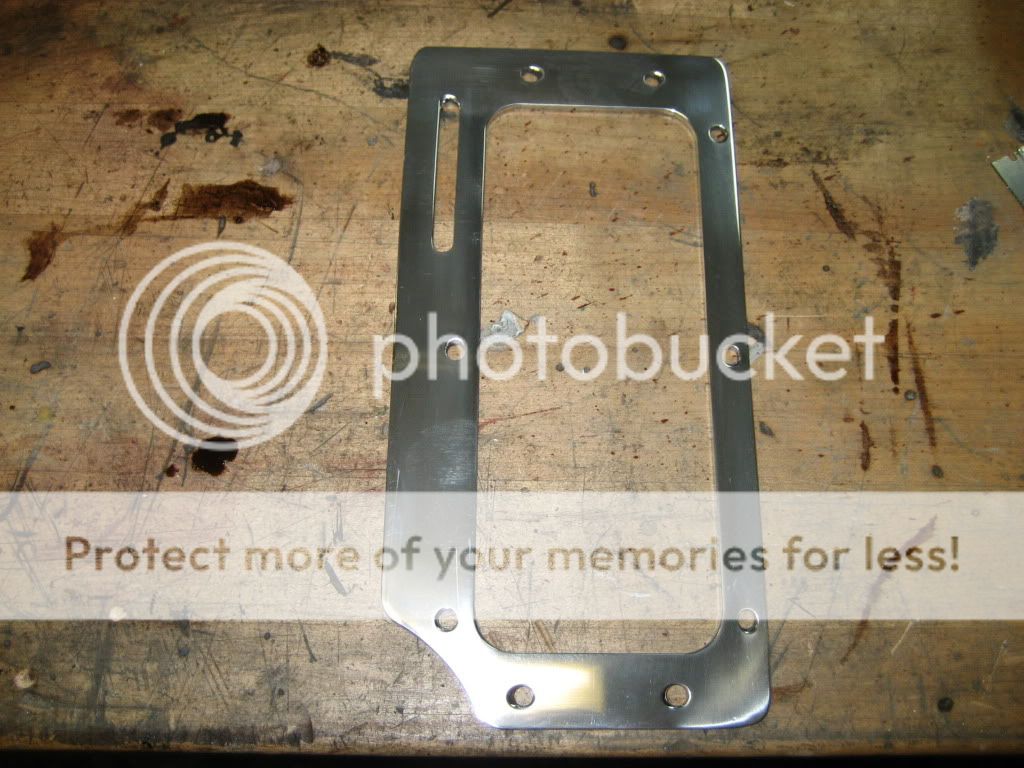
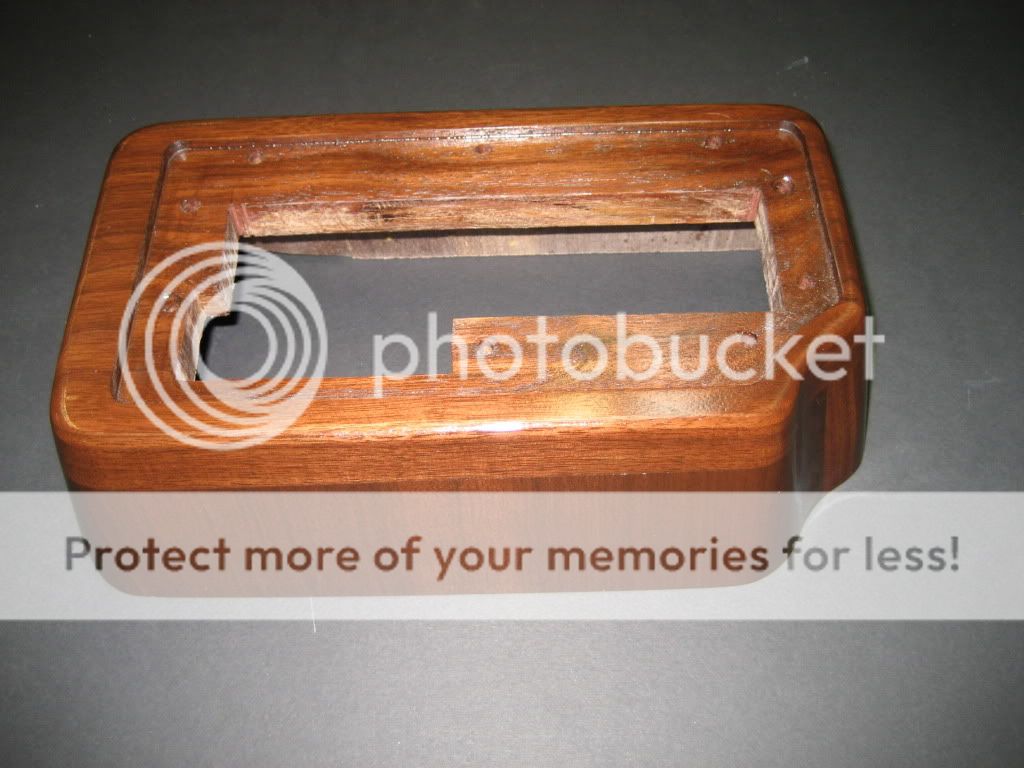
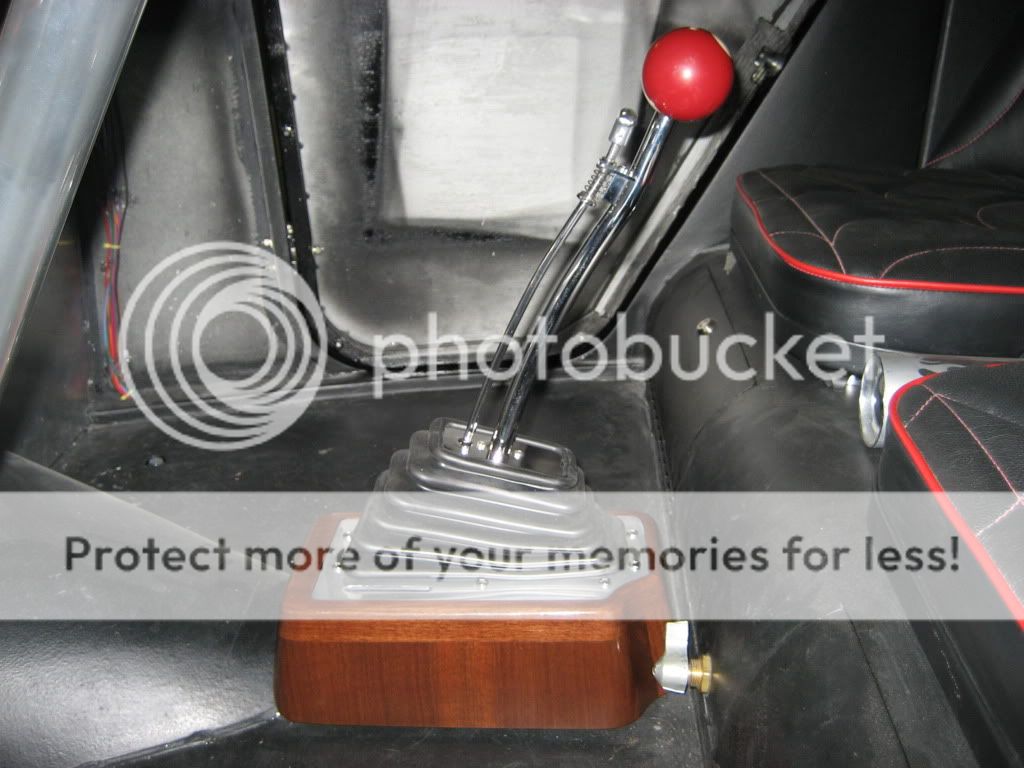
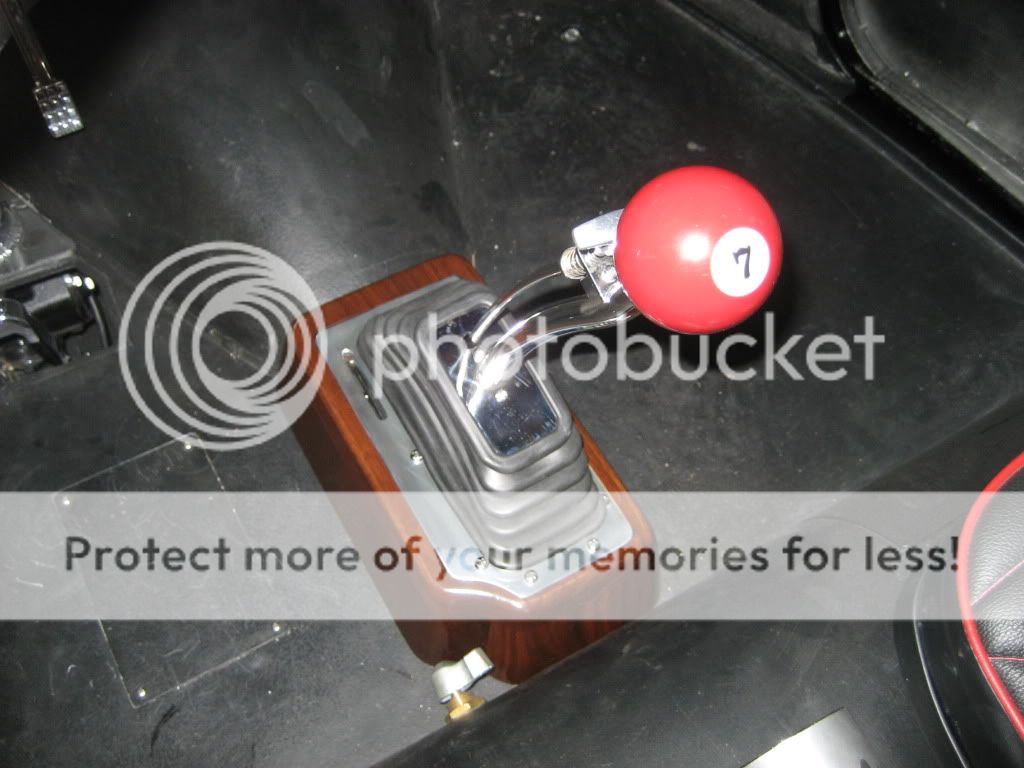
Here is a little modification that I made for comforts sake, as well as it looking pretty cool too. I have a B & M Starshifter and the shift handle was too low so I would have to lean down quite a bit in order to shift (especially to and from park). I disassembled the unit and made a new SS round lever handle, associated release lever, small parts and a walnut boot to use instead of the plastic one. Here are a few photos of the completed parts, as well as the unit all together in the car.

Mr. Fixit
Member
Nice job ,Steve , looks very professional !!
dave
P.S. I'm REALLY partial to walnut..!!
Thanks Dave, it really makes a big difference in comfort. Walnut is one of my favorites too..
Steve,
I have to say this has to be one of the coolest builds I have seen. As I am VERY impatient, Im glad I came into this VERY late as it would have been driving me crazy waiting to see what the next cool addition would be to your build. I have just started my first build on a traditional T Bucket, but thats half due to the fact that I dont have any skill when it comes to body work (all mine is mechanical). That being said, VERY nice work, its always great to see something original and should really grab attention at cruise ins, not to mention a few trophies should you be shooting for showing it off... VERY nice man, Congrats!!!
Chris
Similar threads
