Ron Pope Motorsports                California Custom Roadsters               

fletchersons T project

My friend came out yesterday with the wheel adapters that he is making to install the discs on my twelve spoke spindle mounts. He wanted to re mock them to verify the how deep to mount them. That turned out to be a pretty invasive procedure, but he made them out of stainless, they will cup the actual wheel around the bearing cup area and bolt to the wheel with countersunk, flat head hardened bolts and the discs will mount to them and through bolt to the wheels. The seal will actually press into the adapters because there wasn't enough material on the wheels. It was a motivator to spend time with him and his son

Sounds like a great day and some thinking stuff to do as well. Best kinda day you can get, in my experience.
G
 
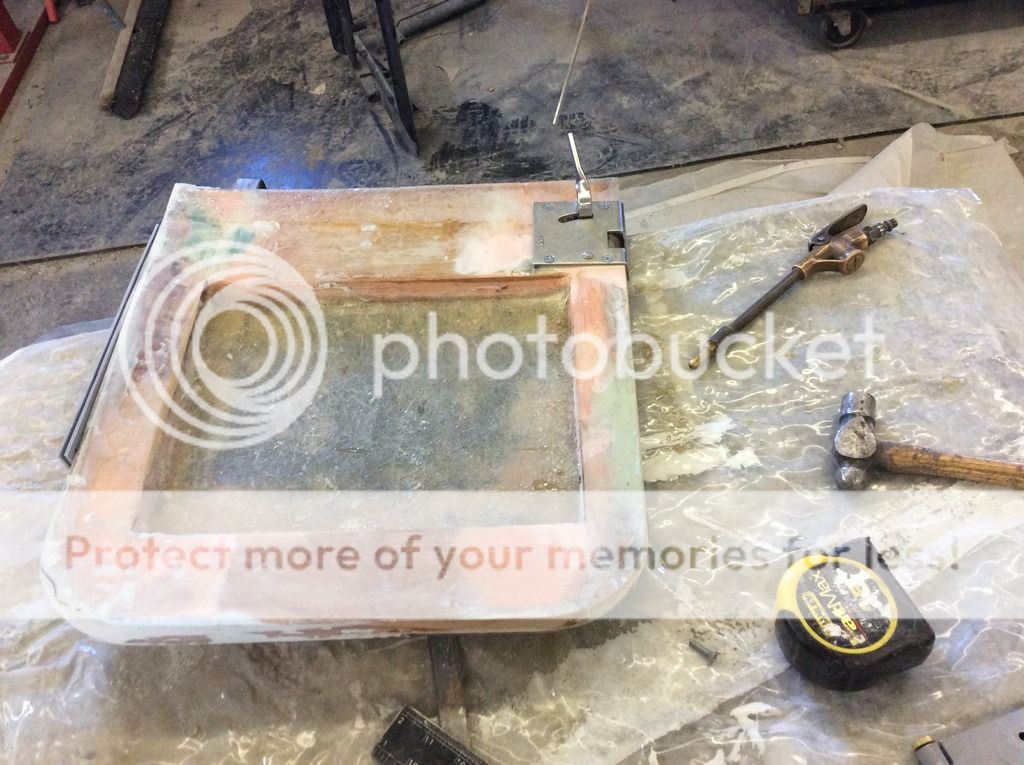
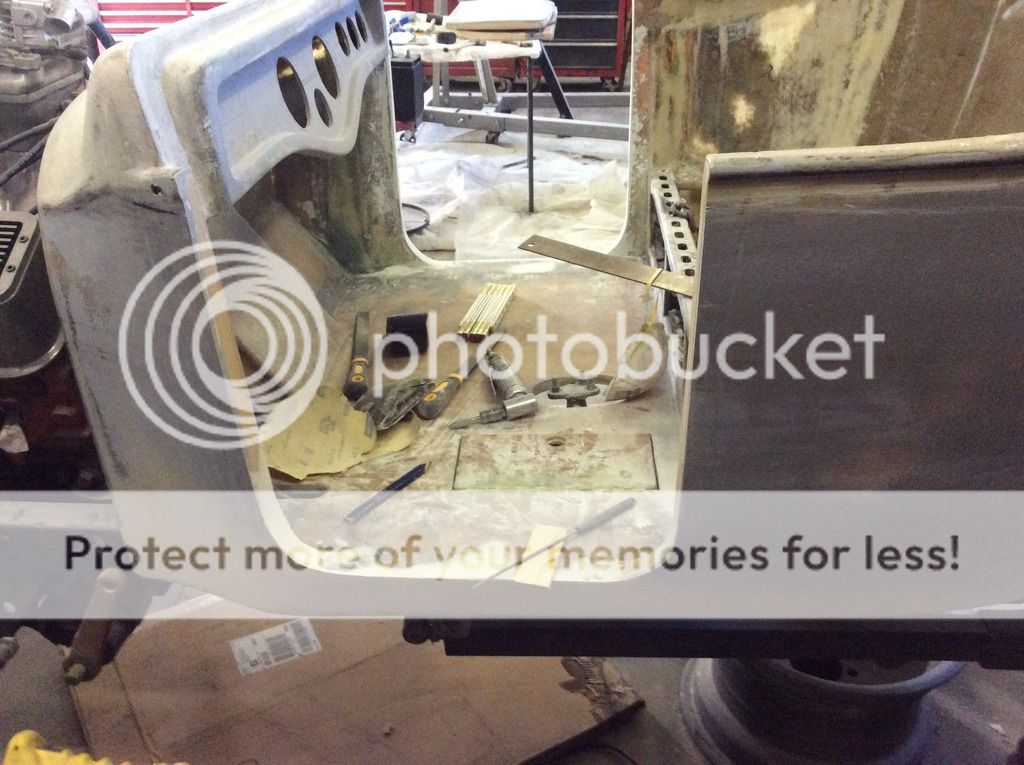
I did manage to get one door swinging and latching. The latch was pretty strait forwards. I routed it in. I wanted to flush mount it, but the door thickness prevents it. I will build the inside out so they will be flush when finished. I allowed the tip of the release handle to pertrude above the top of the door about 3/4", mainly due to my wanting to keep the entire latch mortise on the top horizontal door reinforcement. I hope I won't regret that decision. The strike was a challenge because the factory strikes are 90* but the latches are less to conform to the beveled door edge, so I had to build the jamb out to match the door bevel so it fits correctly. The other door should go more smoothly after this learning adventure. I was able to mount the strike solidly and bolt it to the steel reinforcements so it's rock solid. Actually, I am very happy with strength of the body. Even with the door cut out, it's rock solid, no flex or movement. The door closes and aligns perfect and is very solid. The hinges are the weak link, but only when the door is opened wide, it allows the long bottom hinge to flex. It should not be an issue as long as no one leans on it. I'm going to move forward and use them. If I want, I can re make them with a heavier material later. I'm glad that I chose to use the long bottom hinge because the door opens level, or in alignment with the body, so it clears the headers nicely. The trade off is the strength. Now I have to go about banding the edges and building them up a bit. I intentionally removed enough material to allow about an eighth inch glass on each side of the door and jamb edges so they will be strong and waterproof. My current question is weather or not to round the edges before banding them. I've read several technical articles and there are some conflicting opinions. Being that both sides are already laminated in glass, and the thickness, I'm leaning towards not doing it. Any thoughts? I may fit the other door before starting on the glass so I can streamline my production, if you will. I'm also going to glass the inside door panels using fleece with the speaker provisions once they are both fit and swinging. I will include some pics soon, I left my iPad inside when I was out in the shop. The latches that came from Macs are nice qualilty, stainless, and seem to function well. Using the original strikes with them seeemed to be a non issue apart from the jamb angle. The original strikes are quite strong. I can't compare them to the aftermarket ones, I haven't seen them first hand.
 
I am also contemplating installing lights in the inside of the doors or maybe the seat riser to illuminate the cockpit.... so much for keeping it simple.
 
After some deliberation and research, I decided to use epoxy to band the door and jamb edges. It is supposedly stronger, more adhesive, and compatible with fiberglass. I wanted to order some glass cloth tape, but I can't find any u.s. vendors that offer it in the required width. I will just cut strips of biaxial and various weight cloth that I have on hand to build to the desired thickness and reduce waste.
 
Sounds like a good plan. I have all of the oak in my body and cut a little in the bottom to see the thickness. It varies from 1-3/8" to 2-1/4". Have to get it all one thickness or the threshhold will look funny.
 
Sounds like a good plan. I have all of the oak in my body and cut a little in the bottom to see the thickness. It varies from 1-3/8" to 2-1/4". Have to get it all one thickness or the threshhold will look funny.
I went to painstaking trouble to fit the oak to the inside of the doors and jambs, but have a similar situation, not as much because I accounted for it when I milled the oak, but the variableness of the thickness and shape of the body makes it tricky. I just want to be confident that I made the edges of the doors and jambs as strong as possible. My experience in body work, etc has taught me that those areas are susceptible to damage. I drilled numerous shallow holes everywhere that I added any filler or glass to any edges to give it as much tooth as possible. I actually removed enough material in a couple spots in the process of making the door fit, that I exposed some of those hole filled areas, and it worked very well. I also blend resin with the bondo and activator anytime I apply it to glass and it seems to bond well and goes on smooth. I always glass over any area that required fill (areas that required building up) with glass and cloth to encapsulate and make the repair strong. Obviously that doesn't apply to finish surfasing under primer.
 
How thick is your door? I hope to maintain 1-1/2" constant because that is the width of the top of the door.
 
How thick is your door? I hope to maintain 1-1/2" constant because that is the width of the top of the door.
Right now +or-7/8"- 1-1/4", thicker in areas that contours out. I kept the inside as flat as possible, my oak is 3/4" at its thinnest part, but varies depending on the the door, but the edges will be 1-1/8" - 1-1/4", thicker in the front hinge side and there will be a blister in the lower rear corners above the bottom edge to two inches thick to allow for 6" round speaker installation when I finish glassing the inside panel area. That will also allow the latches to be flush mounted, or mortised so the finished surface will be smooth, nothing pertruding. I kept them as narrow as possible trying to scrounge as much people room as possible. If I were starting over from scratch, I'd start with a wider, longer tub and make the doors thicker. The jambs will be a little bit thicker to allow for the door sealing ledge or stop. I may or may not rabbit the doors to allow a flush fit at the stop area, it depends on how energetic and creative I feel at that point. I don't want to rush or short cut anything at this point, the doors will be a big part and could make or break the build, in my mind. I used old growth white oak that I had from an old barn and it's very rigid. It was a chunk of wood about 3" thick and a foot wide before I started milling and whittling on it to fit the door contour. I made patterns from soft white pine and duplicated. Also the jambs are reinforced with 7/8" wide steel unistrut, all encased in glass, which was the thinnest, strong material I had on hand to work with and was a determining factor for the thickness.
 
Sounds like a good plan. I have all of the oak in my body and cut a little in the bottom to see the thickness. It varies from 1-3/8" to 2-1/4". Have to get it all one thickness or the threshhold will look funny.
I'm still contemplating exactly what my finished threshold will be. I cut the door so the floor and thresh hold are flat. I didn't want to cut into the floor or rocker area and I didn't want a step. I also wanted to be sure that the door cleared the headers when open. I may make a custom aluminum or ss piece with a logo and just install some weatherstrip on the door bottom to prevent water from entering? It's 17" or 18", not much of a door.
 
Waiting on epoxy.... I cut the other door and was able to measure the angles from door number one, so I could make a more precise cut. That went pretty much as planned, but the door edge delaminated on the back side just behind where I had to remove the factory door lines. My work held tight, but the original glass delaminated and of course, caused the entire repair to become unstable. I removed all of the questionable material and repaired it with glass cloth and epoxy. That stuff dries very slow, but seems very adhesive and strong. It defidently doesn't come free from foil tape like resin... I tried to prevent it from becoming overly messy and used some, that wasn't wise. Live and learn. I may go back out and layout and drill the other hinge and get the other door to swing after while, depends on motivation. Decent day in Ohio, several guys out on their bikes... not me, I just got over this upper respiratory infection, nemonia... I'll wait till it's truly warm. Need a new front tire on the valkyrie anyways.
 
I did manage to lay out, drill, and countersink the hinge for the driver side door. Got the door edge repaired, the epoxy finally cured. It seems very strong, not easy to work with, clogs up paper, etc... I reccomend cutting it down and skimming with a more pliable product to finish. After the repair, I was able to fit the door to the opening and hinge, next I will install the latch, then I will begin glassing the door edges and the jambs. It won't be long and I will be finish prepping this puppy! About a year later than I anticipated, oh well, can't schedule life's unexpected pop ups. My buddy Dave came through for me on the wheels. I now have old school spindle mount twelve spokes with disc brakes! Woo hoo! Lol. A little motivation, for sure. He was nervous about cutting into those perfect, old school twelve spokes, but came through with flying colors, as expected. It's good to have a machinist as a best friend! Now I will feel indebted untill he lets me return the favor. I'll post some pics after while, my battery is low!
 
IMG_0596_zpscdb009og.jpg
IMG_0600_zpsl70lmoda.jpg
IMG_0603_zpst0xapl8e.jpg
IMG_0595_zpsatwn84bn.jpg
IMG_0598_zpsbqkdfdml.jpg
IMG_0599_zpso5sjuq7w.jpg
IMG_0602_zpsatcdql0p.jpg
IMG_0597_zpsarwdatbb.jpg
 
Ok, a few pics...sorry, I quit using my shop camera and use my iPad, but I usually leave it in the house...basically, I've been lazy. Anyways, here's some of the ugly door butchering process. This is much more difficult to achieve the desired result than I anticipated. Won't be long, it will all start to take form. I'm satisfied with the ruff fitting, now it's time to get serious about glassing the edges and jambs. All of the hinges and latches will be flush fit when I finish the glass layup. The doors will also have finished inside panels glassed on with provisions for speakers. I still have a fair amount of fiberglass work to do to be finished with the doors, but the devil is in the details, lol. Other than final fitting the panel that goes on the seat riser, the doors are the final piece of the glass puzzle. The bottom is done and in feather fill, the top was held up by the door fitting. I'm looking forward to finishing the basic glass work and getting the whole thing in feather fill, then start blocking it out and finish prep. I need to get the seat frame down to the upolstry shop before boat season starts to get the leather work done. The rear wheels look different because they are covered with fiberglass dust, all are magnesium. I can now send them off to be tumbled in steel shot, then I can apply the surface treatment. Magnesium seems like a pita to maintain, but I like the old school stuff, not every other car will have them.
 
what kind of wheels are those 12 spoke fronts ?
Not sure if they are halibrand, American racing, or what. The only ID on them are hand written numbers around the inside center, 11535 EF591, I think, and some lettering that I can't quite make out. I haven't investigated them thouroly, yet. They are defidently magnesium, and were sold in the late '70's, that's all I know for sure at this time.
 
This is much more difficult to achieve the desired result than I anticipated.

I hear ya. Been on my doors and jambs for nearly a year now. I just go back to them in between other stuff.
 
Okay, finally found my old thread. Bear with me here, I am trying to get my head back around this project that has been on ice for too long. I have a few items of contention. Looking for suggestions or experiences, just food for thought. Fuel tank: I know that most have a spun aluminum 8” or 10” tank. I have a big block with dual carbs. Ten gallons of fuel is not going to go very far. My bucket is also a short wheel based bob tail model so there is not much space between the back of the tub and the rear edge of the frame. There is zero space underneath the tub or behind the seat. A 10” tank would hang over, not by much, but it would. I have searched on line and found a rectangle tank with a tapered back that would sort of work, but is a little too tall and wider than I prefer. While 18 gal sounds good, I just don’t have the space. I also looked at a oval tank, but they are designed to mount the wrong way. I am thinking about having one made to my design but don’t want it to look bad as it will be exposed. Any wisdom about the tank hanging past the rear frame? A 8” round would fit nicely, but I really want more fuel capacity. Also, any thoughts related to roll over vents? To get a sender and roll over vent bung installed doubles the price... at least through the vendors that I reviewed. I am not in need of fuel at this point, but need to decide what I am going to do to allow me to move forward with other aspects such as roll bar, shock mounts, and tail lights.
 

     Ron Pope Motorsports                Advertise with Us!     
Back
Top