pistinbroke
New Member
Hey Keeper. How did the A axle work out. Does it fit better then the other one you had??


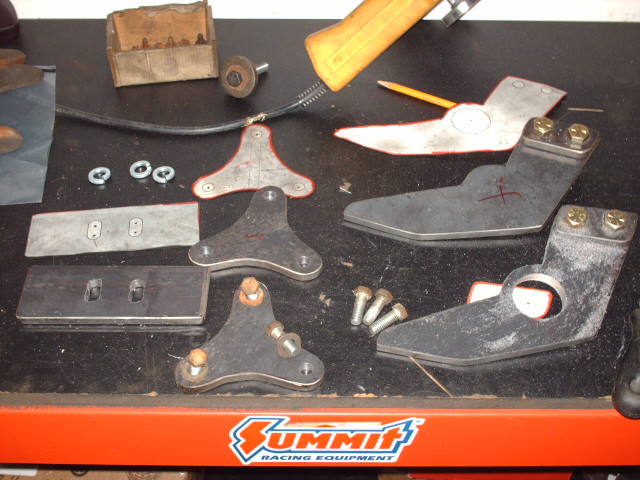
Ted Brown said:Looks like you are using CCR plans for the hard parts, I designed these parts many years ago, all still work great today. You are cranking right along, good luck with your project.
One never forgets designs you create yourself, plus all the time it took to get to that point, as you need to know where the bolts and other fasteners go firstKeeper said:Yes I am, I had a feeling you would recognize these parts!
They start out life as ugly duckings, and work their way to Swans.. Hopefully.. now I will say this, and it is againest my own design.. the front spring, I ONLY make them longer now and they fit between the two ft. radius rods, if you ever were to break a main leaf or spring hanger, the car chassis will now not fall to the ground, just down a short ways to the bottom radius rod. Hope this will help some new builders... Youngster said:3/8" stock is a lil over kill Keeper. 1/4" will work fine and be much easier for you to shape.
Ron
bloodsweat&gears said:Nice work so far. This thing is gonna nice. Makes me want to go work on my 27 roadster. Its nice to see someone locally working on something cool. Too many hondas buzzing around Durham region.

