Ron Pope Motorsports                California Custom Roadsters               

Low Slung T

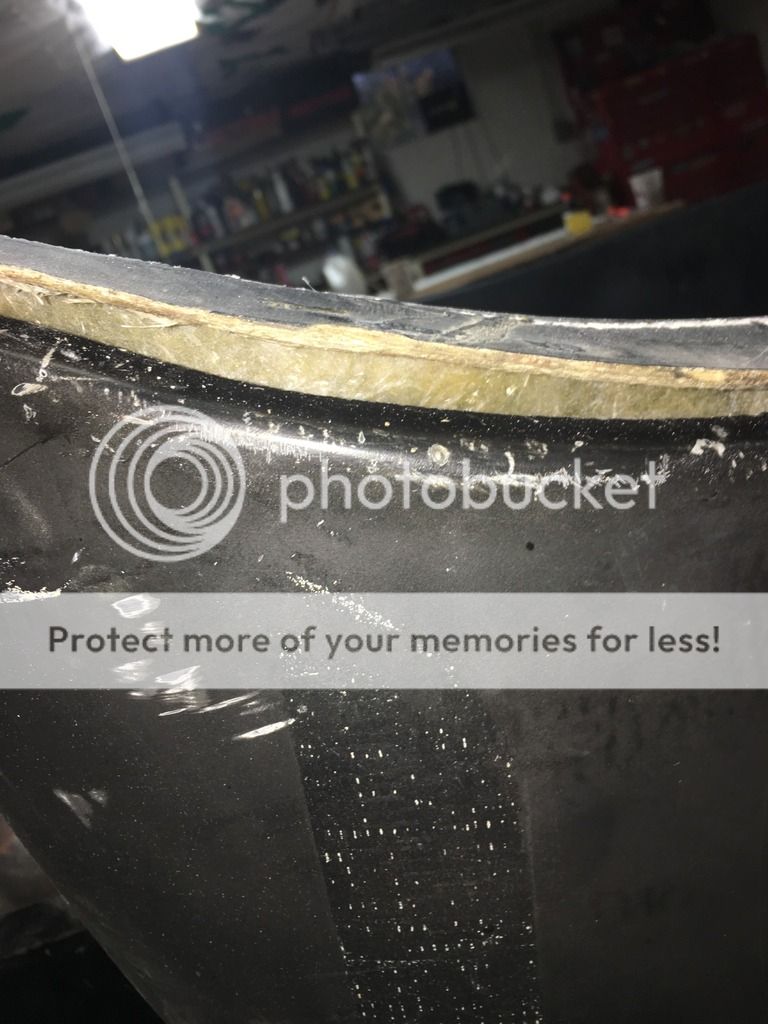
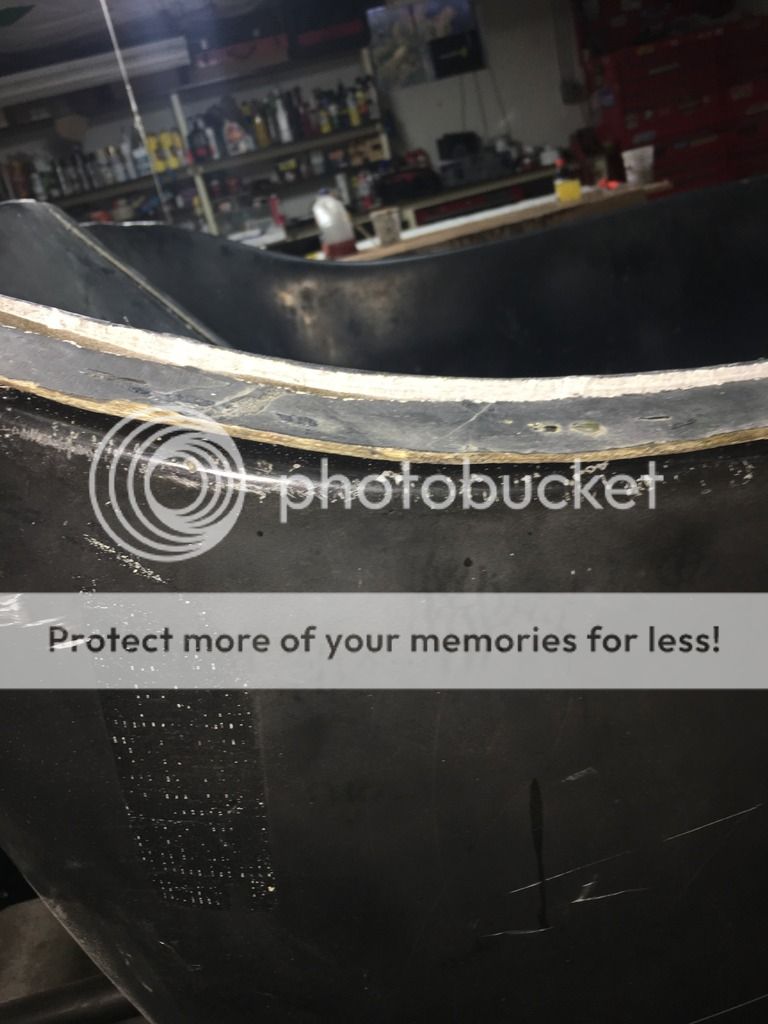
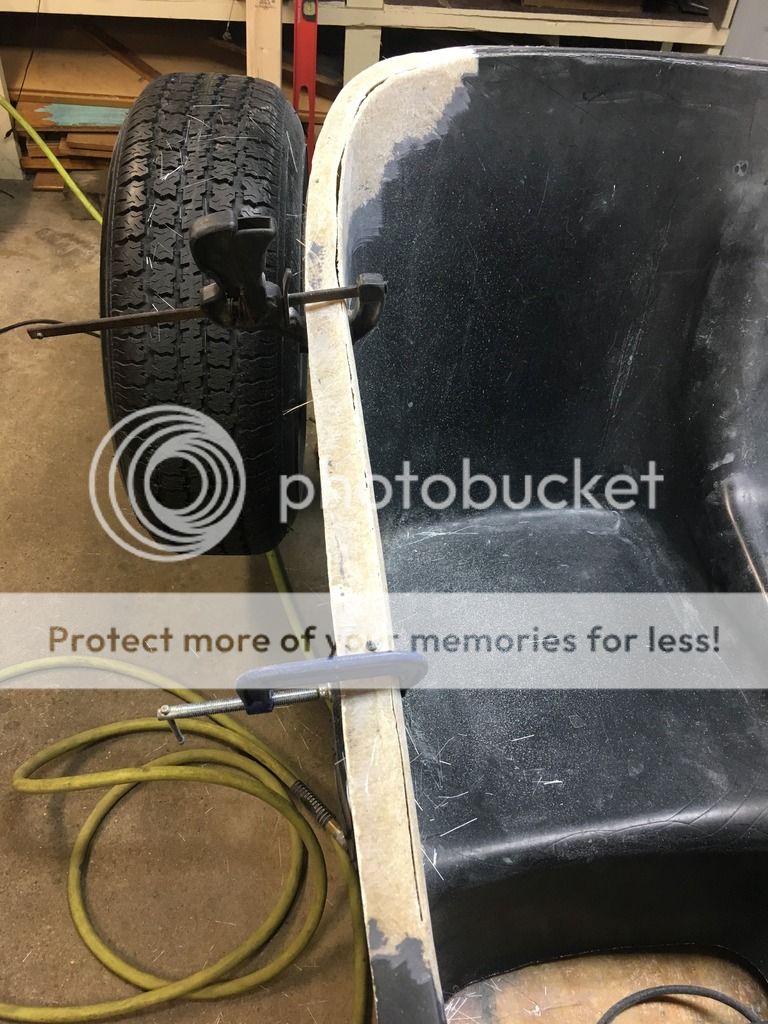
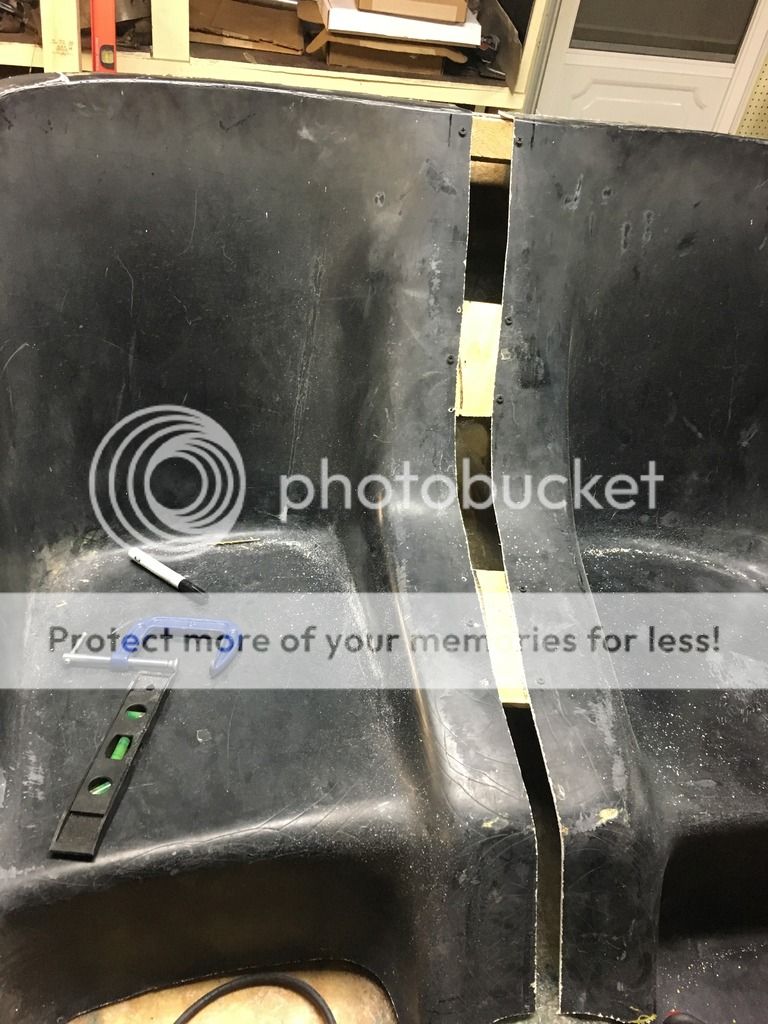
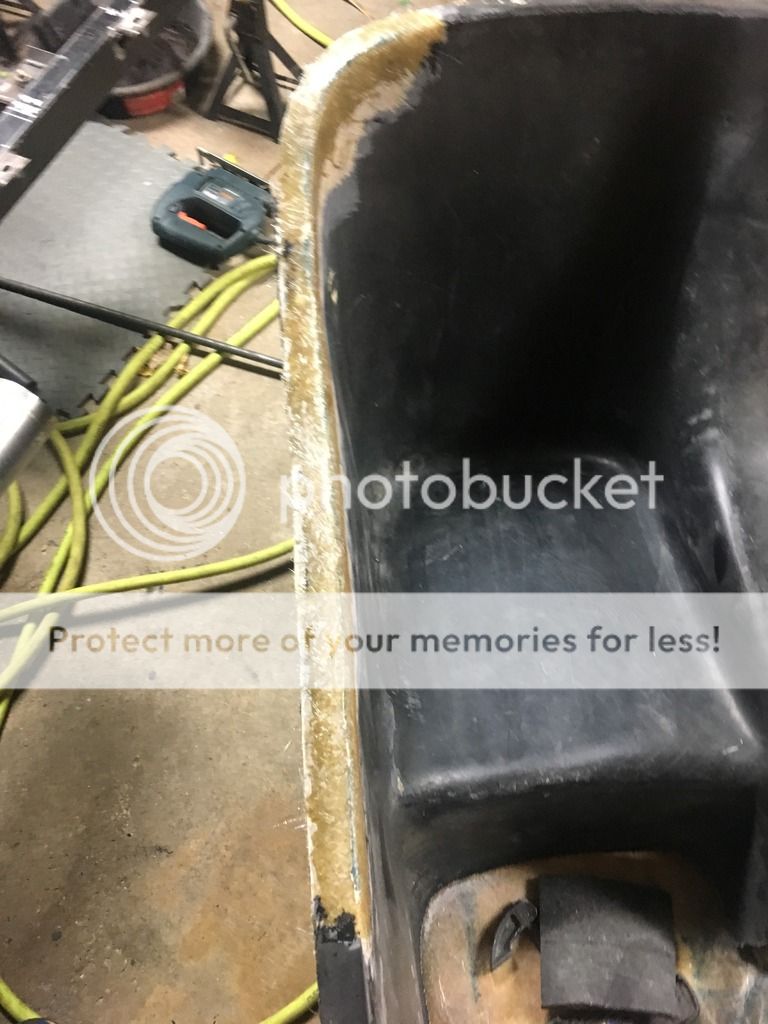
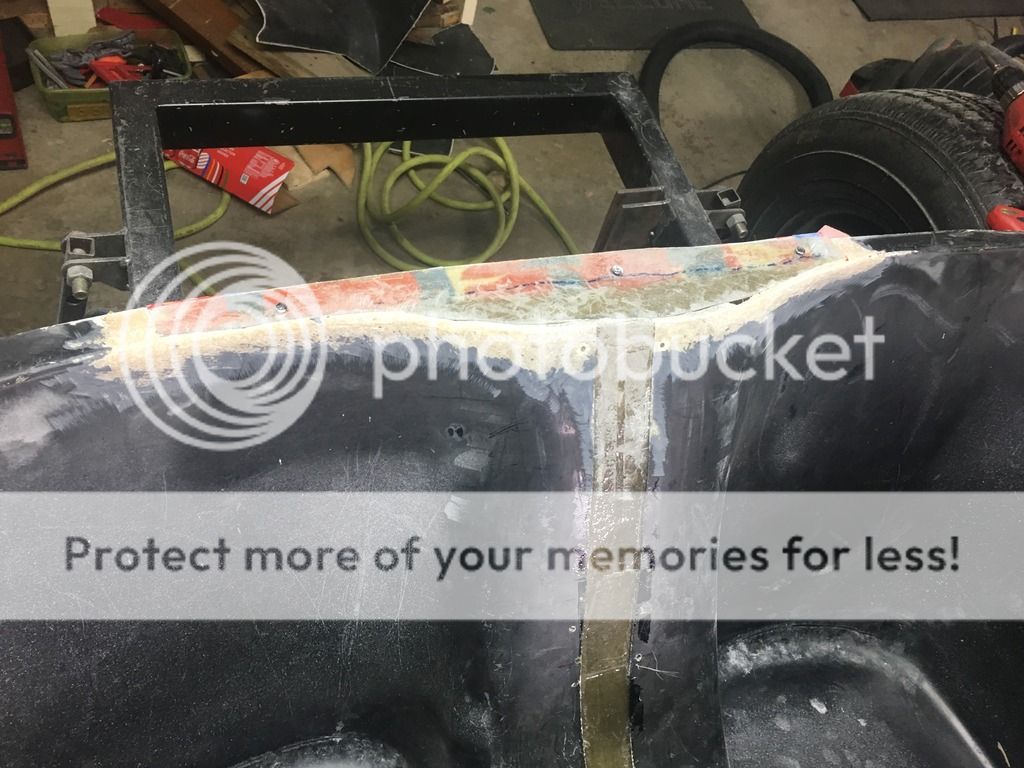
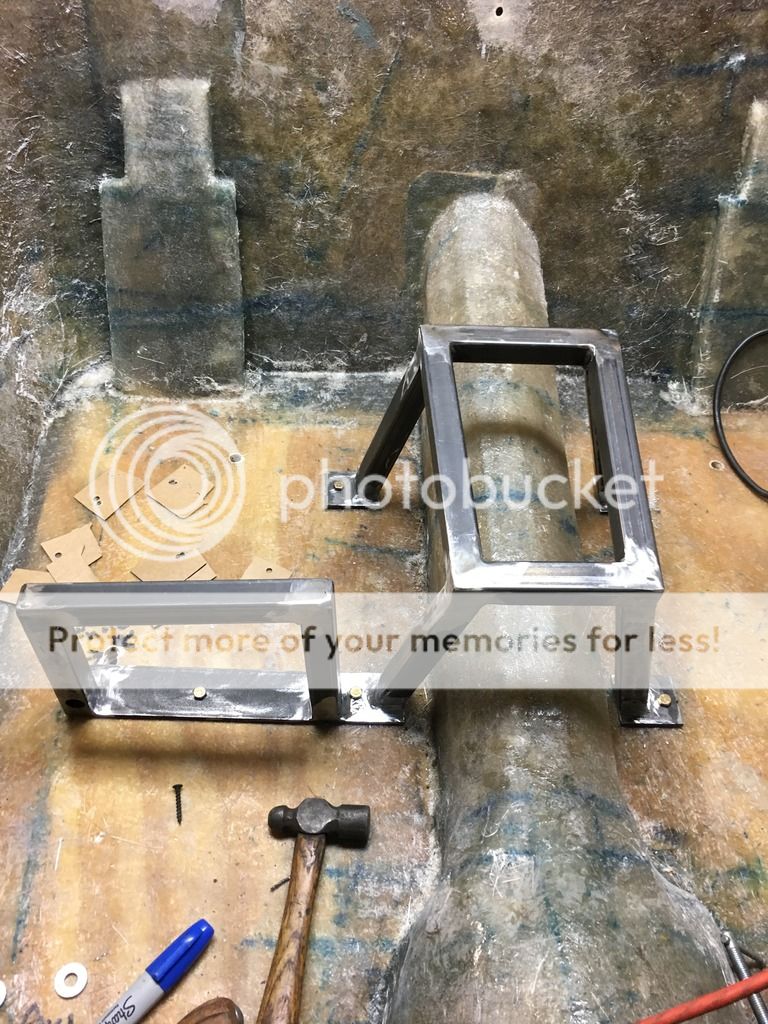
I'm thinking with the combination of my saws, grinders, cardboard, glass products and vacation next week I will be able to make it fit. I've already cut it in half to deal with the width issue and cut most of the floor out it, I just need to get the radius of the lips to line up and then I can start piecing it back together. It may not be pretty at first but I think I can get it there.
 
Got some time on this seat tub in. The first pic is how far off it was from the radius. I cut the lip mostly off, I let the one side connected, and pushed it down to the lip on the body then cut and ground the side of the tub to match up. I'm hoping to get a layer of glass on the top of it this evening and then ill pull it out and put a few layers on the underside. Hopefully I can get the glass to go around the sharp edge on the top. I did try to leave a smooth transition between the lip and the side of the tub.
IMG_1053_zpsp02ca1rl.jpg

IMG_1054_zpsj2ukkrmd.jpg


IMG_1056_zps5beumizq.jpg


Once I get this done, I will move on to building some support underneath the seat tub in the center then work on putting the two pieces back together.
IMG_1055_zpsxnrcdgwb.jpg


Also doing some planning for the shifter still and the front shocks.
 
there's a product called "gelled resin" that is easier to handle for tight outside corners , works better w/cloth than matte ..
 
I made some progress while on vacation. Here is a list of things I got done(pics will follow)
- Redid did the passenger lip on the seat tub
- Reworked the rear center lip on the seat tub
- Widened the seat tub a bit to help it fit better
- Adjusted the height of the floor sections in the fleet tub
- Built a center support for the seat tub that includes a place to mount a fuse box.
- Mounted the steering box and column.

I also picked up some new parts. I have a new shifter cable. The other was too long. I have tips and muffler inserts to finish up the exhaust system. I picked up the tubing, tube ends, and rod ends to complete the steering arm between the front wheel and pitman arm.
IMG_1062_zpse5gs4s3u.jpg
IMG_1075_zpszbbt5lxj.jpg
IMG_1080_zpswgpm0fv4.jpg
IMG_1086_zpsahqa6p2t.jpg
IMG_1087_zpsqhrbi1nj.jpg
IMG_1066_zpssvdebk8k.jpg
 
Looks like you are making quite a bit of headway, and the difficult part is behind you. Enjoy watching your progress.
 
Very well done.
 
I've been working on my shifter as of late. As you may recall I am building a suicide shifter. The first step was getting the cable routed. The plan was to go from the shifter screw on the transmission towards the back of the car. However, with my brake pedal/master cylinder bracket, I barely had any room. After an examination of the brake bracket, I decided it could easily go on a diet. So I cut it apart, trimmed it down and put it back together. The I moved onto making bracket to secure the shifter cable. I made some templates with card board then cut the pieces out of scrap steel I had laying around and then welded them together. The first bracket bolts on with two of the transmission pan bolts and the second is welded to my crossmember.
TUEK7489_zpssxbru3ep.jpg

This is after I cut the one side off. I trimmed the right side down a little after I welded it back together.

KJVL1085_zpscupcpeaz.jpg

Front shifter cable bracket.

IMG_1104_zpsn3lcobju.jpg

Rear cable bracket.

IMG_1103_zpsaca6y0bc.jpg

Birds eye view of the whole cable set up.
 
  • Like
Reactions: RPM
Currently I am working on the next part of my shifter(sorry no pics at the moment). Since this will be a suicide shifter, I'm going through the frame to the outside of the body from the end of the shifter cable. I am currently wishing that the shifter cable I bought was about 1.5" inches longer..
 
Well, my buddy an I decided to go for a "ride" over Thanksgiving. As you can see, this car really moves!
IMG_1134_zpsnvfrgzok.jpg
 
Also, I'm about to throw the towel in on this suicide shifter. Too many issues. The picture below is what I had in mind. Once I got it mocked up, it was not at all what I expected and I ended up hating it. I made another shifter handle that was much more simple just to see how it worked and it really doesn't. The throw at the top ends up being WAY to much. I don't have enough room to make the bell cranks big enough to cut them movement down under the car. I also, really don't like that the shifter exits the bottom of the car as far back as it does. I'd like to move it forward but there just is not enough room under the car with the master cylinder being where it is. I'm going to think about this for a bit, but as of right now, I am thinking to make this work I am going to have to make a complicated mechanism and complicated is not at all what I want to go for. That is asking for too many problems down the road.
IMG_1130_zpsyuumkc64.png
 
Long shifters and heavy knobs have a tendency to jump in and out of gears when you hit bumps. T Buckets ride rough.
 
i have been thinking about a suicide shifter for mine as well but have ran into the same problem with no room i think yours looks really cool and maybe be modified to work great thinking outside the box for sure.
 
Well...as much as I hated to do it, I have officially abandoned the suicide shifter idea. It did not look quite like I had imagined and the throw of the handle was way too much. I could have taken care of the throw problems two ways but neither really fit what I want. First way was complicated. Second way was expensive. Neither fits.
So, right before Christmas I bought myself a gift. I got a dual action American Shifter. Mocked it up, cut up some of the brackets and it is very functional. However, with the new shifter on top of the transmission, my current tunnel did not have enough clearance for it. So I had to cut the tunnel almost completely out and build a new one. This time around, since I actually have stuff under it that I may at some point need to access and would not be able to get to it from underneath, I made the tunnel removable. I also had to do some reworking of my seat tub to accommodate the new, slightly larger tunnel.
Shifter Mockup.jpg
Here the shifter is Mocked up. I cut the main bracket on that dotted line. I couldn't see any use for the excess.
Second Tunnel in Progress.jpg
This is after the tunnel was all glassed up. I smoothed the edges and trimmed it down a bit.
Shifter Installed.jpg
 

     Ron Pope Motorsports                Advertise with Us!     
Back
Top