kcline40
Member
So I have purchased my first bucket build. I love riding around in my In-laws and recently got to help my Father-n-law finish the rebuild on his bucket. Since he swapped out some parts I was able to get the used ones he no longer wanted.
So here is my build so far.
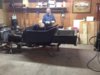
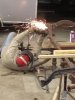
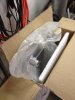
I purchased a complete rolling chasis in CA last Dec. My father in law picked it up and took it to CO. I picked it up this summer and brought it home. We worked on rebuilding a 92 Chevy 350 motor this summer for the project. I got the final few dress parts for it for XMAS. Thanks MOM!!! So I will provide a few pics here and on Mon Jan 2nd I am driving to Paynesville MN to get my Body and Bed.
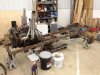
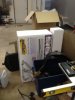
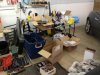
So here is what I have for my project to get started.
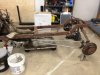
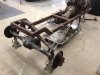
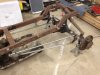
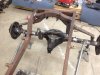
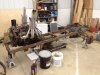
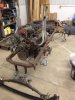
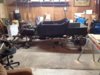
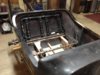
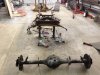
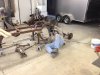
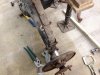
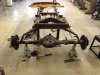
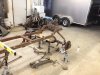
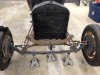
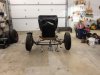
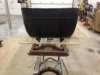
Complete rolling Chasis.
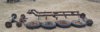
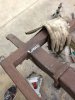
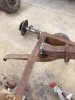
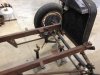
Rear end out of a Pinto (year unknown) this will be replaced with a rear end out of a 63 Impala that was on the inlaws T-Bucket. He put a FORD 9 inch under his. I figure FREE saves me $$ to get going.
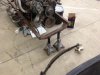
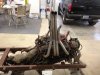
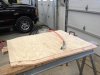
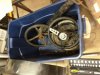
I can either put a rebuilt Chevy 350 in the bucket or a rebuilt Chevy 454. I have both. We will see which makes the cut.
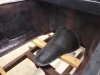
As far as my rims go it looks as if they are original T Rims. I am not sure. IF any one knows the value of these let me know I am willing to sell to get me into some newer rims and tires.
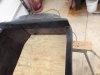
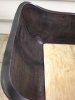
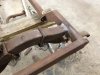
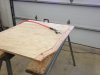
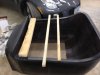
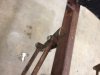
Also my frame seems a little different than what can be ordered from speedway. My frame had running board arms. I had to cut them off to get it home. But I can weld them back on.
Please let me know what you think.
So here is my build so far.
I purchased a complete rolling chasis in CA last Dec. My father in law picked it up and took it to CO. I picked it up this summer and brought it home. We worked on rebuilding a 92 Chevy 350 motor this summer for the project. I got the final few dress parts for it for XMAS. Thanks MOM!!! So I will provide a few pics here and on Mon Jan 2nd I am driving to Paynesville MN to get my Body and Bed.
So here is what I have for my project to get started.
Complete rolling Chasis.
Rear end out of a Pinto (year unknown) this will be replaced with a rear end out of a 63 Impala that was on the inlaws T-Bucket. He put a FORD 9 inch under his. I figure FREE saves me $$ to get going.
I can either put a rebuilt Chevy 350 in the bucket or a rebuilt Chevy 454. I have both. We will see which makes the cut.
As far as my rims go it looks as if they are original T Rims. I am not sure. IF any one knows the value of these let me know I am willing to sell to get me into some newer rims and tires.
Also my frame seems a little different than what can be ordered from speedway. My frame had running board arms. I had to cut them off to get it home. But I can weld them back on.
Please let me know what you think.
Attachments
-
 Passenger side frame.jpg44 KB · Views: 251
 -
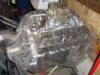 350 Chevy.jpg154.8 KB · Views: 243
 -
 drivers side frame.jpg95.3 KB · Views: 242
 -
 FRAME.jpg39.7 KB · Views: 238
 -
 Front FRAME.jpg97.1 KB · Views: 242
 -
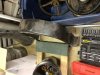
 Front Motor Mount.jpg77 KB · Views: 236
 -
 Front steering Hub.jpg88.9 KB · Views: 236
 -
 Parts2.jpg114.5 KB · Views: 238
 -
 T Rims.jpg85.4 KB · Views: 236
 -
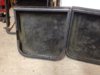
 Valve covers.jpg68.4 KB · Views: 234


")