Mike
Well-Known Member
This tech article was provided by EX JUNK.
First off I started with a sketch of what I wanted the interior to look like.

I then "dummied" it up using some 2" styrofoam that I got at Home Depot.

I then transferred things to a wooden mock up in order to build the framework.
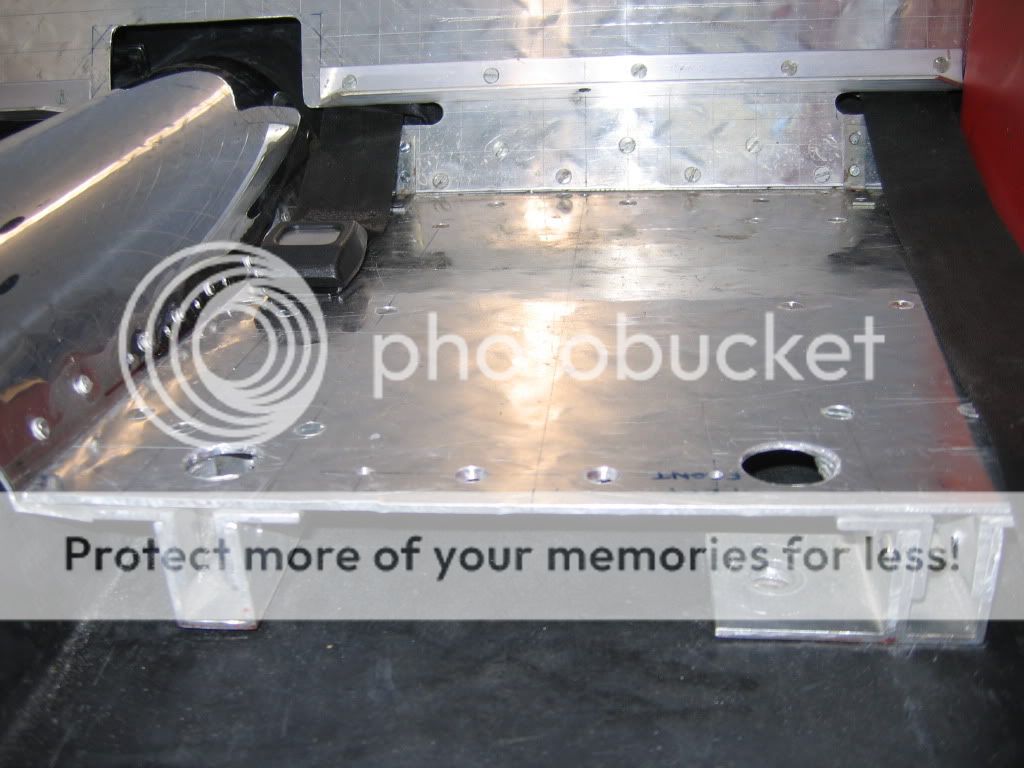
After I was satisfied with the dimensions of the wooden mock up, I proceeded to build the aluminum seat base.
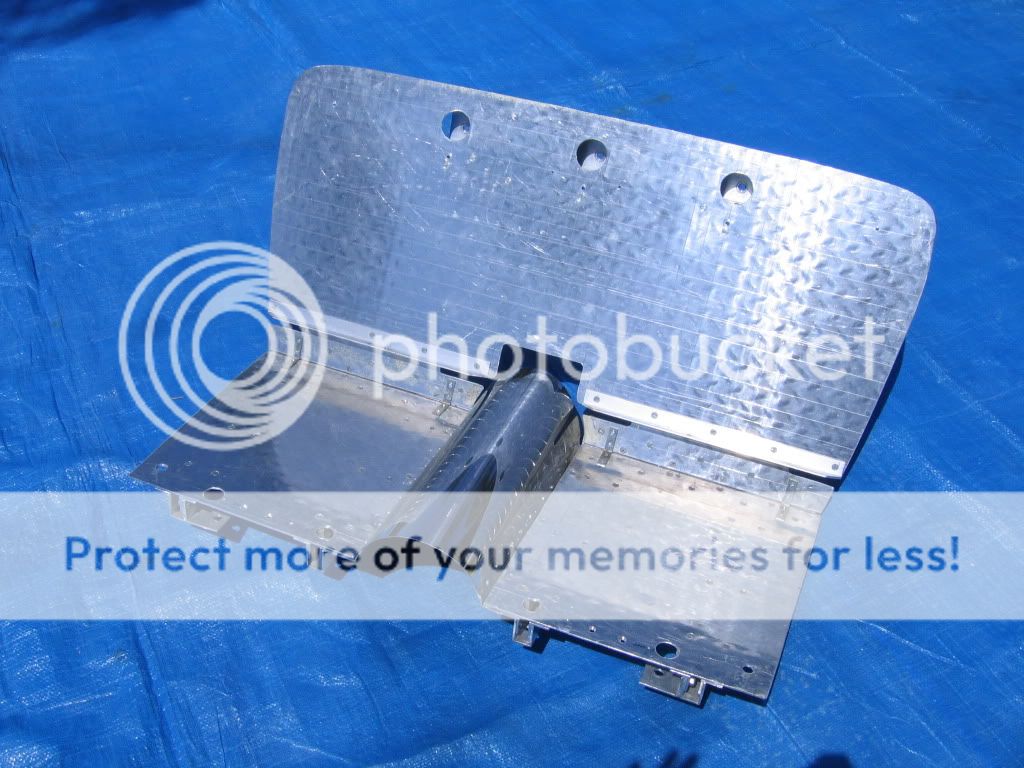
You will notice, in this picture, that I paid particular attention to the rake angle of the seat base. That is very important to having a comfortable seating position.

You will also notice that the seat back is angled in relation to the seat bottom as shown in this picture. That, too, is very important to comfort. If you are in doubt of any of this, take a look at any factory seats and you'll see the angles that I'm referring to.
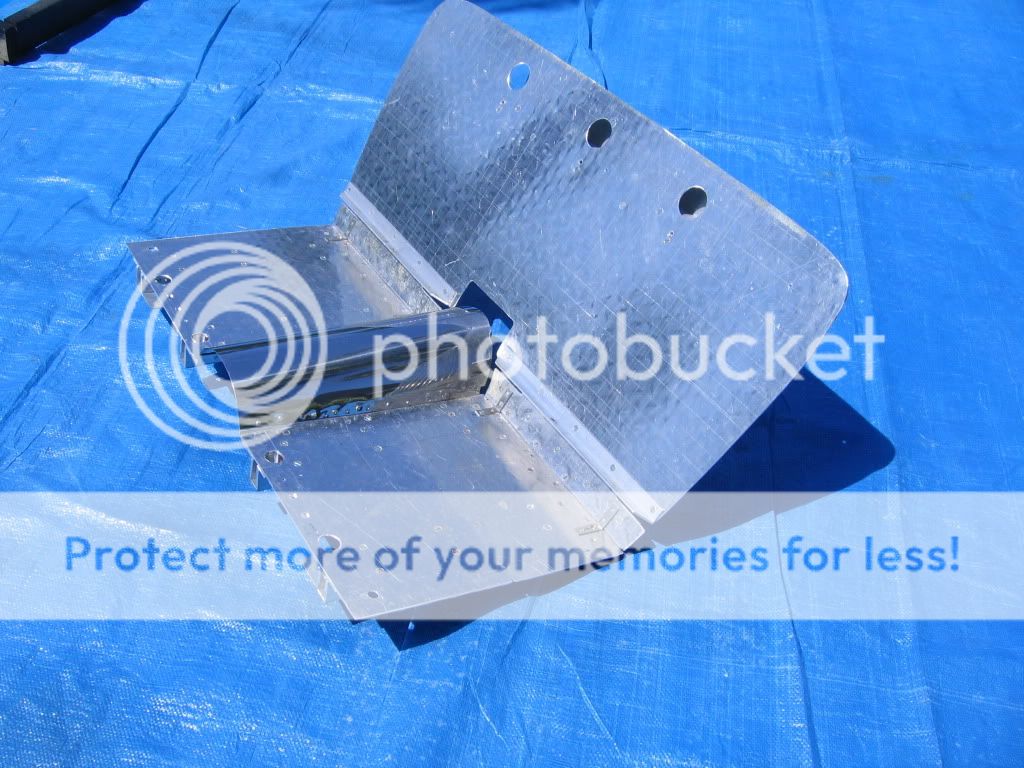
I incorporated a total of five mounting points for the seat. There are four in the bottom front with the two outer ones attaching to the frame and the two inner ones attaching to the floor only.
The three mounting points on the seat back attach to the reinforced body structure.

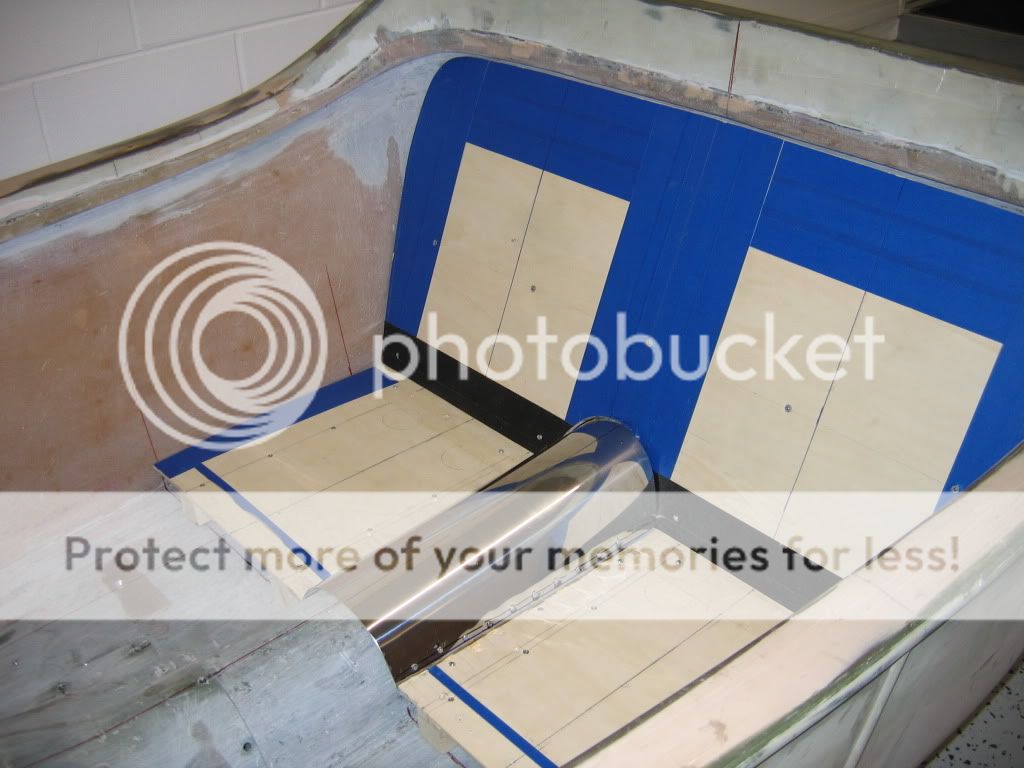
Next I attached the foam to a plywood base with contact cement and "carved" the desired pattern with and electric carving knife (my wife was not real happy with that) and a 4" grinder.

The seat back drops in and attaches in a very similar way that a factory seat rear attaches.

The seat bottom also mounts like a factory rear seat.

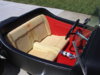
The completed interior. The seat frame sits 1 3/4" off the floor at the front of the base and tapering to floor level at the rear. The front lip of the upholstered seat is 5" off the floor.
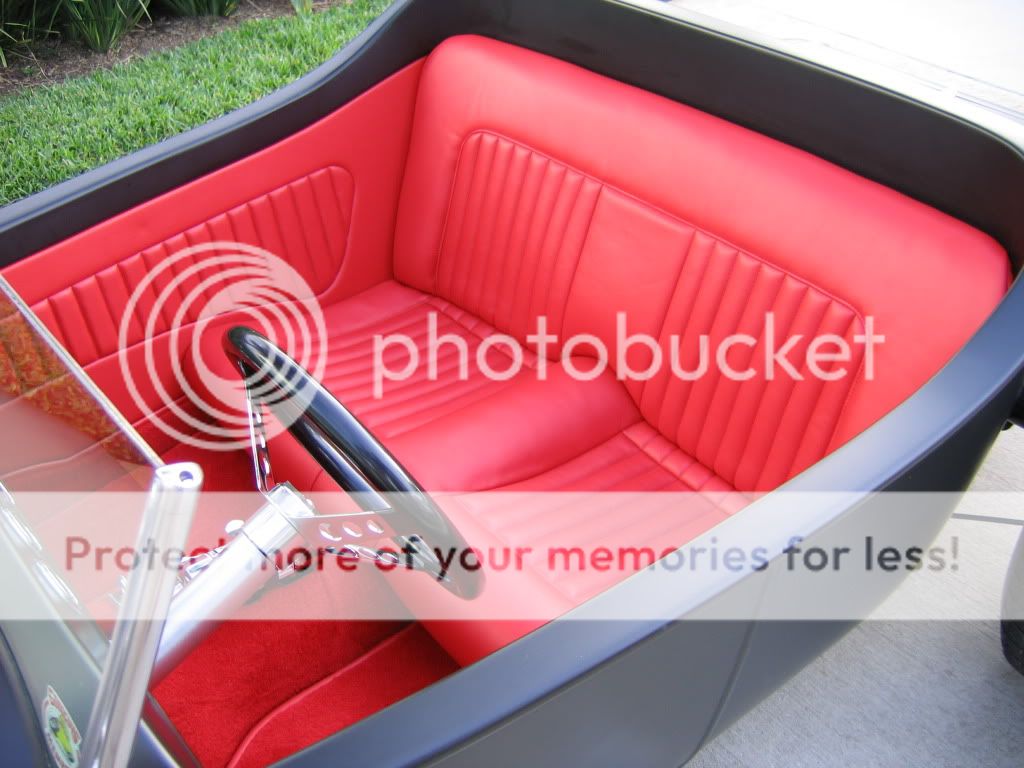
All in all it makes for a very comfortable seat that is relatively easy to build. The cushions are easily removable for cleaning.
Jim
First off I started with a sketch of what I wanted the interior to look like.
I then "dummied" it up using some 2" styrofoam that I got at Home Depot.
I then transferred things to a wooden mock up in order to build the framework.
After I was satisfied with the dimensions of the wooden mock up, I proceeded to build the aluminum seat base.
You will notice, in this picture, that I paid particular attention to the rake angle of the seat base. That is very important to having a comfortable seating position.
You will also notice that the seat back is angled in relation to the seat bottom as shown in this picture. That, too, is very important to comfort. If you are in doubt of any of this, take a look at any factory seats and you'll see the angles that I'm referring to.
I incorporated a total of five mounting points for the seat. There are four in the bottom front with the two outer ones attaching to the frame and the two inner ones attaching to the floor only.
The three mounting points on the seat back attach to the reinforced body structure.
Next I attached the foam to a plywood base with contact cement and "carved" the desired pattern with and electric carving knife (my wife was not real happy with that) and a 4" grinder.
The seat back drops in and attaches in a very similar way that a factory seat rear attaches.
The seat bottom also mounts like a factory rear seat.
The completed interior. The seat frame sits 1 3/4" off the floor at the front of the base and tapering to floor level at the rear. The front lip of the upholstered seat is 5" off the floor.
All in all it makes for a very comfortable seat that is relatively easy to build. The cushions are easily removable for cleaning.
Jim