You are using an out of date browser. It may not display this or other websites correctly.
You should upgrade or use an alternative browser.
You should upgrade or use an alternative browser.
fletchersons T project
- Thread starter fletcherson
- Start date
fletcherson
Well-Known Member
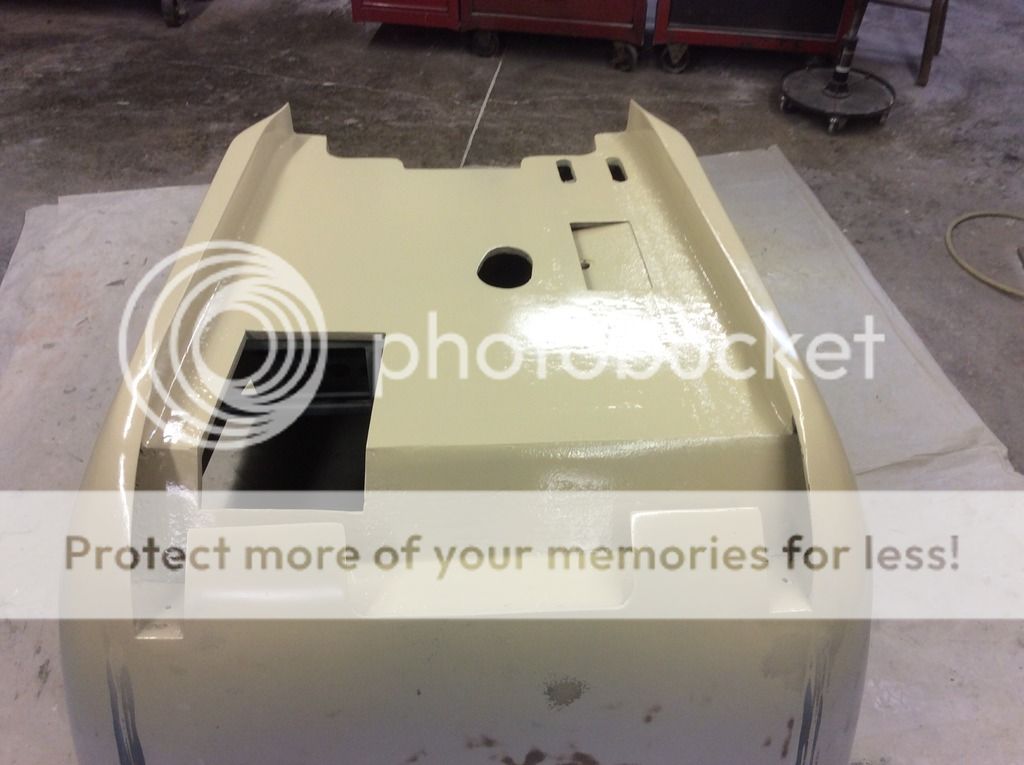
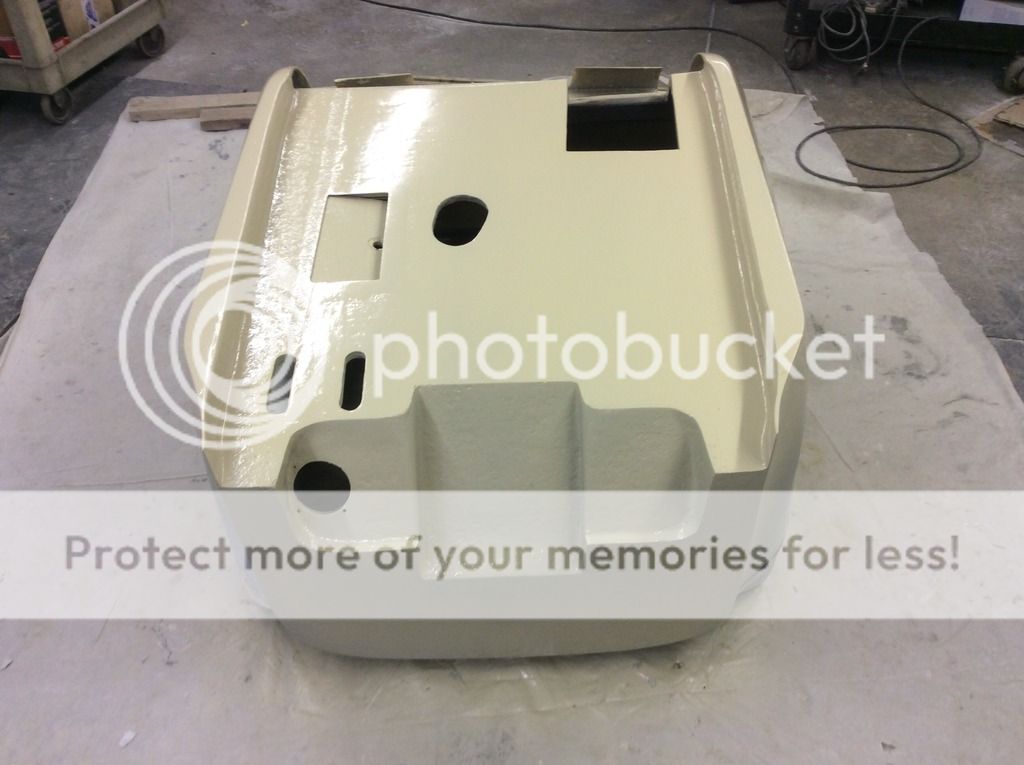
Maybe overkill, but I am cutting both doors out, so I really want it to be rigid so the door gaps, etc will stay put. I started glass ing the rockers in this evening, hopefully tomorrow will be the conclusion of the rocker story and I can again focus on cutting and fitting the doors, latches, hinges... If I get to focus on it and nothing comes up, I should be able to conclude the glass and body work and get it in 2k feather fill by the end of the week. I have so many things to do when the weather is good. It's hard to spend time in the shop.
EX JUNK
Moderator
I was wondering, in the last picture, there are 2 plastic bags. The one on the right has what looks like nuts in it. I can't figure out what is in the one on the left, looks like some kind of inserts.
Looks like pretzels to me.
Jim
choppedtop
Well-Known Member
Jim, ya put them in the rearend to keep it from whining so loud. 
choppinczech
Well-Known Member
I was wondering, in the last picture, there are 2 plastic bags. The one on the right has what looks like nuts in it. I can't figure out what is in the one on the left, looks like some kind of inserts.
Bronze wool?
choppedtop
Well-Known Member
choppinczech
Well-Known Member
Oh man, I was way off!
fletcherson
Well-Known Member
Yes, those are to keep the mechanic from whining, lol.
fletcherson
Well-Known Member


tfeverfred
Well-Known Member
Looks good!
choppinczech
Well-Known Member
Awesome! It makes it so much easier to see where you've been and where you're going when everything is one color.
fletcherson
Well-Known Member
You are 100% correct, it also adds to the mental game! It's amazing how much different it looks with some color uniformity. I used to never let any work go uncoated, but it being glass and no rust to contend with made me lazy. Man that feather fill must have been sitting on a shelf for a while, it took eternity to blend it, it was separated and the solids had settled to the bottom.Awesome! It makes it so much easier to see where you've been and where you're going when everything is one color.
fletcherson
Well-Known Member
I have put quite a bit of time into the body work over the past few days. Man, the tub was a mess. No kidding, the body was concave on the drivers side and convex on the passenger side. Removing the door reveals made it very obvious, I likely wouldn't have noticed it otherwise. I had to fill one side and I ground so much off of the other side that I decided to layer some glass on the inside, basically in the center of what will be the passenger door, but now it's fairly strait, per a strait edge, except for the curves that belong. At least it shouldn't wave at you when it passes, lol. Then I started attacking the interior, all of the areas that I fabricated to conceal the steel supports. A ton of sanding, and a lot of it by hand as it's just too detailed to use any machines. I did give the harbor freight sonic sander tool a serious workout. The triangle sander pad proved to be invaluable. I found some foam roller covers that actually stand up to the resin and I hope they provide a smoother finish to minimize the next stage of sanding as I felt led to add a layer of glass over a few areas after getting them in shape to insure their strength and longevity. I started on the dash/cowl area, where I bonded the new dash, but it needs more work, then there is the rear of the tub and the inside. I'd say the worst of it is behind me, but I discovered that the body lines, the curved lines, are not uniform at all, not sure if they were not properly molded or if they were sanded out of shape, or a combination. I know I hit them in a couple spots with the DA and it doesn't take much to flatten them. I'm still pondering a resolve, but I'm sure it will be somewhat challenging. I think I will make a form/sanding profile tool by routing a contour into wood blocks and attack it that way. After the work I've put into it, it would bug me forever if I don't get it right. Man, I have been burning through some material on this thing!
Last edited:
Gerry
Well-Known Member
There is a thing called polymorph. Its beads of plastic that go soft when put into boiling water and then cools to a hard plastic. I used it to form a sanding profile on a bit of swage line that was correct and then after cooling it became the backing block for the rest of the contour lines on the body. Its only about 10 bucks for a pack and can be remelted and reformed again and again. Saves on wood and routing.
Have a look on UTub for ideas. I have found a few uses for it besides the above. It can be file'd, drilled and tapped once hard. Useful stuff to have around.
G
Have a look on UTub for ideas. I have found a few uses for it besides the above. It can be file'd, drilled and tapped once hard. Useful stuff to have around.
G
fletcherson
Well-Known Member
Spent some time on the body lines, I don't know what kind of paint they used on this thing, but it is, was, damn tuff! Finally rid of ALL of it, there must have been a recess along the body lines because it was very challenging to remove the paint without gouging into the glass, the harbor freight 2" DA sander was a life saver. I would have left the paint in the recess and feathered it, but since I am going to add material to attempt to make the lines uniform, I wanted to be sure to bond directly to the glass. Im glad that part is over! I also made some tools to aid in forming and sanding the curved reveals out of some scrap pieces of oak. A 3/4" round nose router bit is just right. I made the forming block so the groove is offset, allowing a wide flat surface to ride against the body to aid in creating a uniform body line. I also cut the ends at an angle to allow close quarter access. I ordered some high quality finishing bondo that I hope will prove mailable enough to do this, I will likely mix resin with it to aid in adhesion and maliability. I then will coat it with resin to give it a tuff finish before the 2k primer. I also purchased some speakers to mold into the doors, I am anxious to cut the doors so I can mold the inner structures, but I don't want to cut them untill I have the body and body lines as strait as I can get them so they will appear seamless except for the cut lines. I got lucky and one gallon ice cream buckets are the perfect size on the bottom to create the mounting surface for the speakers. I will cut them to the desired height and stretch fleece over them to build the bulge required to fit the speakers in the doors. The doors are about an inch and a quarter thick, I need an additional inch, it shouldn't be too bad. I had to order yet more resin and glass fabric, I wasn't out, but like to have pleanty on hand. I should be a pro after this one, lol! Found some hardened countersink Allen head bolts to use for the body to frame mount connections. They will remain visible for access, but I want them flush as they will be in the foot area of the floor. I need to find a 7/8" countersink bit for them. I know it's overkill, but I bought 1/2" bolts because I wanted the larger bolt head surface area, since they will be countersunk. They are going through steel, so strength isn't a question. I'm still debating the frame part, I think I will use a hole saw to cut the bottom and install nuts on the back side. The frame is 3/16" wall, pleanty strong to mount to a single layer, but not thick enough to hold threads strong enough to trust mounting the body to. I also formed the divider under the seat area to construct the glove compartment and found a nice latch and SS piano hinge to build the door, marine parts. I had planned on using one from a ford truck, but it was more work than it was worth. It was difficult to find a lockable latch that didn't require a key all of the time. Since it is going to be in the seat riser, below the seat, and basically between the drivers legs, I didn't want a push button because I thought it would be awkward to open. I finally found a twist knob type. I had to weld some steel in the opening in the uni strut to provide a solid mount for the hinge and latch strike. I wish I had thought about that before installing the seat riser, it was a challenging weld. Hopefully, if I conjure enough energy, I should be able to get it all in feather fill soon. I did make a trip to the auto paint store and got some good primer/surfacer and five gallons of lacquer thinner, it's half price per gallon as opposed to buying a gallon at a time. I will post pics of the progress, I had planned to take some, but I was busy working and too lazy to make a trip back out to the shop for pics...
Last edited:
choppedtop
Well-Known Member
Ain't it nice when you get finished with the crappy part. (removing the old paint) Seems like a forever non-ending task. Sounds like you have a good plan and are trudging forward. 5 gallons of thinner is always the best deal, and I always seem to run out just when I need some.
fletcherson
Well-Known Member
I am always running out of thinner. I have been using acetone, but it evaporates much faster than lacquer thinner, so using it to clean up resin is frustrating. Back when I actually worked, I always had material left over from jobs. It gets expensive running to the hardware store for it.Ain't it nice when you get finished with the crappy part. (removing the old paint) Seems like a forever non-ending task. Sounds like you have a good plan and are trudging forward. 5 gallons of thinner is always the best deal, and I always seem to run out just when I need some.
Similar threads
- Replies
- 2
- Views
- 945
- Replies
- 4
- Views
- 272


