


Mike
Well-Known Member
This tech article was provided by Keeper.
Alright, its been a couple of weeks since i did any work on the bucket, I was planning on mounting the steering column then realized, I better sort the seats out first. I did not want to mount it, then realize it was not comfortable once the seats were done.
Earlier in the thread I made the seat bases, I had to change the lower webbing out as it was to soft when I sat in the seat I was sitting on the floor!
So after searching for a week without luck trying to find a supplier in Canada that carried the correct seat webbing, I ended up using plain jute webbing. I wish I would have just used this earlier as it would have saved me a ton of hassle.
Once I got the webbing sorted out I started on the foam. I was planning on using 2 inches of C45 foam with 1 inch C45 for the bolsters. I was told I would need at least 3 inches of C45, so thats what I went with. Of course When I originally set up the seats and body wood, I was planning on 2 inches of foam, needless to say I had to do some trimming.
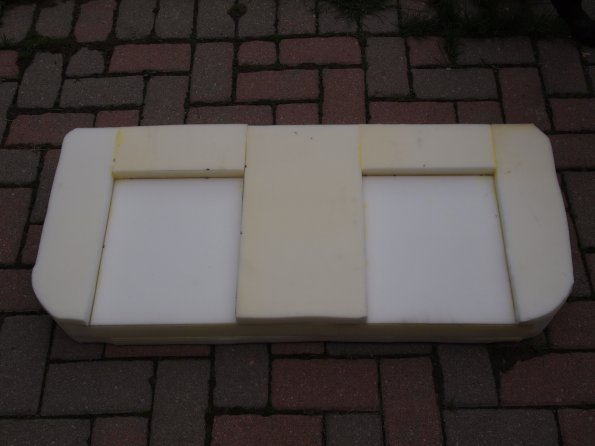
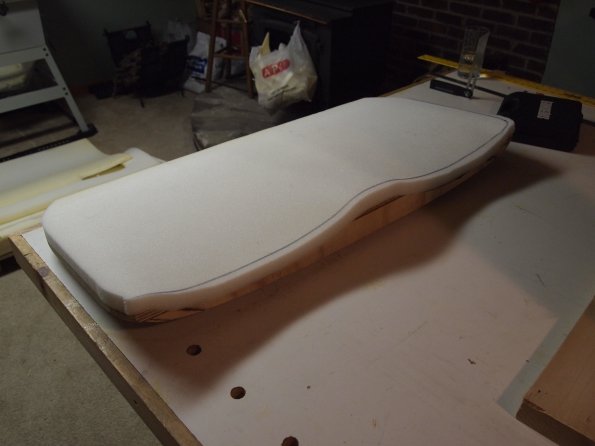
Here is the base foam glued up, I missed a step or two here, sorry.
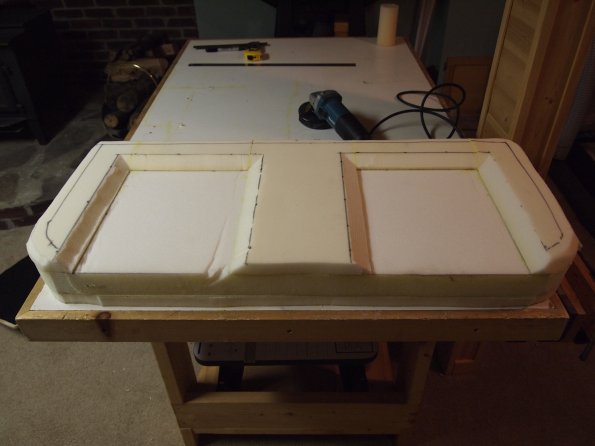
Then I marked out and trimmed some contours into the foam, I started using a flapper disc on a grinder, and it was way to awkward as evidenced by the slip there on the left. I finished up just using the electric knife, turned out to be much easier to control.
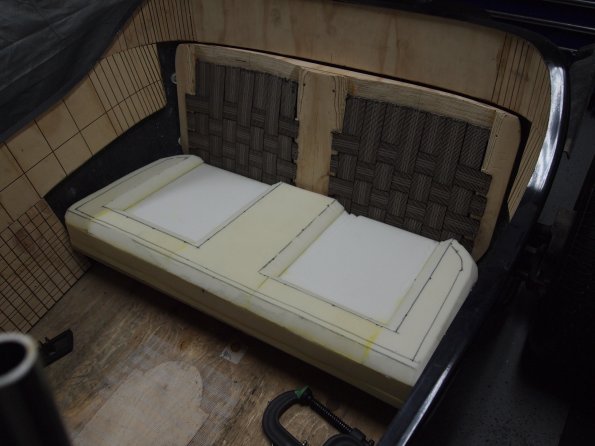
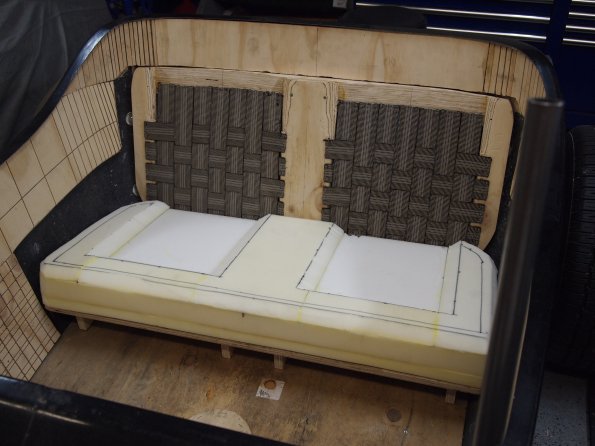
Once I had that sorted out I went a head and tested the fit in the car, this is where I noticed the extra inch....it totally threw off the feel of the seat.
So I marked out an inch and proceeded to cut, chisel, swear a bit, and chisel some more to get that wood out.
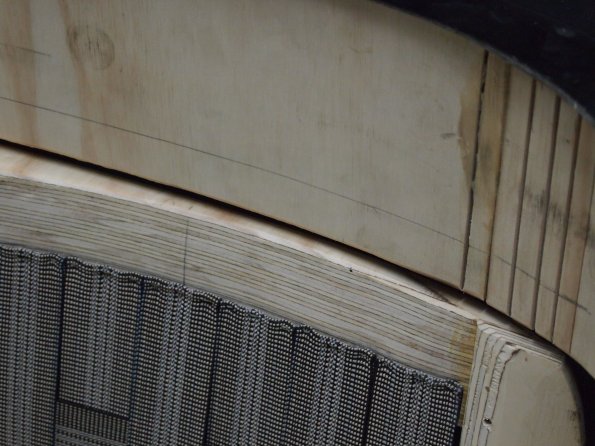
Now the seat back was back in its proper place:
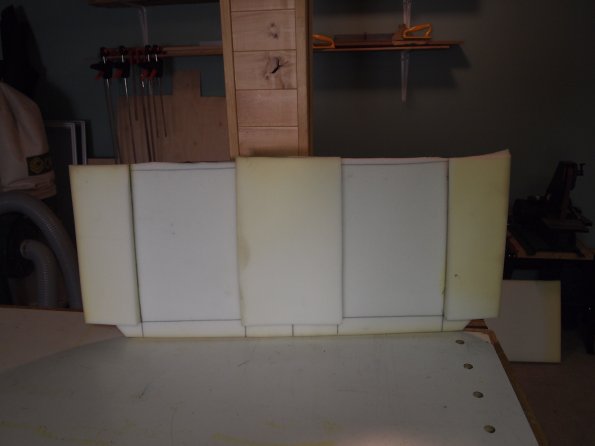
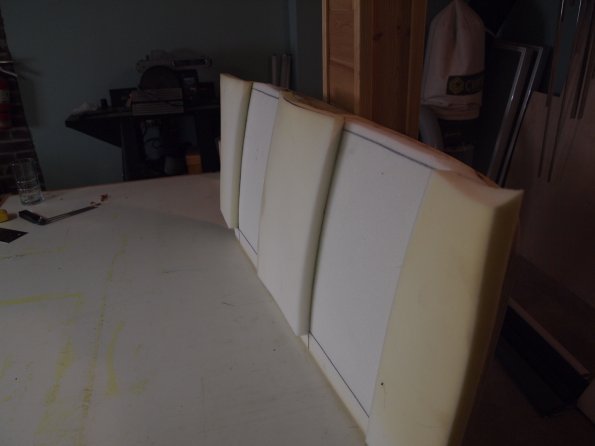
Next up was the back, for this I used 1 inch of c35 for the base, and another inch of c35 for the bolsters, this shows the contour of the seat itself:
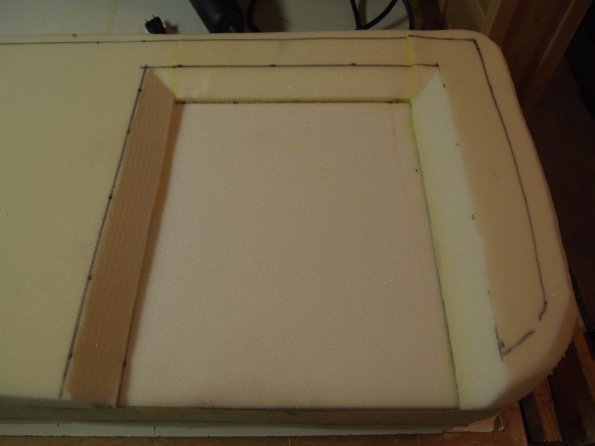
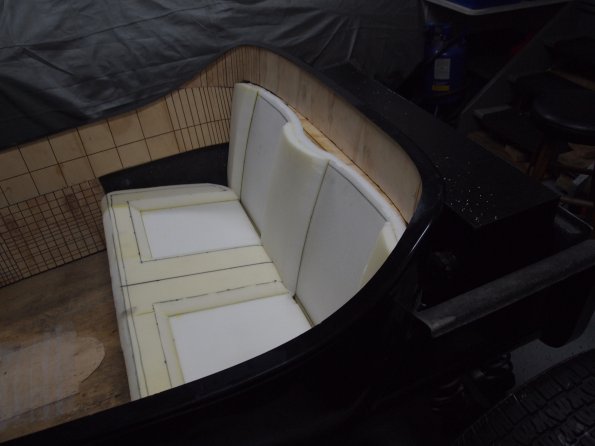
Next up was to add the bolsters:
I then trimmed the contours and tested the fit:
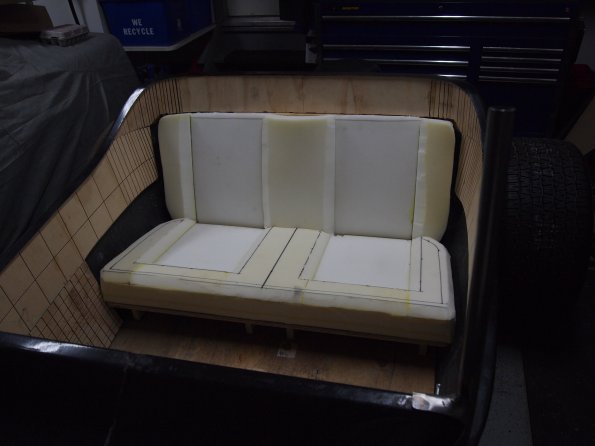
Everything looked good, and more importantly felt good, even the wife approved when I drug her out to the garage for a test sitting.
Now I can fit the steering where I want it.
Alright, its been a couple of weeks since i did any work on the bucket, I was planning on mounting the steering column then realized, I better sort the seats out first. I did not want to mount it, then realize it was not comfortable once the seats were done.
Earlier in the thread I made the seat bases, I had to change the lower webbing out as it was to soft when I sat in the seat I was sitting on the floor!
So after searching for a week without luck trying to find a supplier in Canada that carried the correct seat webbing, I ended up using plain jute webbing. I wish I would have just used this earlier as it would have saved me a ton of hassle.
Once I got the webbing sorted out I started on the foam. I was planning on using 2 inches of C45 foam with 1 inch C45 for the bolsters. I was told I would need at least 3 inches of C45, so thats what I went with. Of course When I originally set up the seats and body wood, I was planning on 2 inches of foam, needless to say I had to do some trimming.
Here is the base foam glued up, I missed a step or two here, sorry.
Then I marked out and trimmed some contours into the foam, I started using a flapper disc on a grinder, and it was way to awkward as evidenced by the slip there on the left. I finished up just using the electric knife, turned out to be much easier to control.
Once I had that sorted out I went a head and tested the fit in the car, this is where I noticed the extra inch....it totally threw off the feel of the seat.
So I marked out an inch and proceeded to cut, chisel, swear a bit, and chisel some more to get that wood out.
Now the seat back was back in its proper place:
Next up was the back, for this I used 1 inch of c35 for the base, and another inch of c35 for the bolsters, this shows the contour of the seat itself:
Next up was to add the bolsters:
I then trimmed the contours and tested the fit:
Everything looked good, and more importantly felt good, even the wife approved when I drug her out to the garage for a test sitting.
Now I can fit the steering where I want it.
