Garage Merch                Ron Pope Motorsports                California Custom Roadsters               

Mykk's BMW V8 T-bucket, version 1.5:

Mykk

Active Member
I was thinking a while back (uh oh), my bucket really has just been a street cruiser instead of a track machine. Yet the suspension is so stiff on the street it's an absolute bear to drive for any time or distance. With the lessons learned from putting the thing together by the seat of my pants, I think I can put together a more street friendly chassis. My fabrication and welding has improved over time, perhaps it's time to consider making V1.5 of the BMW powered T-bucket with street friendly suspension in mind, applying the things I've learned putting the first one together.

However, I also have difficulty doing things by the book. So a few experimental ideas that have been rattling around in my head will be implemented too, as you'll see. There will still be plenty of "Cross that bridge when we get to it" fabrication on this one too:
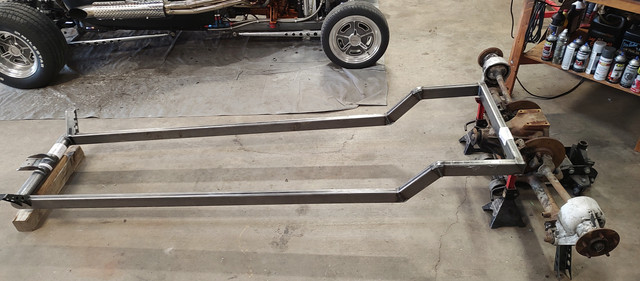
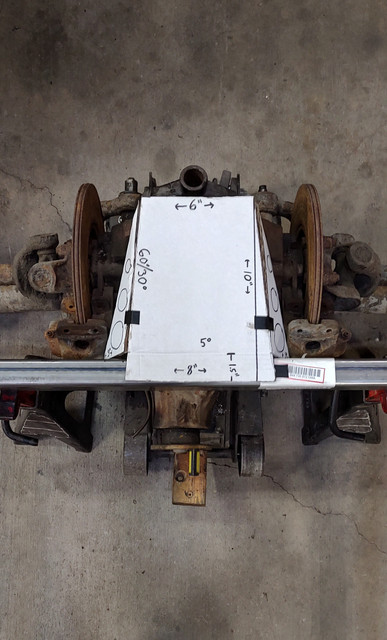


SendCutSend has already cut out and bent the rear differential perch from .250" mild steel, awaiting part arrival before welding it to the frame
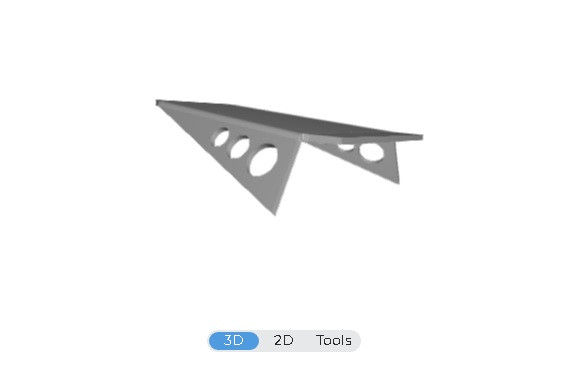


The other side of the frame from the perch will receive .250" gussets.

The rear leaf spring idea may not pan out in the long run, but I'm going to try it. Here you can see the wrong spring is bolted to the wrong plate thickness at the bottom of the Jag diff. I plan to make a .250" thick plate that bolts to the bottom of the diff and is welded to the front support mount bar not yet installed on the jag rear end. Then run the front diff supports from the cross bar up to the frame.
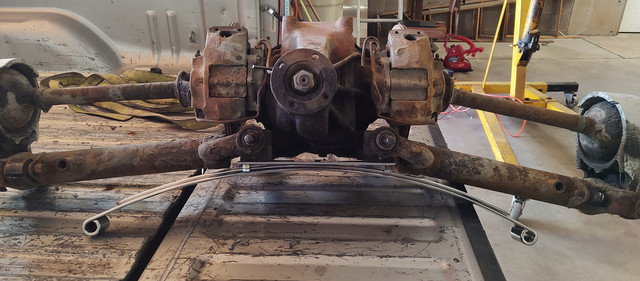


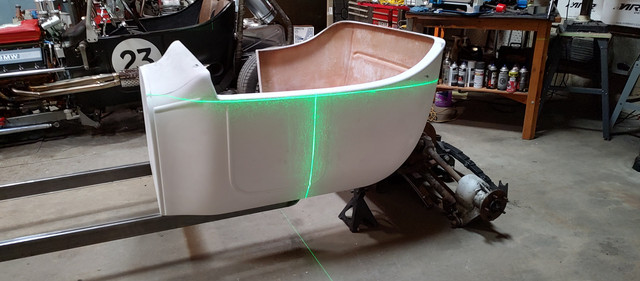
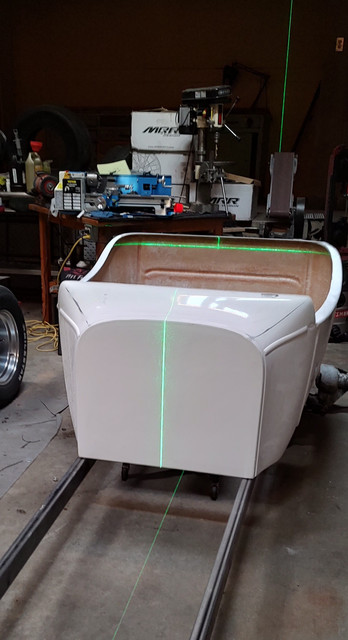
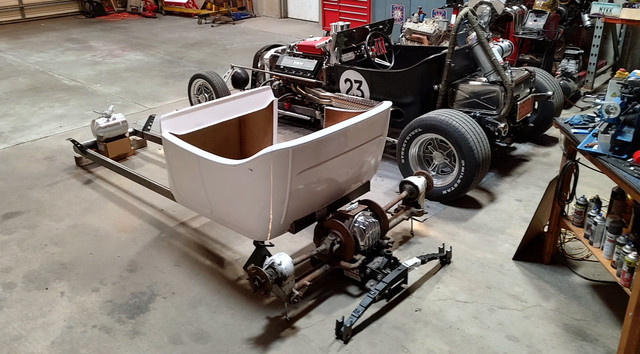
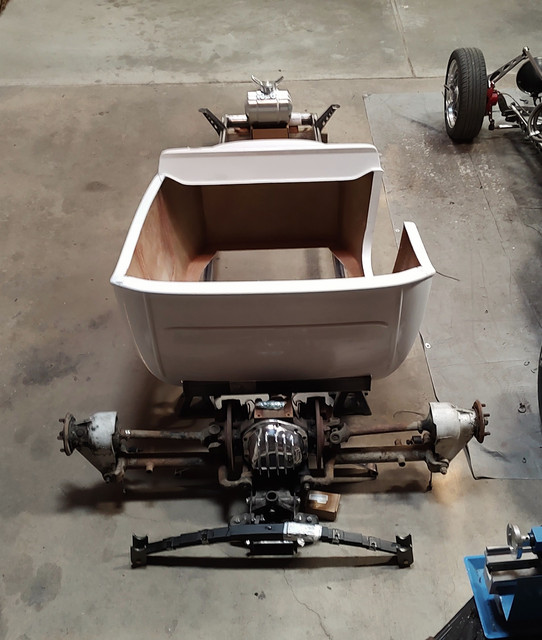
The new body arrived last night:
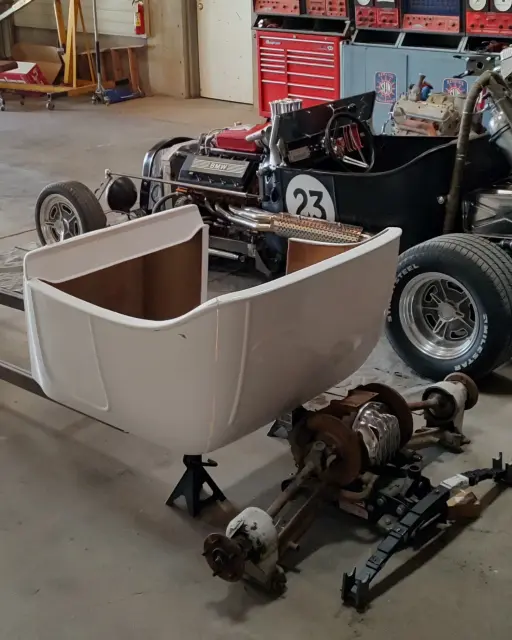


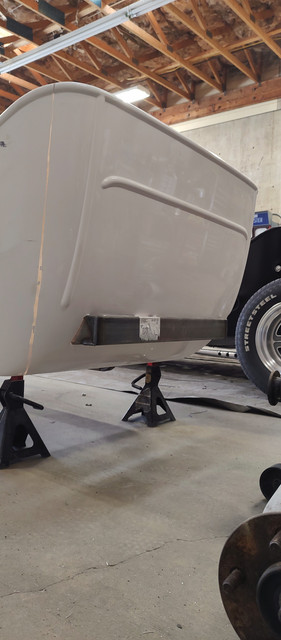
Planning to keep the kick up of the frame in the body. Mount the bench seat to the kick up, mount the electronics under the bench seat.
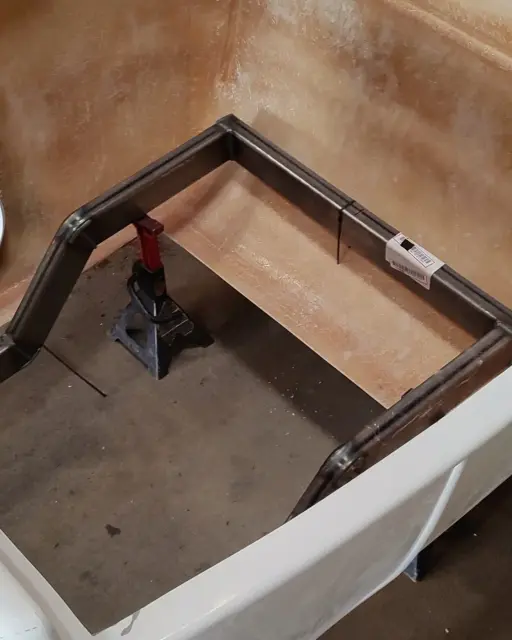


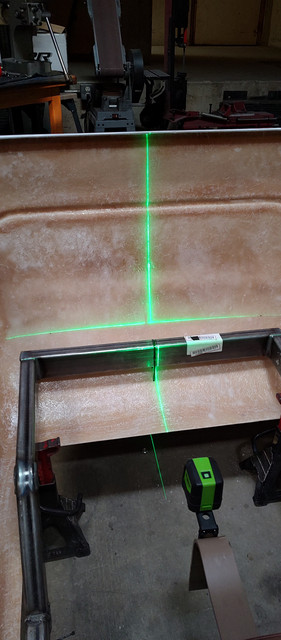
Cut the window out of the body for the frame crossmember to sneak through:
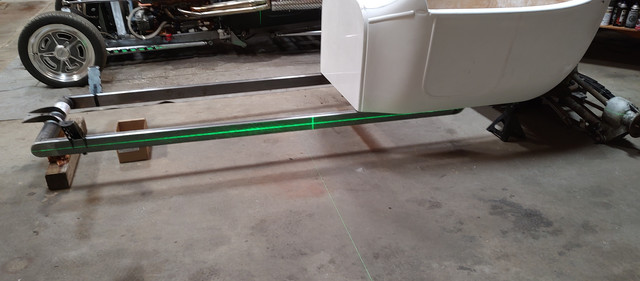


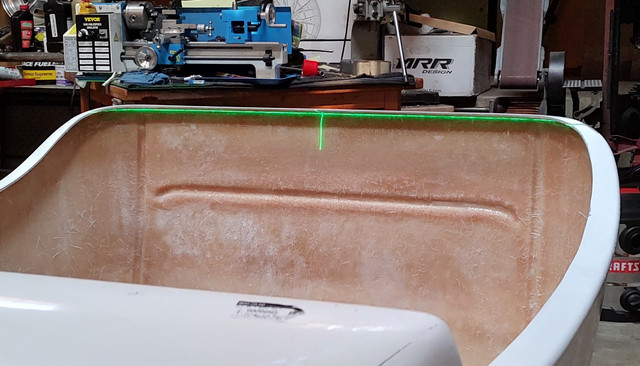
Marked the laser lines on the body above and below the frame rails and cut it out:


Check back for updates, thanks for checking out my next project build.
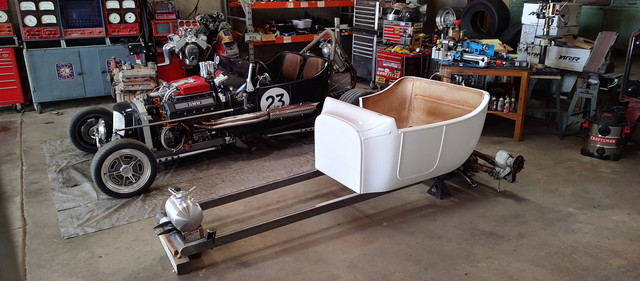
 
My question is: will you wind up with two T-buckets or just one with a "donor vehicle" in the back of the shop?
 
... will you wind up with two T-buckets or just one with a "donor vehicle" in the back of the shop?
The current plan is to use the drivetrain, front axle, steering and some suspension bits on the new bucket. Simply because I can't afford to build, register and insure an entirely separate vehicle and have two on the road at the same time. I still plan to take the new frame and body to my Az MVD with the MSO certificates for inspection and VIN assignment.
 
Coming up on one month since this project began with the arrival of the frame, as more and more parts are trickling in it's tough not to feel scatter brained with so much to do and everything still in a vague "idea" state of mock up.

My intention is to start at the rear and work my way forward, only laying out the big stuff where they may lay as to not paint myself into a corner when it comes time to permanently fabricate.

Focusing on one section at a time is going to be my saving grace from the anxiety and mental noise of the project.

Once the rear diff perch arrives I feel I can hit the ground running with progress... admittedly I am procrastinating the days worth of labor cleaning, degreasing, descaling, rust removal and painting of that Jag rear end.


The cheapo pendulum style laser level is working out better then I thought it would for alignment of components, jokingly giving this project the working title of "Laser Precision" however the name won't match the character and style of the car once it's further along in progress.
 
Working on this for two days straight thus far, roughly 80% completed. Dismantling & degreasing the Jag rear end.


Foamy Engine Brite, Aircraft stripper & Brakleen cocktail, wire brushes and using a screw driver as a chisel.


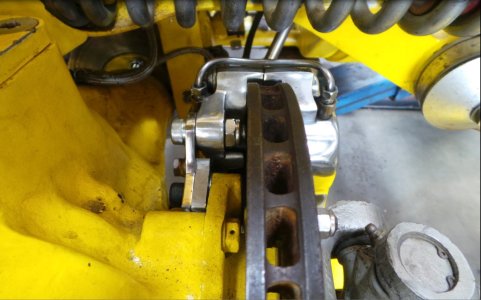
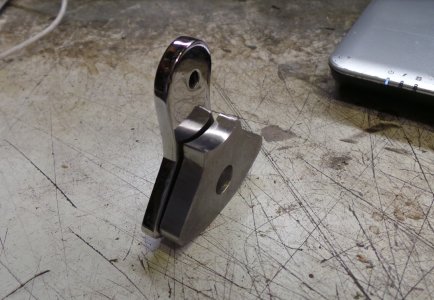
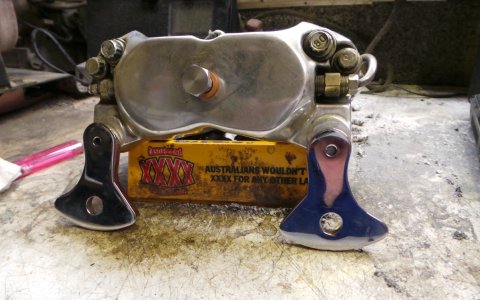
New brake rotors, Calipers & pads on order. This differential has the caliper mount plate that bolts to the stub axle flanges, as opposed to the caliper mount bosses cast into the diff housing. It might be cool to find a way to flip the calipers around and have them rear facing.

This diff has 3.51 gears and I believe this is the Dana 44 Power Lock LSD carrier:

 
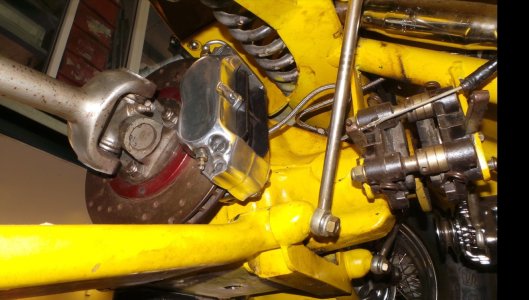
left mine at back as I wanted unfussy rear view; and made brackets that were spot faced,to lock calipers in using holes in flanges. Got thicker disc (jag racing version) and 2 pot calipers to suit that were not direct replacements for jag version,
G

show brackets.jpg


brackets for rear calis.jpgcali n brackets.jpgview from beneath.jpg
 
Gerry, your parking brake clamps onto the pinion flange... That's clever.

Edit: I see now, there is space and alignment for a rotor on the pinion flange. I always though a pinion mounted rotor only as the brakes could be an interesting set up too.
 
Last edited:
Then you will probably like this...

finished (2021_01_12 08_56_11 UTC).JPG

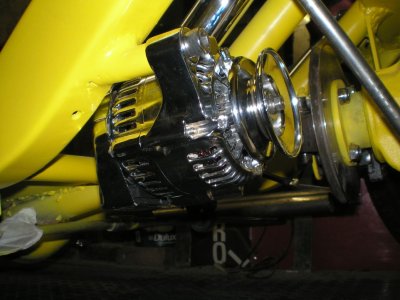
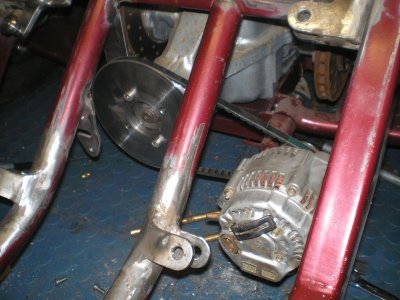
I used the parking brake disk to drive the alternator as well...

altenator and tensioner (10) (2015_11_13 11_07_31 UTC) (Copy) (2021_01_12 08_56_11 UTC).JPG
 
The idea for the main fuel tank. 8" x 28" aluminum tank under the cowl with the filler through the center. I'm sure a more talented fabricator then I could of come up with a snug fit tank to utilize the space more efficiently.


It won't leave any room for gauges or switches, but I have an idea for those.

I was dreaming of a big flip up Cobra style filler cap, but the cowl shape doesn't lend itself it to that style of cap. So instead I'm thinking a smaller Monza style flip cap. The tank will be supported by the arms used for the steering gear for the cowl steering, however the box will be mounted lower then it currently is in the other Bucket.


The tank hanging down below the dash does look like a space hog, but there is still plenty of foot, pedal, steering gear and bellhousing room.
 
I was going back and forth on this one, I eventually talked myself into it...and I'm regretting it. Mounting the mechanical fuel level gauge on top of the tank through the cowl.

Pro's:

•Simple
•Already have the parts
•Works
•No extra parts, technology or wiring involved
•Watch the fuel level on the gauge while filling at the pump

Neutral:
• Checking fuel level while getting in and out of the car instead from the drivers seat

Cons:
•I don't like the look of it


At first I though I could make the gauge itself less bulky and perhaps smooth it in by chucking it up in the lathe and removing the large hex from the gauge housing. Then recess the gauge lower in the mounting on reassembly.

And that was better...but still not happy with the outcome.


I convinced myself it'll look better and blend in once the build gets painted. Ultimately I think I'm going to teach myself how to patch fiberglass.
 
Did you cut the hole with a hole saw and save the cut-out?
 
Are you going to use both tanks? How will you vent the front one? Did you build the seat? What is the wheelbase? It looks longer and I like long!
 

     Ron Pope Motorsports                Advertise with Us!     
Back
Top