Brujerizmo
New Member
Glad i could help Fred.Take a look around the rest of that site..they have alot of cool stuff at pretty good prices")


 I just look inside the filler every so often to see how much is left. Surprisingly, even with an 11 gallon tank I don't have to put much in very often. I drove all over one day and when I got gas it only took 3 gallons. These things just loaf along.
Thanks, Don and the rest of you guys for the good words. It really means a lot to a beginner to read good things from you veterans.donsrods said:Very nice thread you did on this build up Fred........enjoyed all of it. There is a round tank that is just like the Speedway one I am running but it has a provision for a sender. My Son bought one and I will ask him tomorrow where he got it.
I'm kind of a risk taker, so no gas gauge for me.
Don
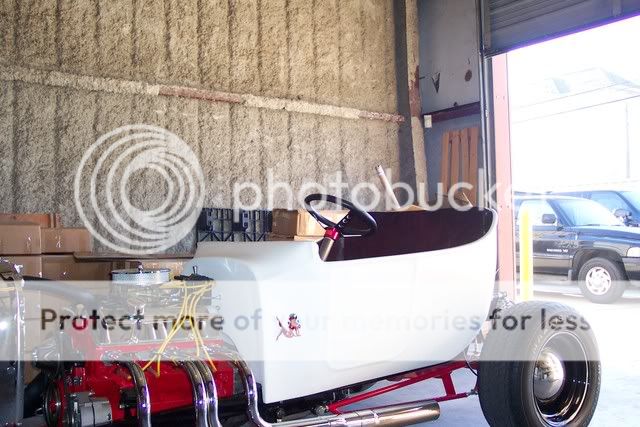
Youngster said:Ta heck with the aluminum tank. Go with the T repo! Might want to add a piece of tubing to raise the filler cap a bit. Gas has a nasty way of coming out of the vent hole in the cap and messing up the paint on the tank and such. Voice of experience!
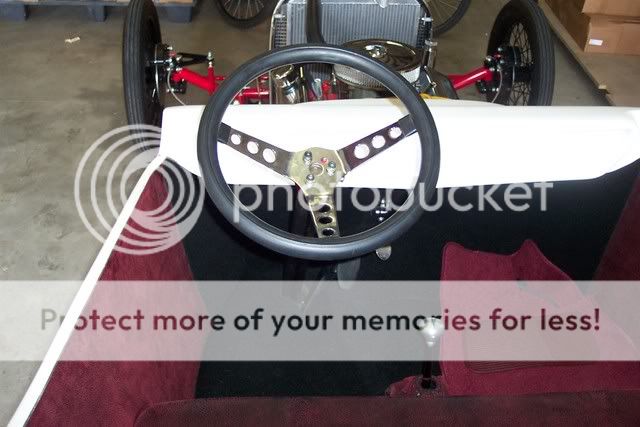
I hope to be able to weld on my own by this summer. Might start looking for something else to put together. God knows I have a ton of ideas floating in my head already!:rulz: It also won't be too tall or out of proportion to the 14" windshield I plan on running.
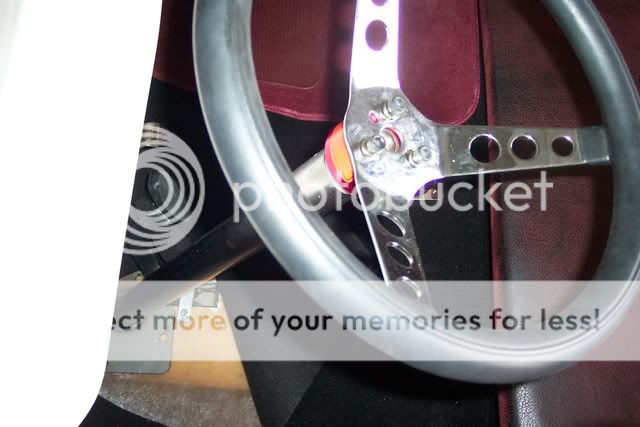
 I will keep it to remind me not to cut corners.
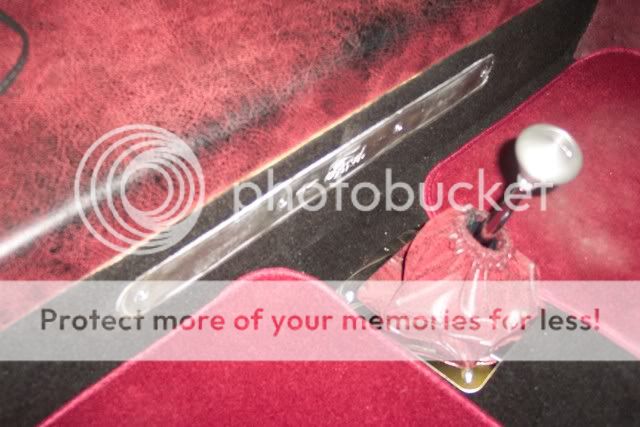
 Cost was right at $27. After I mounted it, I scrapped off the little "Made in Taiwan" sticker and tossed on a vintage sticker I had from my little collection. Kinda sets off the "Hot Rodder" image!
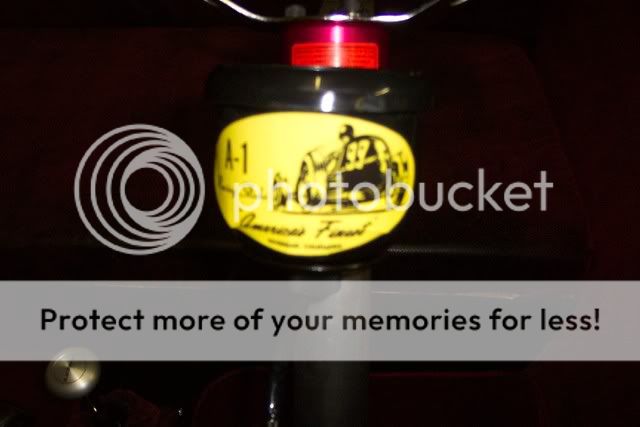
 I can't wait for him to stop in and see that a piece he donated is in my car. The last time he saw it, I hadn't even cranked her over. Boy, won't he be surprised.
