tfeverfred
Well-Known Member
Looks great, Keeper! At least they go back together quicker the second time around.


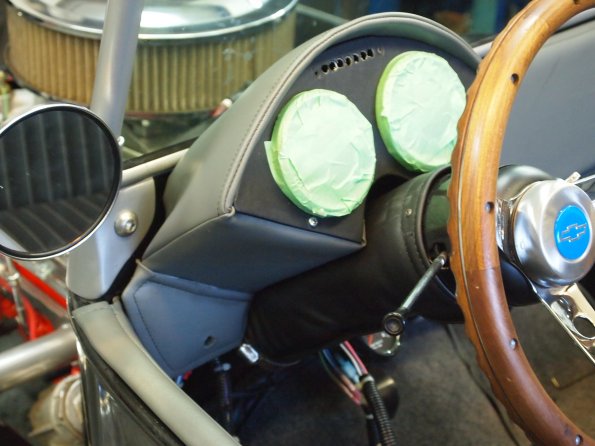
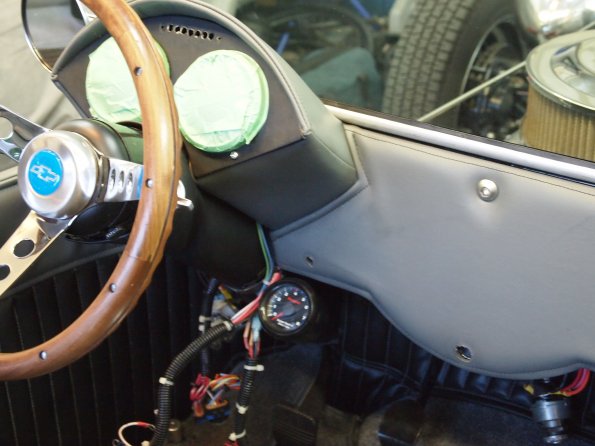
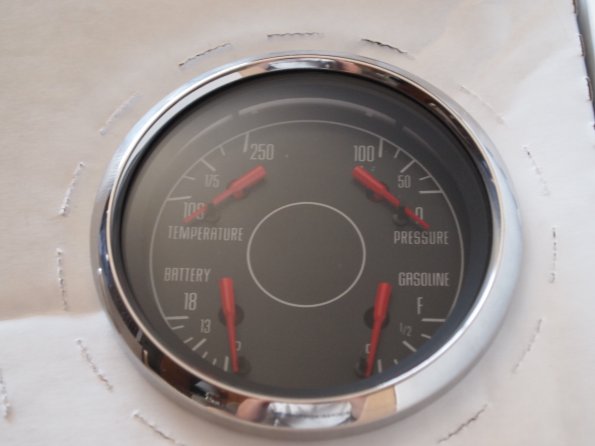
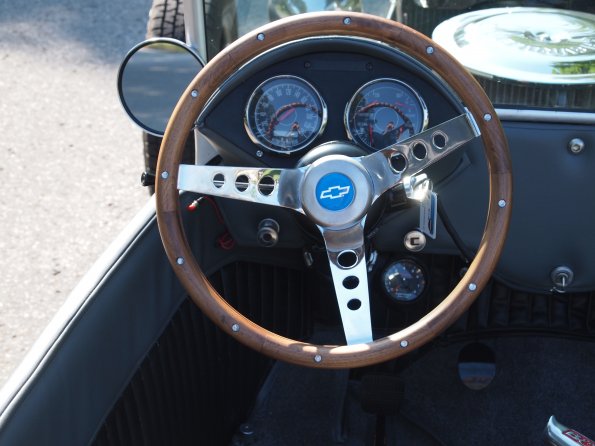
I love how you've integrated the Dakota Digital pod. Very sleek, and it keeps the Chevy theme nicely.

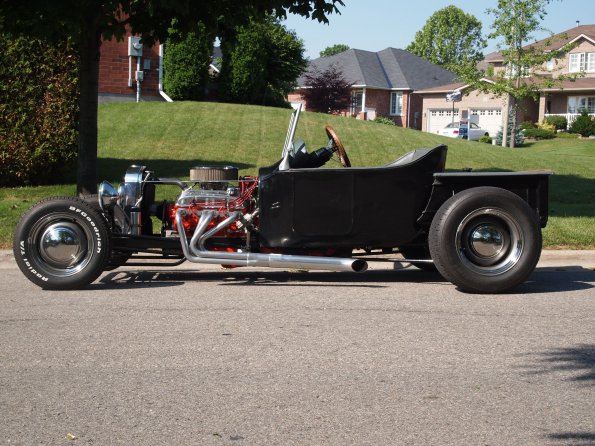
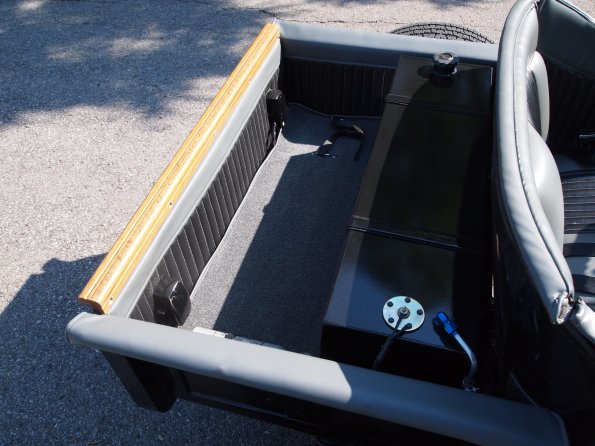
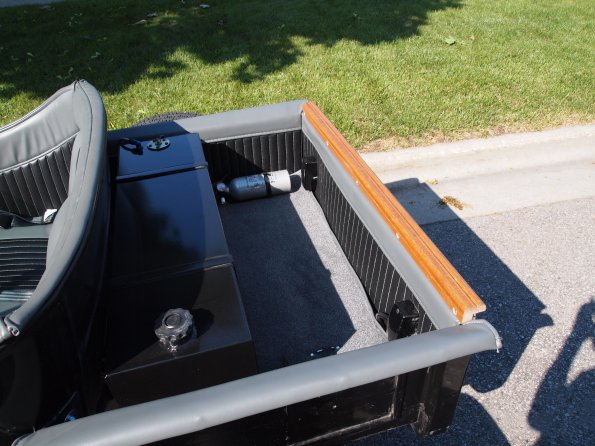


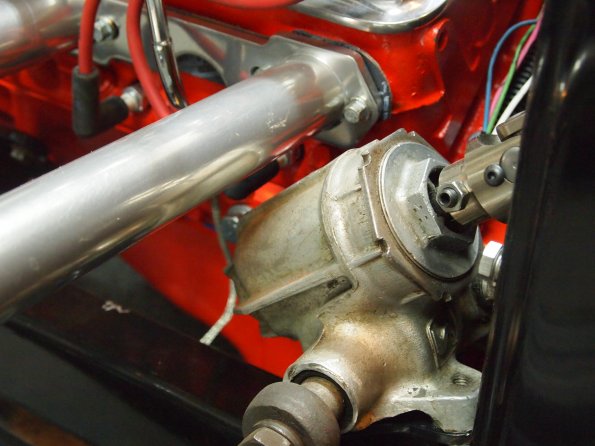
Could you take some close ups of your corvair box area..
How much space do you have between the header and the box? Do you know how much space you need there?
Thank you.
Thanks guys.
Its not as close as it looks, there is about 3/4 of an inch between the header and the top of the box. I can get some pics if you still need better idea of the setup. Personally I would like at least 1/2 inch between the two.