You are using an out of date browser. It may not display this or other websites correctly.
You should upgrade or use an alternative browser.
You should upgrade or use an alternative browser.
Covid Project - 80's Project T-Rod
- Thread starter BossMan
- Start date
BossMan
Active Member
I ended up purchasing a piece of 1/4" LEXAN (24"x48") off of Amazon. I noticed the price changes depending on the day and demand. It was $89.99 a week ago, I was able to get it for $59.99 (couple of days ago), and today it's $88.50. I'm not sure why Amazon fluctuates the price tag.
Amazon Lexan
Amazon Lexan
old round fart
Well-Known Member
I’m going to stick with glass. Plastic gets micro scratches so easy. Indycars is the only one that can keep it clean enough to avoid them. Besides he donated his old windshield and frame! Thanks to him!!!!
I hated those "sleigh horns" sticking out at the bottom tail, so I cut 'em off and glassed over the holes.
Just for info, those "sleigh horns" at the lower rear of Model T bodies are there from the factory. Cutting them off is up to you, but they're original. You usually see them on the roadster pickup bodies, or turtle backs. They can provide an attachment point for the pickup bed if you don't want to glass it flush into the body.


Last edited:
BossMan
Active Member
An update on my windshield. I finally got around to getting the piece of Lexan cut and installed. Overall, it was very simple to cut with a jigsaw using a metal jigsaw type blade. No chips or issues on the edges and it ended up fitting the frame well. I used a black exterior door caulk purchased from Lowes (Quad - OSI - for Window and Doors). It reminded me a lot of the Dupont black U-428 urethane sealant, but with less odor. I discovered the key to getting it to wipe and cleanup off of the windshield was Naptha. It didn't scratch or mess up the clarity of the polycarbonate material.


BossMan
Active Member
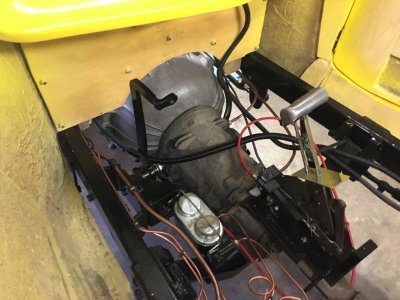
Over the weekend, I finally got around to tackling my emergency brake. I had to cut the mounting tabs off of the axle housing and fabricate a mounting bracket that would keep the brake cable hidden under the vehicle. This required some thinking on how I was going to mount and cut the cables and make sure my brake lever would have enough play and adjustment. I ended up welding the mount to the frame and then eye-balled and measured the length of cable to cut. This was pretty tricky. I used a small cut-off wheel to cut the cable...that worked well. I then found some small threaded metal plugs in my cabinet that were originally intended for the pull-chain of a standard home lighting fixture. They have nice chamfer and the brake cables easily slipped down them. I welded the ends, grinded them down, and attempted to fill with solder, but the solder didn't like the steel. So, I ended up using epoxy to fill the gaps from the top of the cable. It welded very easily and is now nice and solid.


old round fart
Well-Known Member
Did I miss the origin of the e-brake handle? I like it.
BossMan
Active Member
I believe it came out of an old Ford or Chevy. I ended up sanding it down and re-painting it. I was thinking of using a smaller “stubby” handle out of a Mini-Cooper, but ended up using the one I had. I figured why spend more money on purchasing another one if you can make the one you have work.
old round fart
Well-Known Member
Thanks Randy and Gerry. My trans is sticking up a bunch because I wanted to sit so low. It’s starting to bite me in the butt!
fletcherson
Well-Known Member
There is such limited space in these things. I went to great means to gain fractions of inches when I redesigned the seat, pedals, steering, and shifter. I came very close to scrapping it and going with a bigger body and frame but I wanted to retain the old stuff and really nothing would have just crossed over.Thanks Randy and Gerry. My trans is sticking up a bunch because I wanted to sit so low. It’s starting to bite me in the butt!
old round fart
Well-Known Member
To me part of the coolness of T buckets is the tiny size.
fletcherson
Well-Known Member
Me too, but I’m not tiny... so trying to make them somewhat comfortable and functional is a task. Three pedals tighten things up as well.To me part of the coolness of T buckets is the tiny size.
old round fart
Well-Known Member
Have a friend that uses a hand brake to make more floor room. He has one in his race car so it’s second nature to go for it. I don’t know if I could react fast enough in a panic situation to rely on that.
BossMan
Active Member
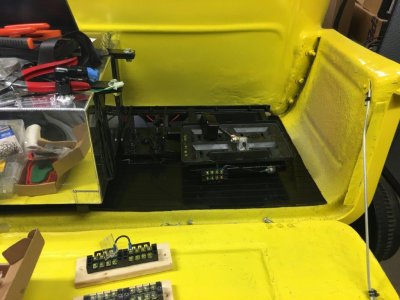
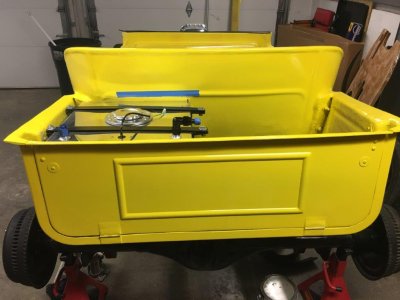
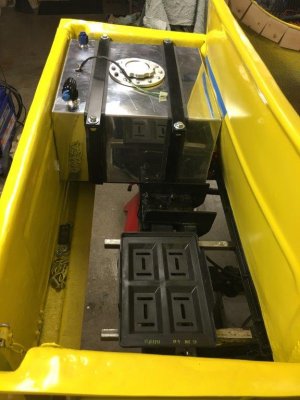
Well, It's been a while since I posted last, I was able to get around to getting the wood trim strips glued to the body and determining how to fabricate a mounting bracket for the fuel cell. The space is "very tight" for the 10 gallon fuel cell. I ended up purchasing the Speedway 16 gallon mounting bracket and cutting and drilling it down for my particular situation. It's a tight fit, but the fuel cell will mount ok and the tailgate will close. When I go to mount the tank, I'll end up using a rubber cushion strip to protect the tank from the steel mounts.


BossMan
Active Member
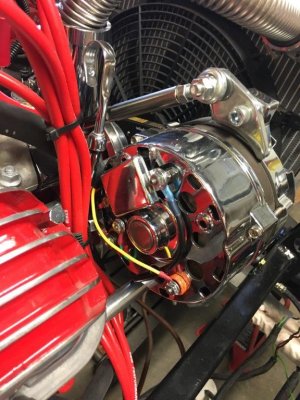
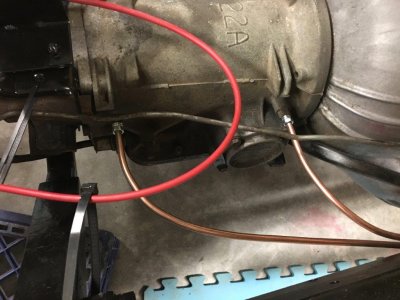
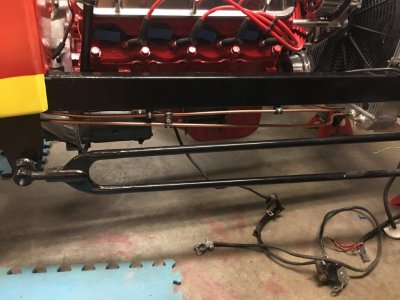
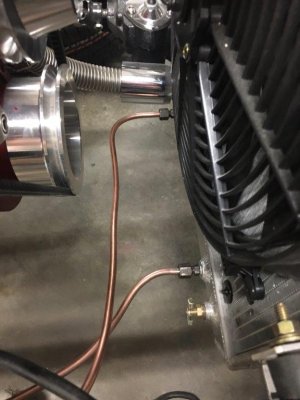
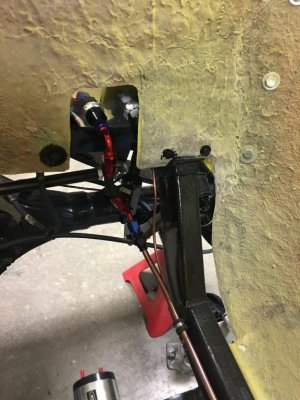
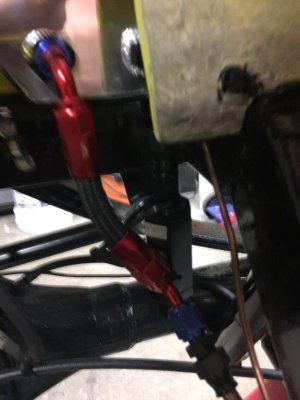
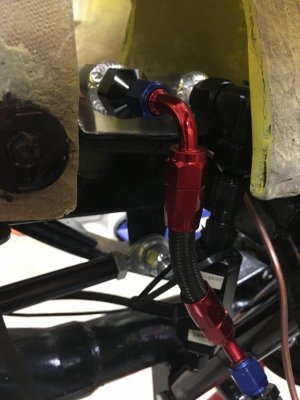
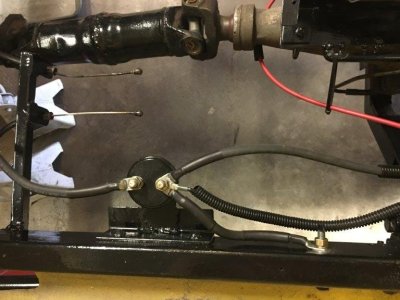
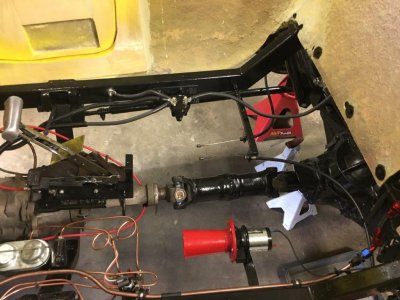
I finally got around to working on the car again. I got the fuel tank mounted and final connected. As you can see, it was very tight quarters for the 10 gallon fuel cell. I ended up scrapping my old transmission lines and fabricating new ones (using CU-Ni lines). I fabricated #2 welding cable for my battery cables. I used a master ground disconnect switch for the grounding system.


Similar threads
- Replies
- 0
- Views
- 746
- Replies
- 26
- Views
- 9K


