You are using an out of date browser. It may not display this or other websites correctly.
You should upgrade or use an alternative browser.
You should upgrade or use an alternative browser.
Covid Project - 80's Project T-Rod
- Thread starter BossMan
- Start date
BossMan
Active Member
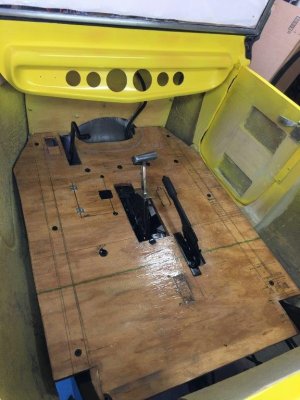
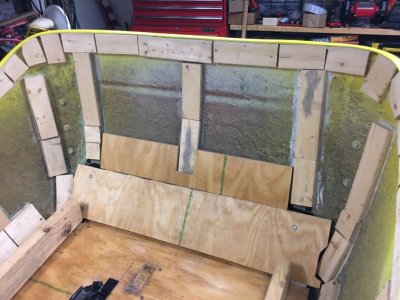
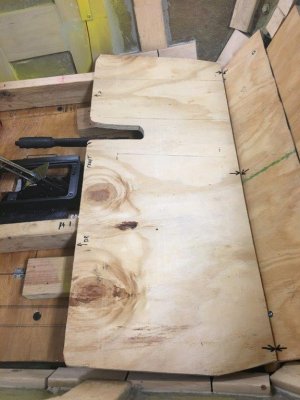
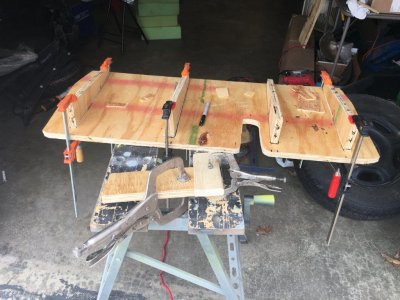
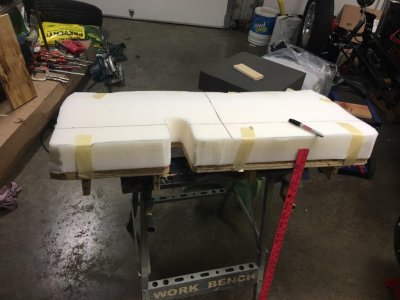
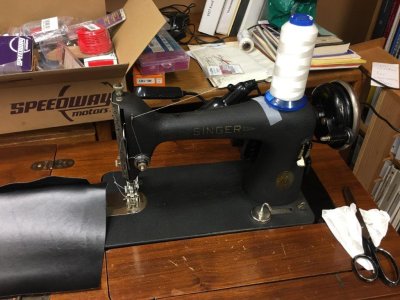
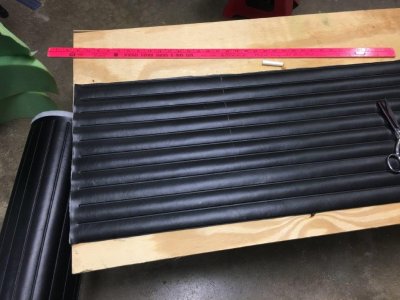
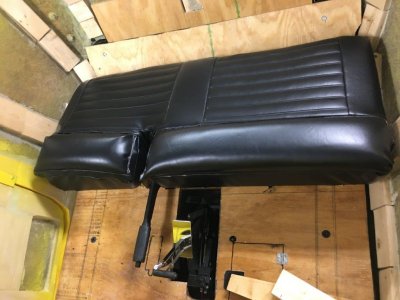
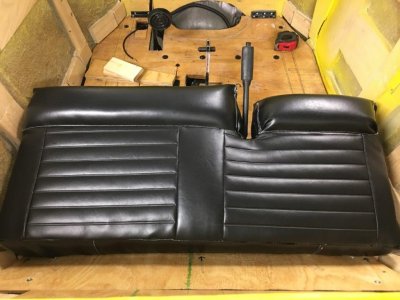
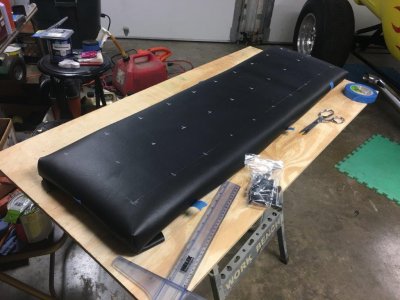
Finally got the floor installed and screwed to the frame. I used the long bolts and rubber expansion anchors from Speedway. I decided to take my chances at doing upholstery. I've never done upholstery work, so I took my time and did the best I could. I used 3/4" plywood for the bench frame, 2" medium density foam, and black marine vinyl. It's nice that you can purchase pleated vinyl. I ended up buying a Singer 66 for $50 off of Craigslist, and then cleaned and lubed it up well. I purchased a quilting walking foot, and it did a nice job with moving the vinyl. In some situations, I had to sew through 4-layers of vinyl and it actually went through it fairly well. Overall, the seat bench turned out OK, by no means is it excellent, but it will work for my situation. The seat is by far, the hardest part for getting all the corners and front roll bump completed. I wasn't sure how it was going to go, but overall, it's not bad.


Houch
Member
Great job! Looks good.Finally got the floor installed and screwed to the frame. I used the long bolts and rubber expansion anchors from Speedway. I decided to take my chances at doing upholstery. I've never done upholstery work, so I took my time and did the best I could. I used 3/4" plywood for the bench frame, 2" medium density foam, and black marine vinyl. It's nice that you can purchase pleated vinyl. I ended up buying a Singer 66 for $50 off of Craigslist, and then cleaned and lubed it up well. I purchased a quilting walking foot, and it did a nice job with moving the vinyl. In some situations, I had to sew through 4-layers of vinyl and it actually went through it fairly well. Overall, the seat bench turned out OK, by no means is it excellent, but it will work for my situation. The seat is by far, the hardest part for getting all the corners and front roll bump completed. I wasn't sure how it was going to go, but overall, it's not bad.
View attachment 24987View attachment 24988View attachment 24989View attachment 24990View attachment 24991View attachment 24992View attachment 24993View attachment 24994View attachment 24995
BossMan
Active Member
Another update...I finally got the steering column and linkage completed. I discovered that the "cheap" chrome Double-D U-joints are junk. I thought it may work, but it started binding when turning the steering wheel. So, I went and bought a quality Borgeson u-joint and it worked great. Borgeson and Sweet Mfg. u-joints are the best on the market.
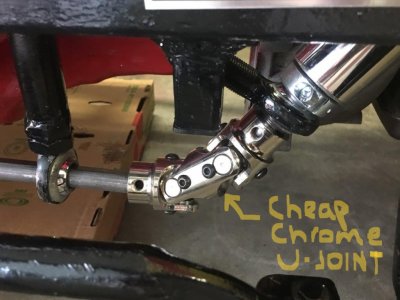
Quality Borgeson U-Joint
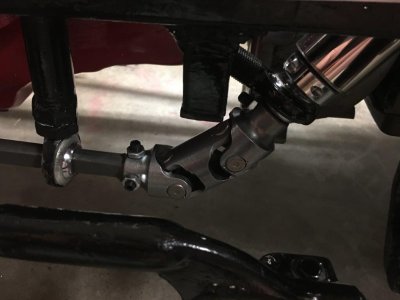
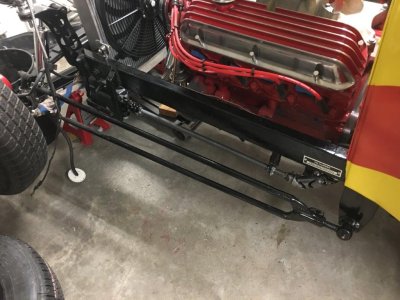
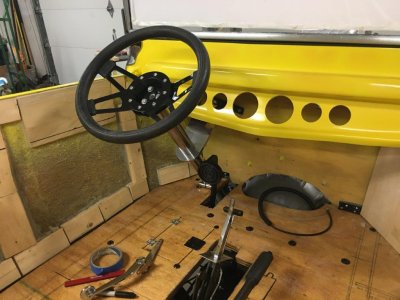

Quality Borgeson U-Joint


fletcherson
Well-Known Member
I have a considerable investment of effort and money in the steering column/gearbox/etc. I’m sure it could have been done with boneyard pieces but I was using different parts, so some ingenuity was required and ordering parts was simpler.
BossMan
Active Member
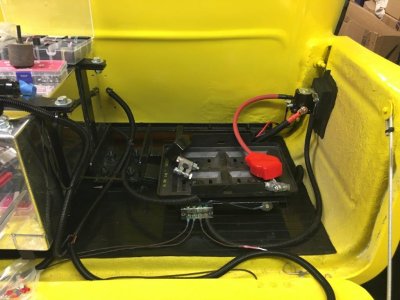
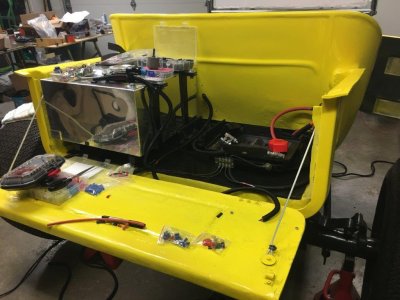
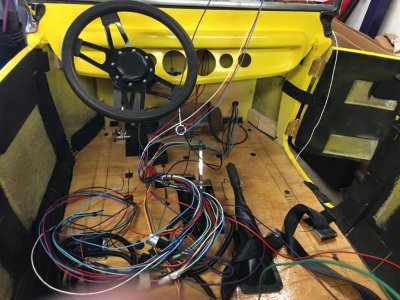
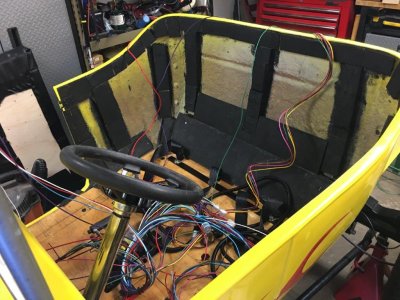
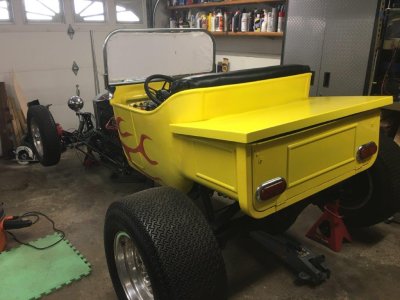
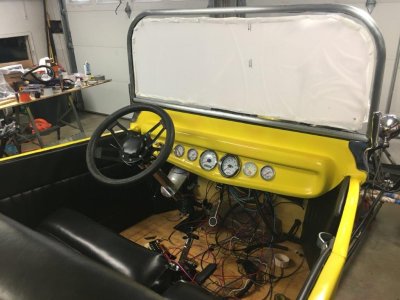
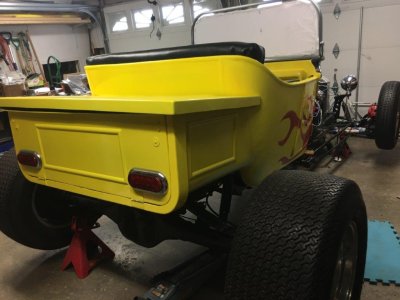
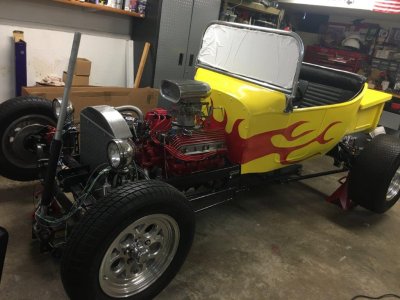
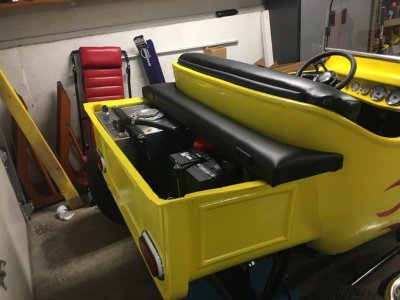
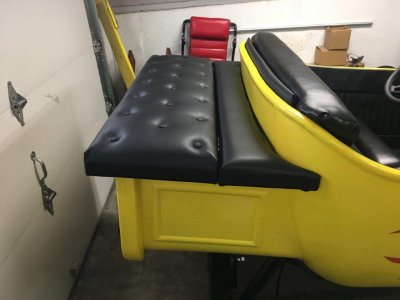
Well, it's been a couple of months...I thought I would share some updates on my build. I got the seats, and all the upholstery panels completed. Overall, they turned out pretty good. Additionally, I started wiring the vehicle. I'm about 75% done. I hope to have the car ready to start in the next month or so.
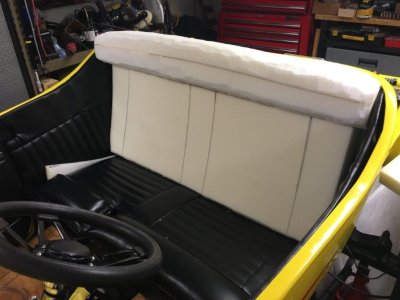
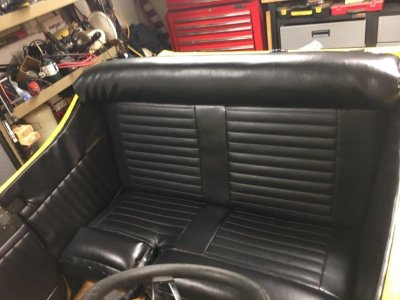


Jack Henderson
Member
That's looking damn fine, Randy!
BossMan
Active Member
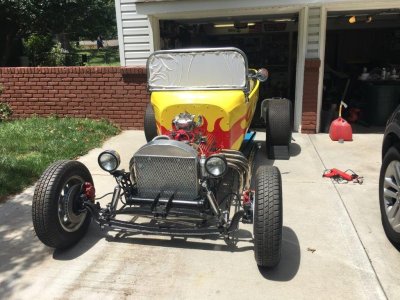
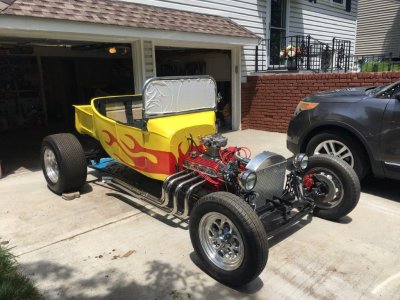
Well I got the car started for the first time yesterday! I had a couple of initial small leaks (fuel line, trans-cooler line, and the intake manifold temp probe). But, after doing some loosening and retightening, the new lines finally seated, and all the leaks resolved themselves.
Also, something that I discovered when starting the car, it was trying to move forward on the chock block when I would gently rev the throttle. What I discovered was that I was starting the car in 1st gear. At first, I was thinking there was something possibly wrong with the transmission, but then I discovered after watching a couple of Youtube videos on the C4 transmission that I have the small linkage shift arm on the transmission mounted upwards instead of pointing downwards. By doing so, that reverses the order of the PRND21 to become 12DNRP. You live and learn! LOL
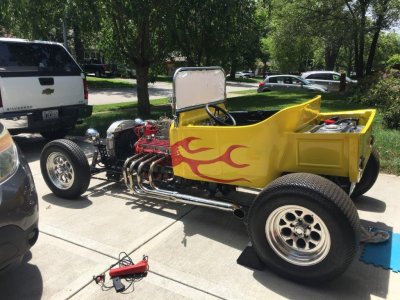
Also, something that I discovered when starting the car, it was trying to move forward on the chock block when I would gently rev the throttle. What I discovered was that I was starting the car in 1st gear. At first, I was thinking there was something possibly wrong with the transmission, but then I discovered after watching a couple of Youtube videos on the C4 transmission that I have the small linkage shift arm on the transmission mounted upwards instead of pointing downwards. By doing so, that reverses the order of the PRND21 to become 12DNRP. You live and learn! LOL


BossMan
Active Member
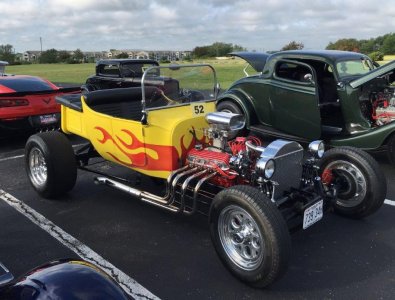
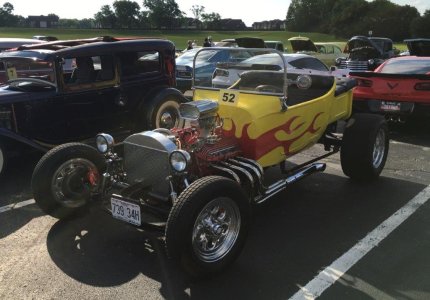
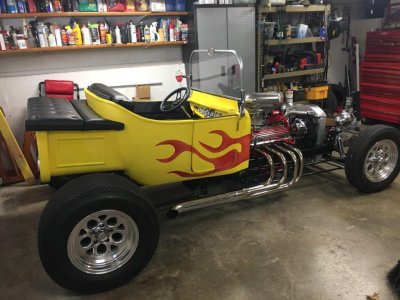
I thought I would post some updates. I finally got the upholstery wrapped up and the trunk bed completed. I drove it to my first car show over the weekend. While driving the car, I was hitting some bumps and noticed the the front driver-side shock mount came unwelded. I ended up tying it off with some nylon rope and a used shirt (see car show pic below). I limped my way to the car show and was able to drive it back to the house.
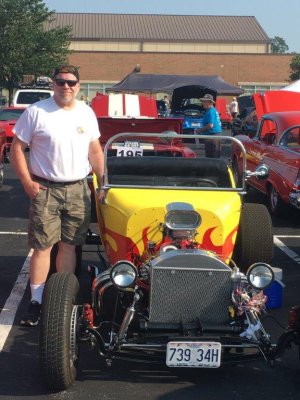
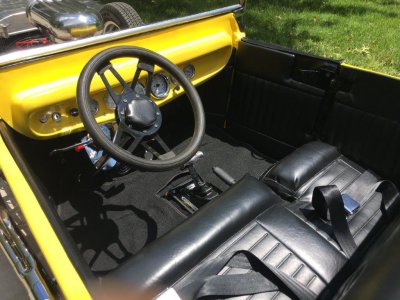


BossMan
Active Member
Thanks Spanky. I ended up taking the light off and getting the mount re-welded. I decided to put a project slideshow together on YouTube. I think the sequential order and music provides a better story.
1927 T-Bucket Project Build Slideshow
1927 T-Bucket Project Build Slideshow
BossMan
Active Member
A few updates on some final touch ups. I decided the traditional floor carpet was loose/skimpy and moved around when you got in and out of the vehicle. So, I decided to use some leftover industrial exterior mat is much heavier and is easier to clean and vacuum. I think it turned out well.
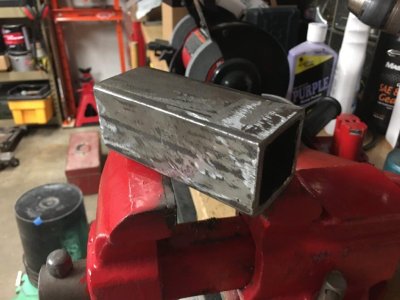
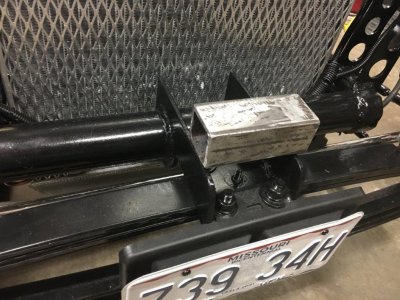
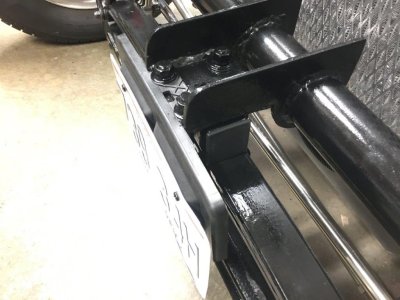
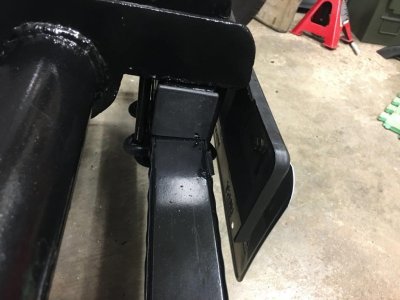
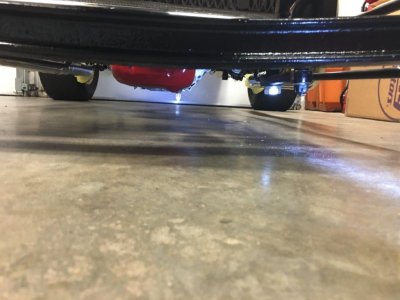
My next project with the bucket is getting the front of the body raised. My scrub line is way to low...I only have about 2 inches from the steering gear shaft to the ground. I know...Spanky brought this up a while back...I wish I would have listened more. At the time, I was struggling with figuring out how to get the steering box mounted, and now realize it's way to low. My plan is to mount a 2 in. x 2 in. piece of steel tubing (heavy 1/4" walls, 4 inch length) on top of the front spring shackles. This would raise the frame/body up 2 inches. A piece of 2" x 2" square steel tubing and longer U-bolts....that seems to be the most logical and affordable solution. I hope to get this completed some time in October.
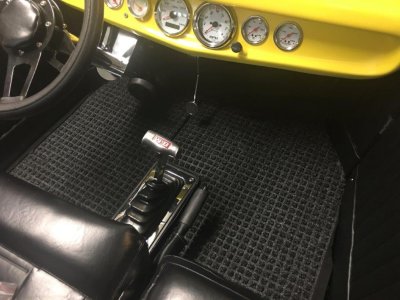
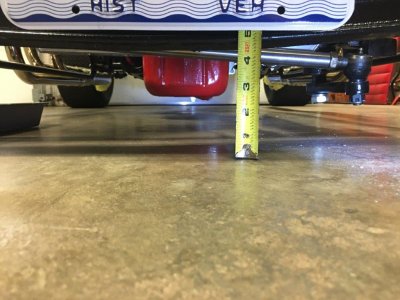
My next project with the bucket is getting the front of the body raised. My scrub line is way to low...I only have about 2 inches from the steering gear shaft to the ground. I know...Spanky brought this up a while back...I wish I would have listened more. At the time, I was struggling with figuring out how to get the steering box mounted, and now realize it's way to low. My plan is to mount a 2 in. x 2 in. piece of steel tubing (heavy 1/4" walls, 4 inch length) on top of the front spring shackles. This would raise the frame/body up 2 inches. A piece of 2" x 2" square steel tubing and longer U-bolts....that seems to be the most logical and affordable solution. I hope to get this completed some time in October.


Similar threads
- Replies
- 0
- Views
- 757
- Replies
- 26
- Views
- 9K


