Garage Merch                Ron Pope Motorsports                California Custom Roadsters               

The Bucket List

I am thinking of replacing that 8" ford rear end and old coil spring setup with an 8.8" and modern coil overs.
I will just locate it in its original spot and weld the pan hard bar back in the same spot, cut off the old coil brackets off the frame and weld in some tabs for the new coil overs.
Is there an angle they are suppose to be on ?
What are you guys running for spring shock combo pressures on the back ?
I am mounting the battery, and fuel 10Gal fuel cell with a custom made metal box.
 
Last edited:
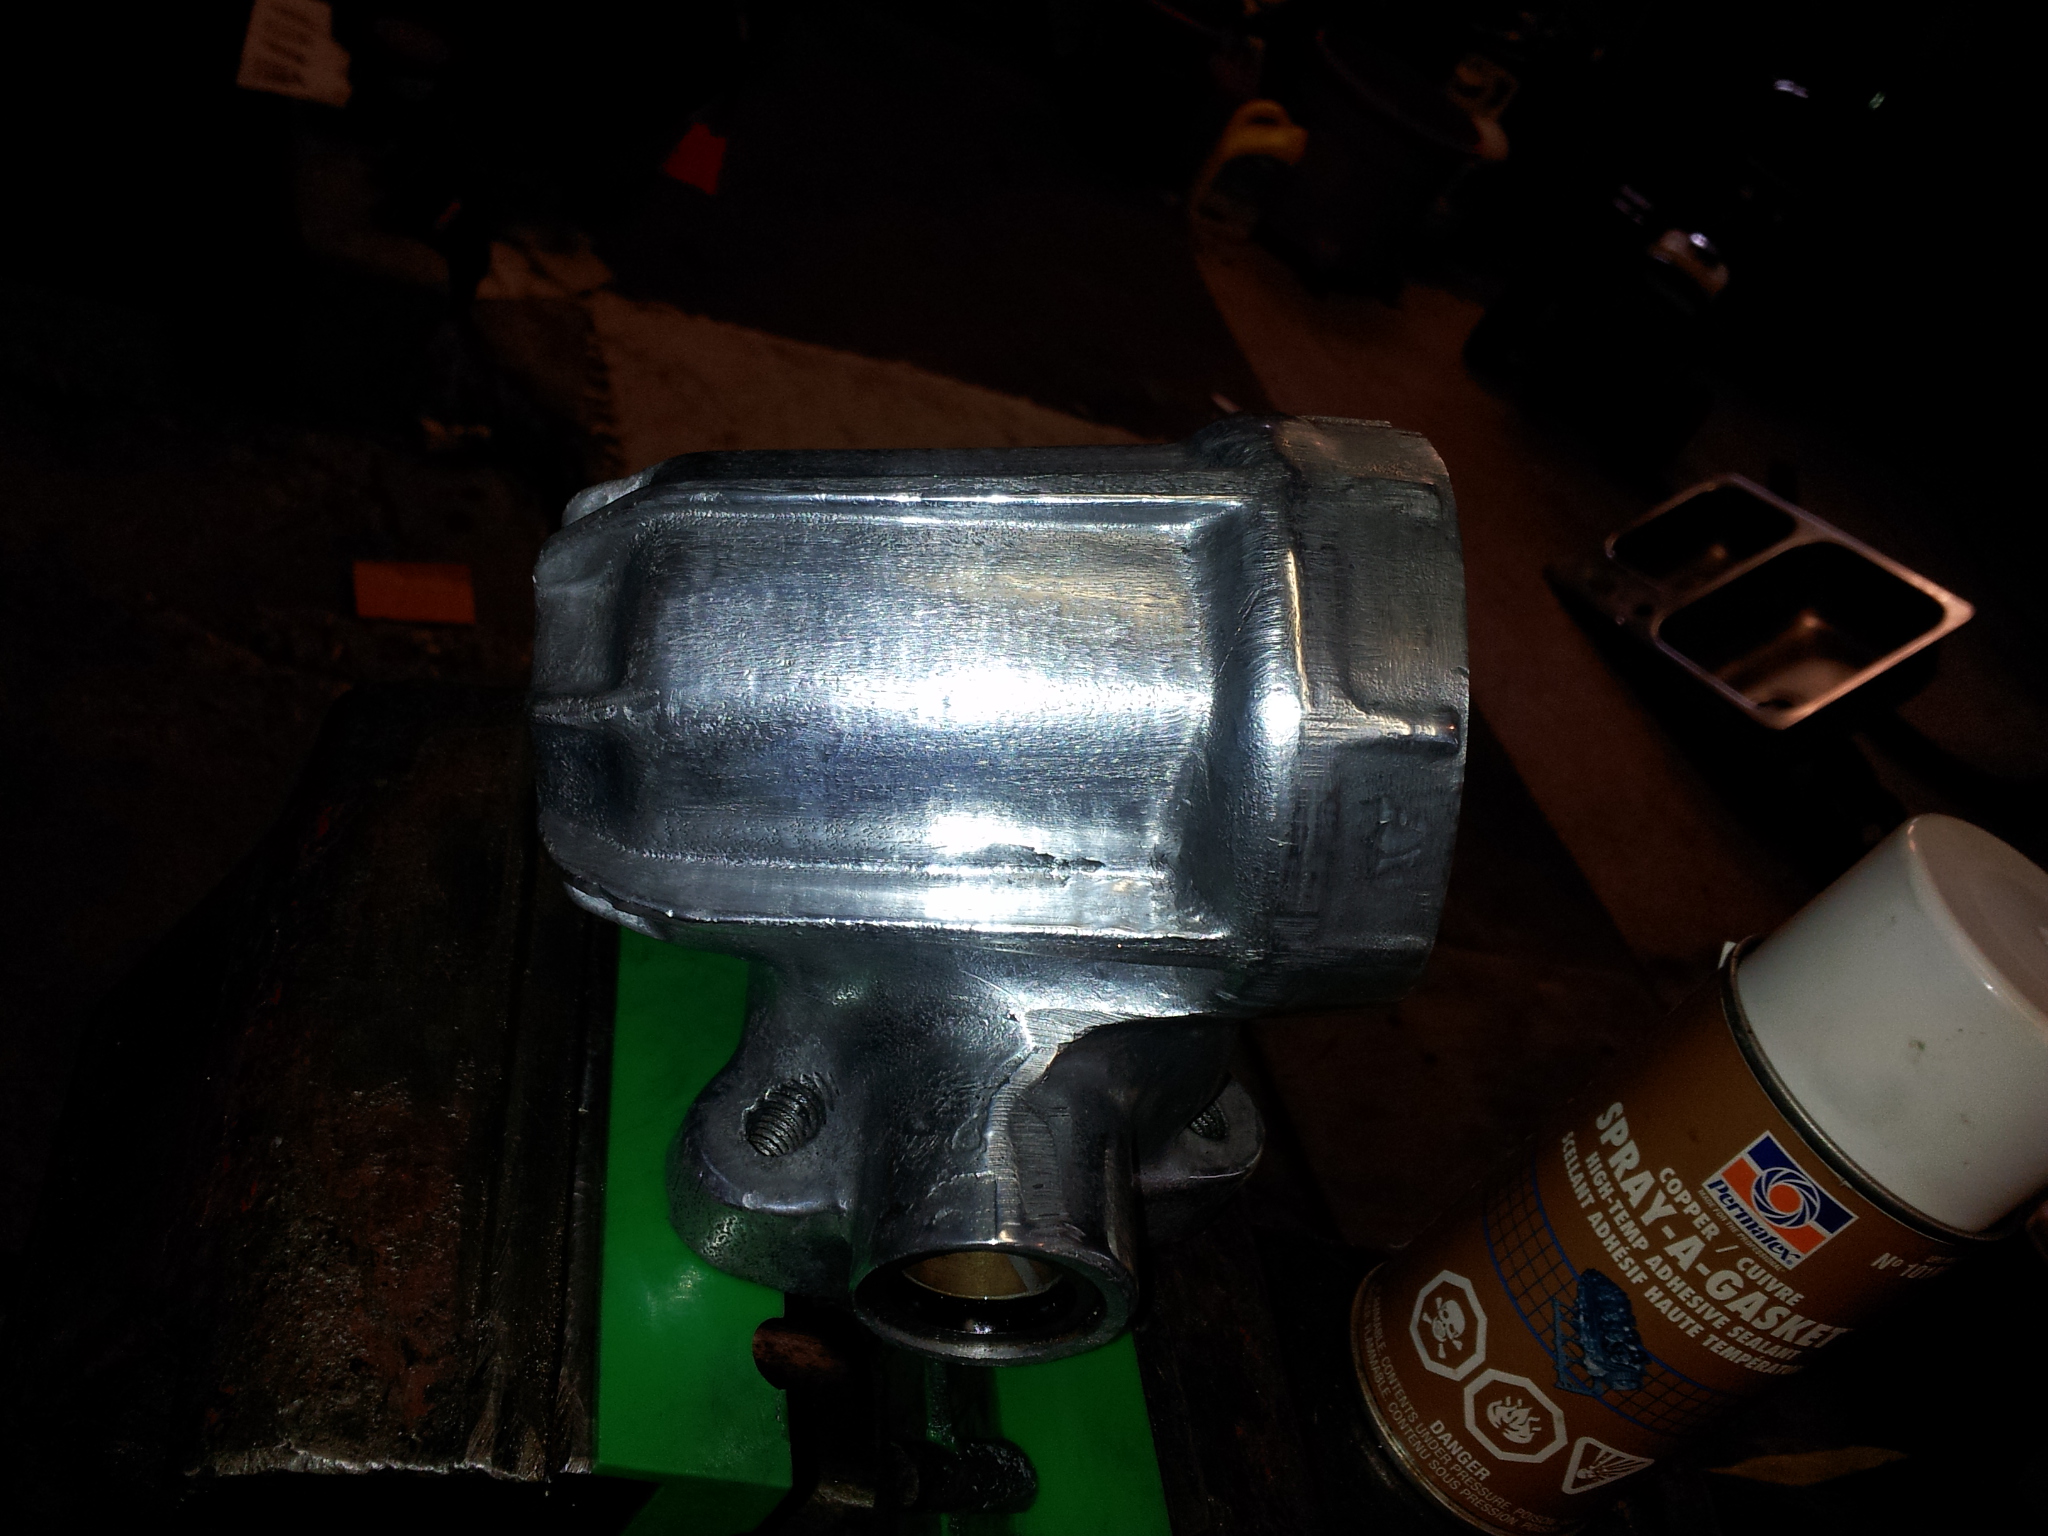
Steering box is cleaning up nicely, still needs a bit of work.

box3.jpg


some more sanding and it should look good.
 
There is a dimension somewhere for shock angle. I will see if I can find it. I can check the degree on mine, and let you know what I have. I think I got my information from Spirit.
 
Update..
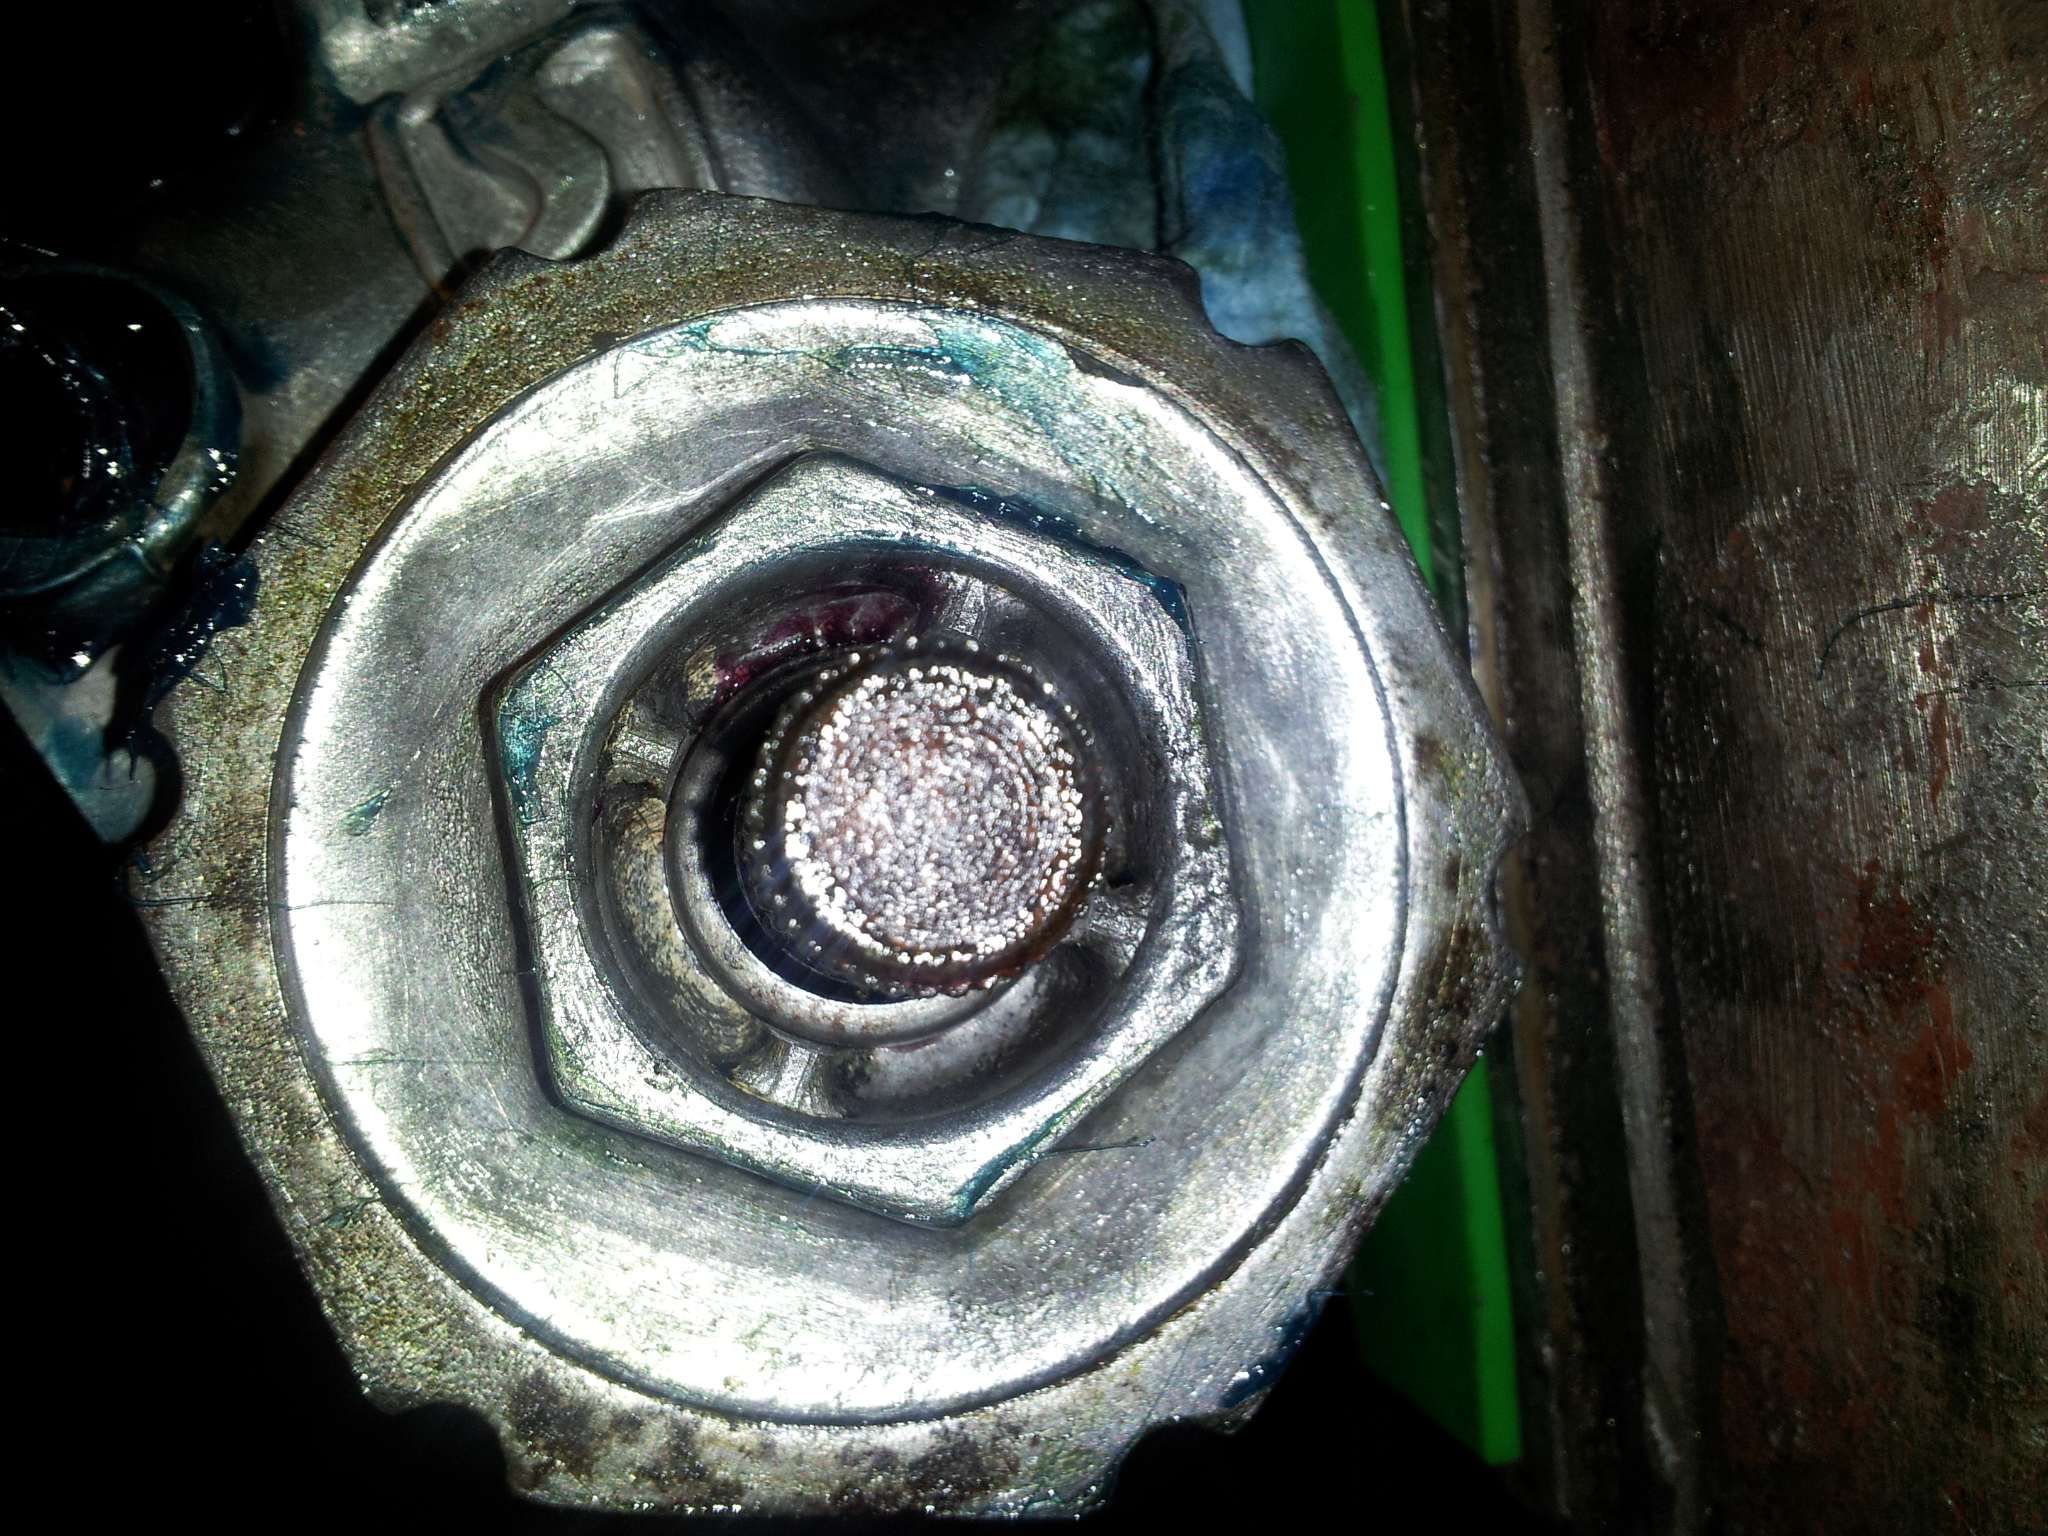
Got the steering box parts back from the machine shop and put together reversed.

here is a pic with the end machined to fit the seal.

boxendmachined.jpg


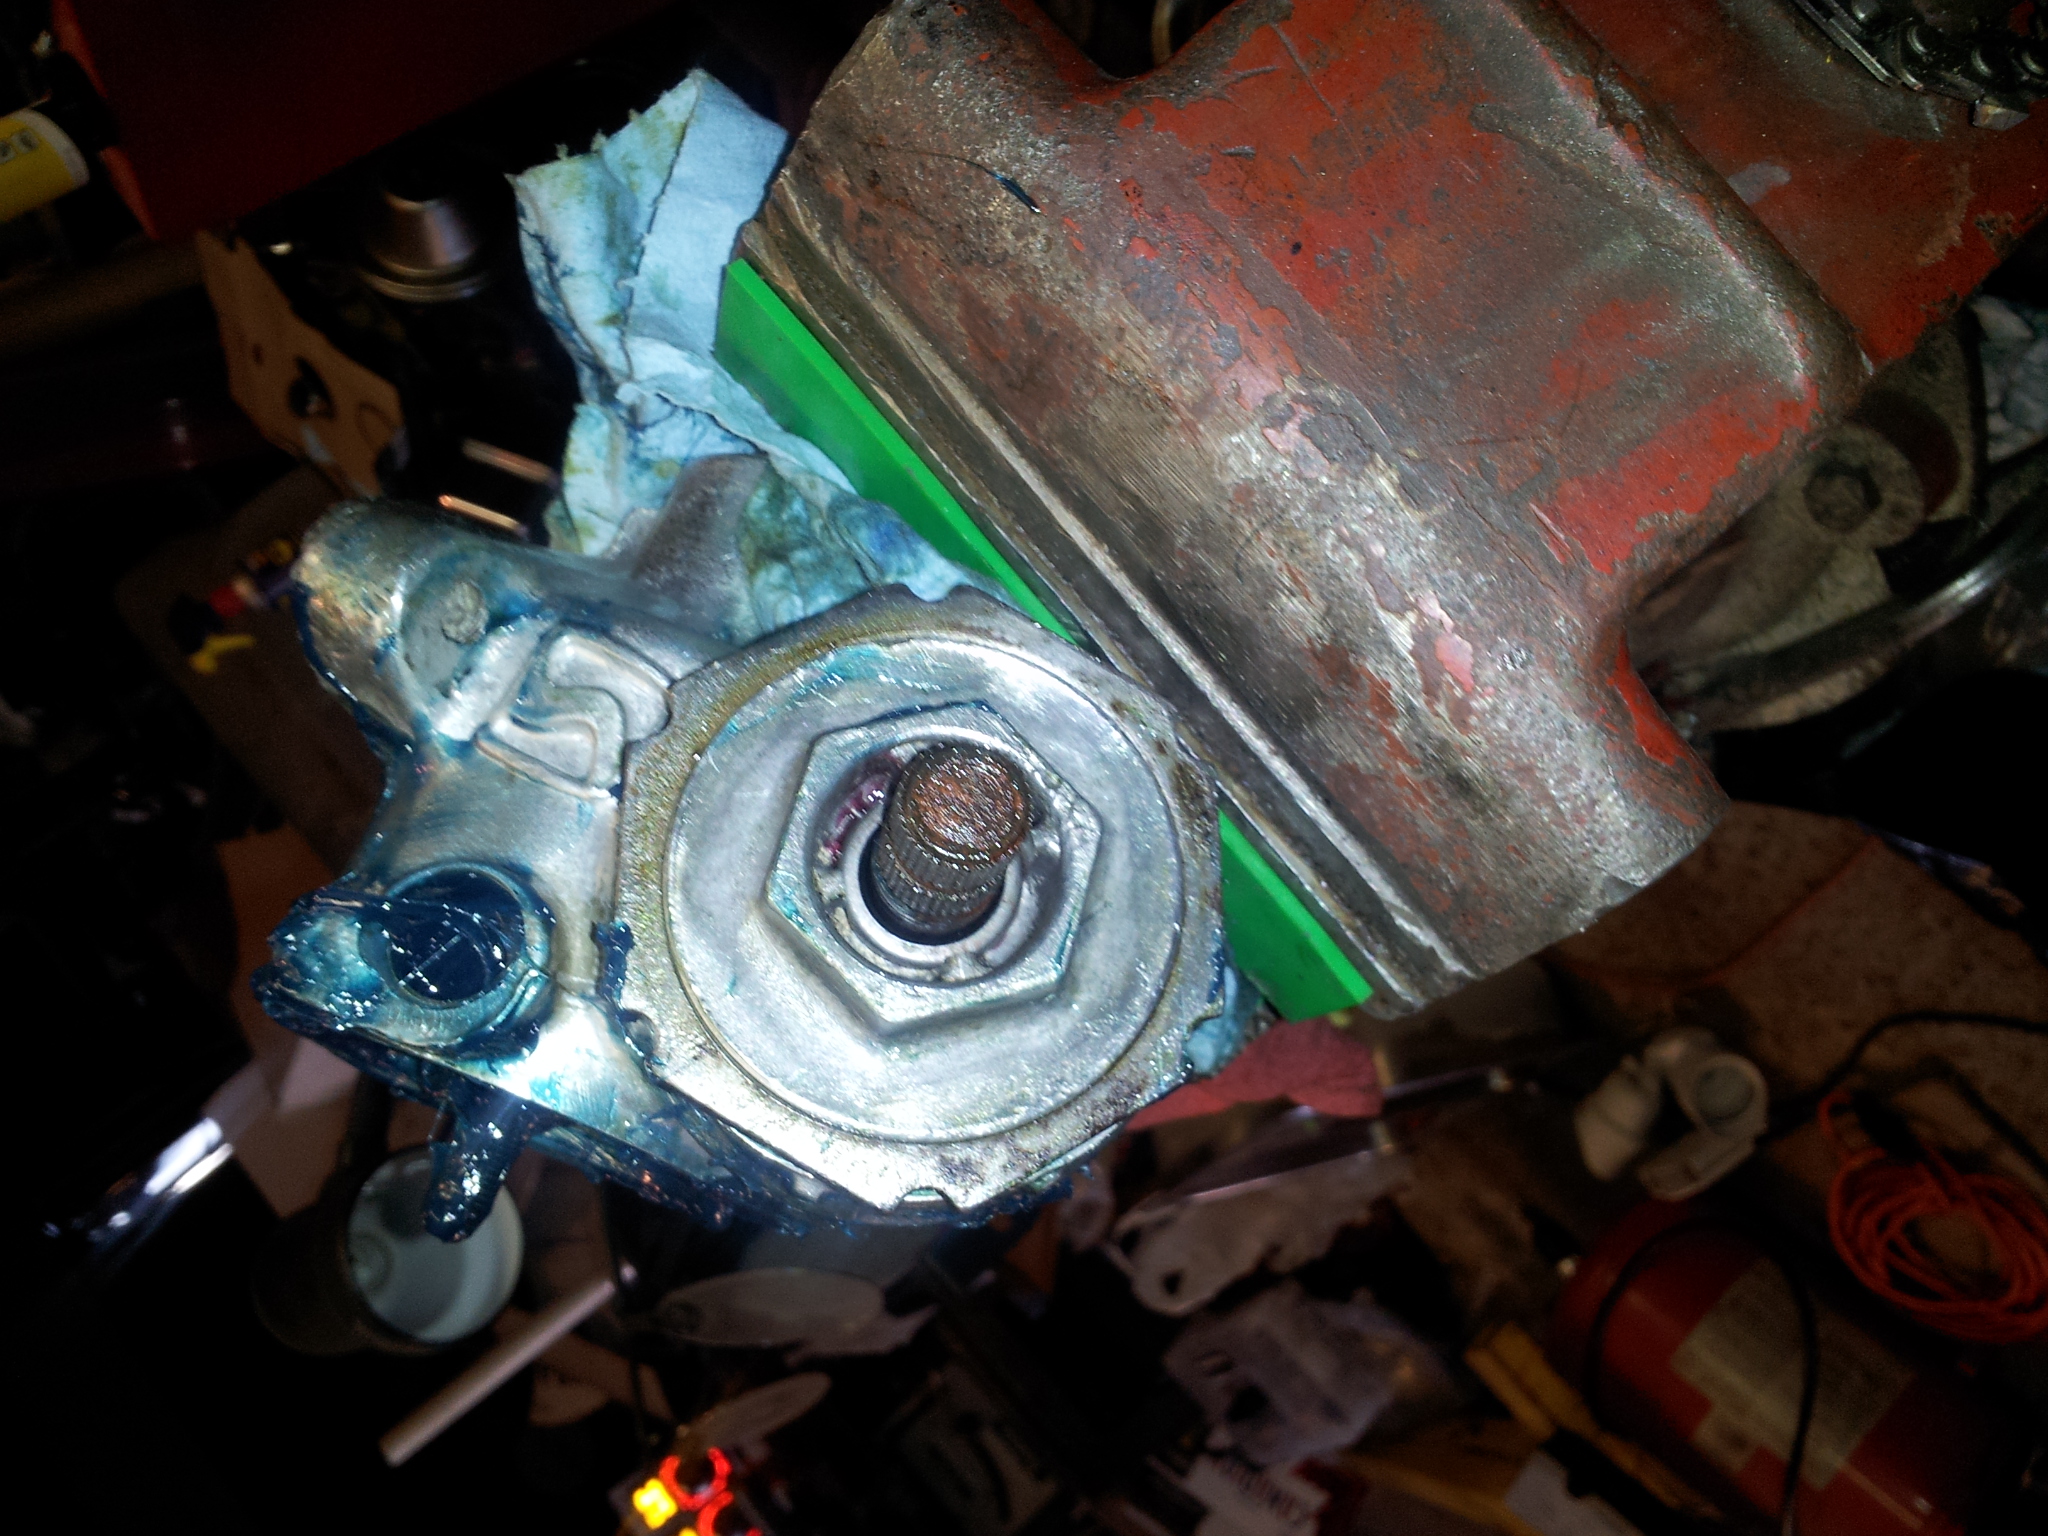
Here it is back together.

boxback.jpg
 
Basically you just flip the shaft over, seal the old end with a 15/16 freeze plug, drill out the top to press fit the old seal (or buy a new one)
line the gears back up in the center, pack it with wheel barring grease.
Some of the other websites suggested drilling it out the size of the shaft and I thought that was a hack job solution so I had it drilled out to press fit the seal.
 
Love those 283 and 327's I have one put back with fuelie heads,,tunnel, etc for the same purpose. I just need a bunch of energy to get to all of my projects.
 
Managed to get a 327 block today just incase the 283 is fubared.
Backup plan B.
I have been soaking the 283 with WD40 for a while now and its still stuck so bad that I can't even get the distributor out.
I can let it soak for another month while I mock up the new steering column from summit and get the steering box mounted, and the break pedal mocked up.
But then its going to the machine shop for a tank dip and evaluation call.
 
Trans or brake fluid is good. Diesel fuel also. Heat is your friend too. Sometimes those distributors gum up real bad. I have had to use a big pipe wrench on them. Once you get them to move, you can at least get penetrant to soak in.
 
Mouse milk on the distributor for 1 day and its out.
Letting the rest soak for a while because I need it in place to mock stuff up.
It works.
 
Update
I got the steering column.
Cut off the old mounts for the body and made new ones to correct the angle on the floor.
Got some nice poly mounts from summit.
Cut off the old steering column mounts from the straight through the floor setup, and the old brake pedal mounts.
Ordering the brake pedal assembly and gas pedal from Ron as soon as the damn funds transfer over to my Paypal (seems to be taking longer than usual).
Going to relocate the rear Pan hard bar bracket from inside the frame to under it after welding a crosser section to give me more room for my breaker panel and battery.
Question for you guru's
Can anyone identify that front axle?
I have it pegged as a 66 G-10 Chevy Van.
It has a 5X4.75 bolt pattern, brake shoes are 2.5" wide, drums are 9.5" inside diameter.
I want to start ordering the new spring kits and wheel cylinders but not 100% on the right parts.
May also have a surprise in store for the floor and bed of the box if a deal goes through, if there is enough left over it may end up on the firewall and dash as well.
 
Scored on some nice material for the floors and the bed of the box, some may go to the firewall and the dash.
3/8 Carbon fiber composite flooring used in Jets.
Looks great after its cleaned up, can't wait to make stuff out of this.
 
Looks like it could be a Ford Econoline, or . . . many light trucks used I-beam axles like that, could even be an early Chevy.:unsure:
 

     Ron Pope Motorsports                Advertise with Us!     
Back
Top