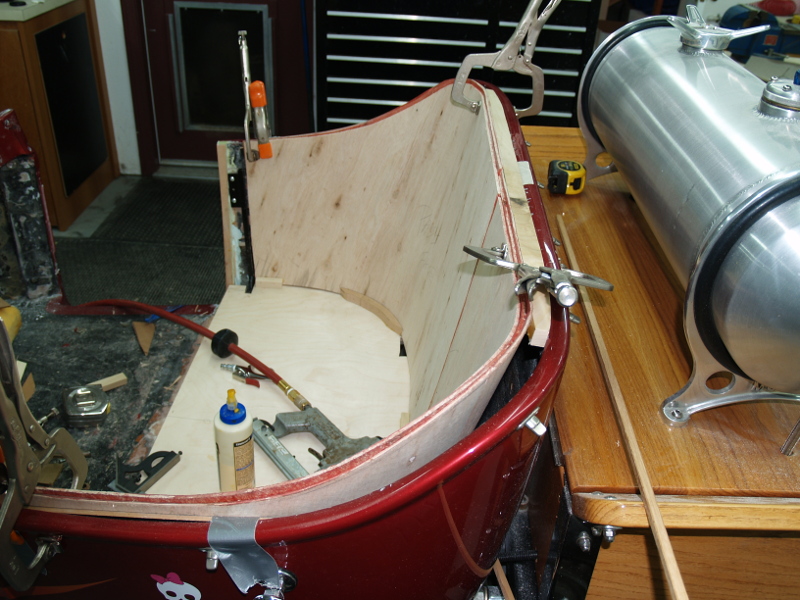
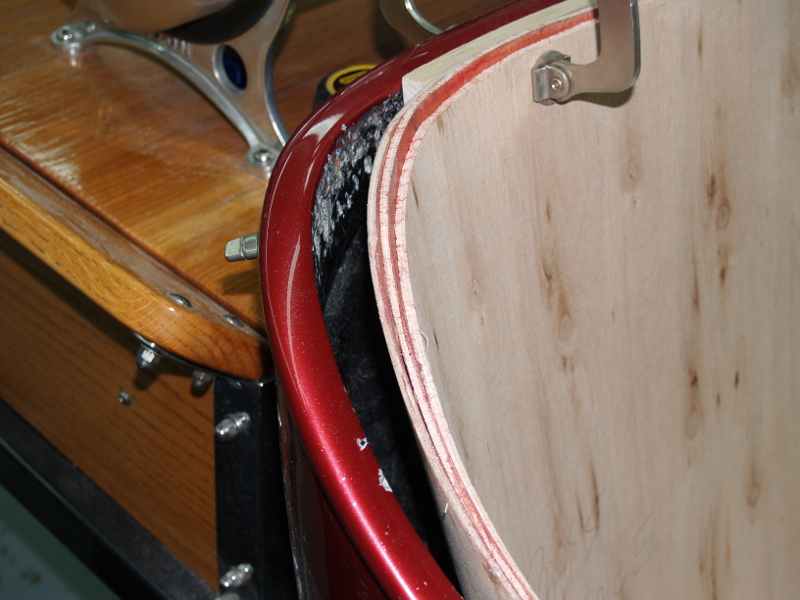
I used bending plywood. Normal plywood is made with the grain of the different plys laid in alternating directions. For example if it is a 5 ply piece, two of the layers will have their grain running north-south, and the other three will have their grain running east-west. This is what helps keep the sheet flat and straight as well as adding strength. In bending plywood the grain of all the plies runs in the same direction. Depending on what you buy, the sheet (assuming a 4' x 8') may flex in the 8' direction or in the 4' direction. There are various thicknesses available, I used 1/4". The stuff is so flexible that a sheet of it will not stand up by itself when leaned against the wall, there is no need for kerfing as 2o2f suggested. If you look at the pics I posted, you will see that there is red stuff between the layers. This is contact cement, although regular yellow glue will work just as well. I buy contact cement that is tinted red because it is easier to see for clean-up. All you have to do is bend one piece into place and it takes VERY little pressure to do this, cover it with glue of your choice, and then add a second layer. When the glue dries the two pieces will hold their curved shape without any help. I used contact cement so that I wouldn't have to wait for any glue to dry after I stuck the two pieces together, but as I said, any glue will work fine. My pics show a third layer, that is just to add thickness. You would be surprised at how strong just two layers of 1/4" stuff is.


")
 Research, man. Research.


.jpg")
