Ron Pope Motorsports                California Custom Roadsters               

GRTS 2009-10 T-Bucket Build

estesken

Member
Train the Trainer thread (http://www.tbucketeers.com/forum/f18/train-trainer-4557/ ) has turned into GRTS 2009-10 T-Bucket Build
:toast:
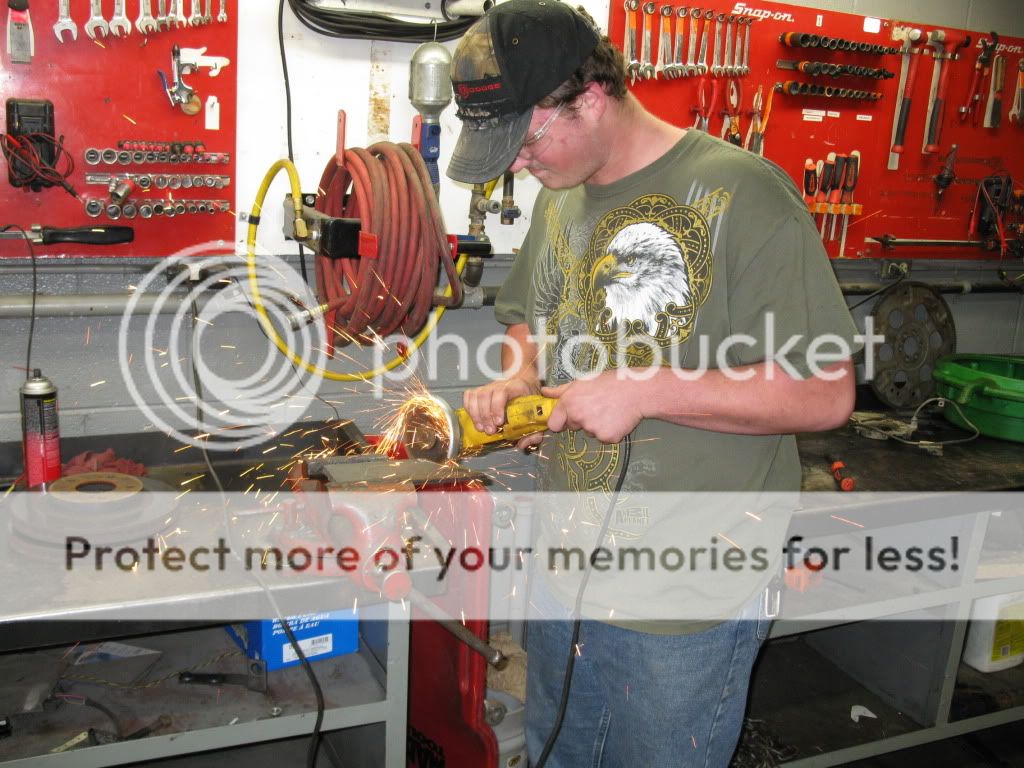
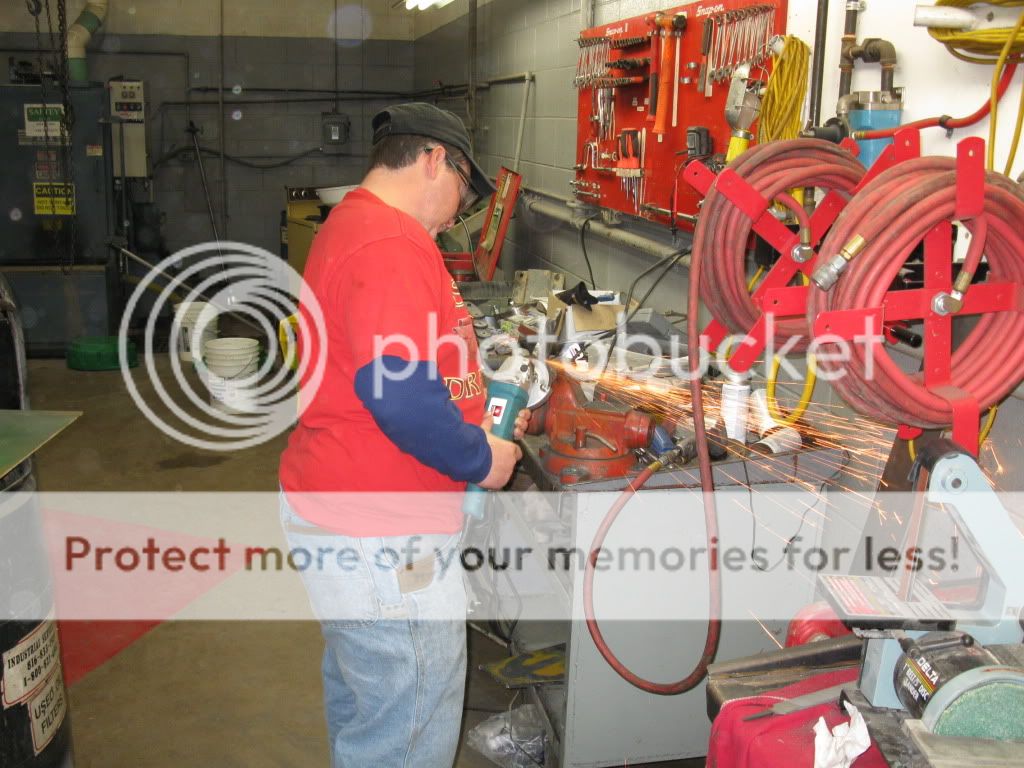
Some students are getting done with Safety test and beginning to get a little shop time. Today we had time to the Spirit body on our CCR frame Mockup. We only have 40 between the back of the front Cross member and the firewall. CCRs sooth body frame mod. put the box @ 38, but it doesnt look to us like there is enough room to a radiator, electric Fan, stock 350 and HEI ign. System. Are we being paranoid or do we need to modify rear kick and slide the body back a bit? Id rather have a little extra room but do not want to jack up the geometry or the balance of chassis.

Inquiring mind want to know!
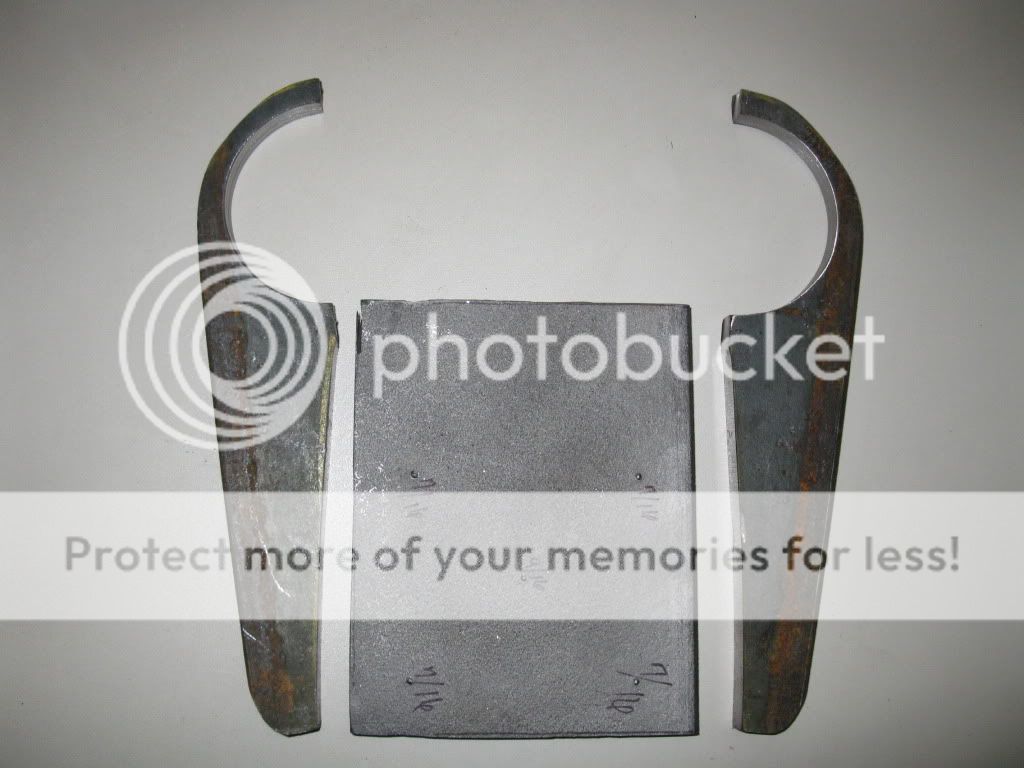
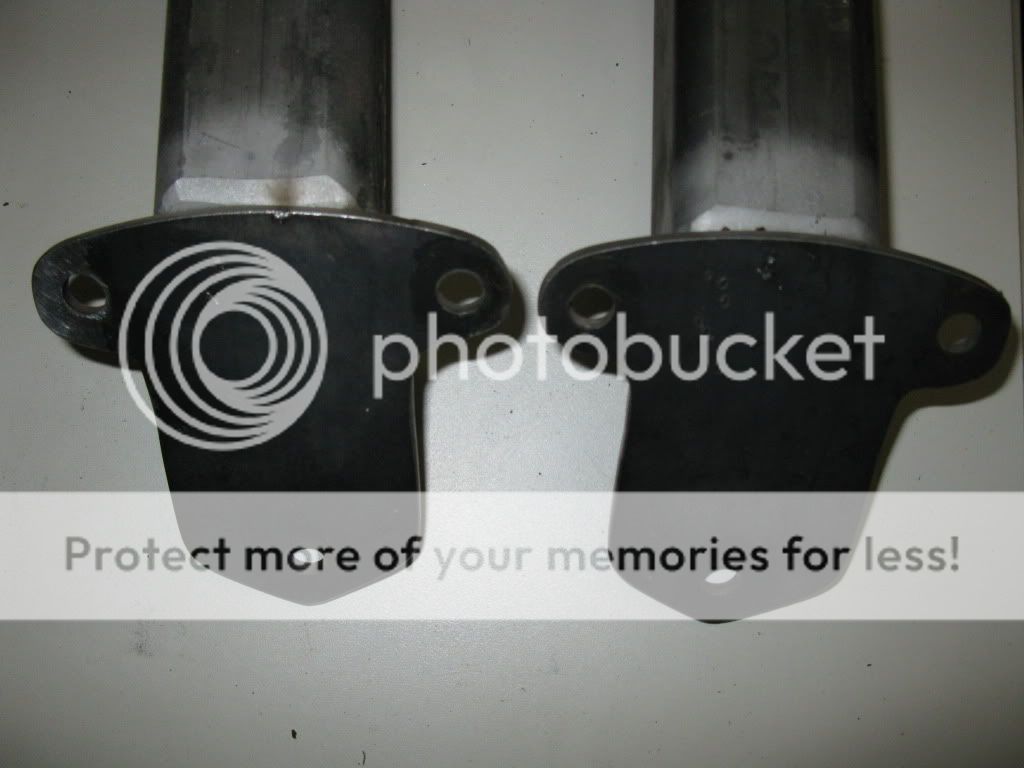
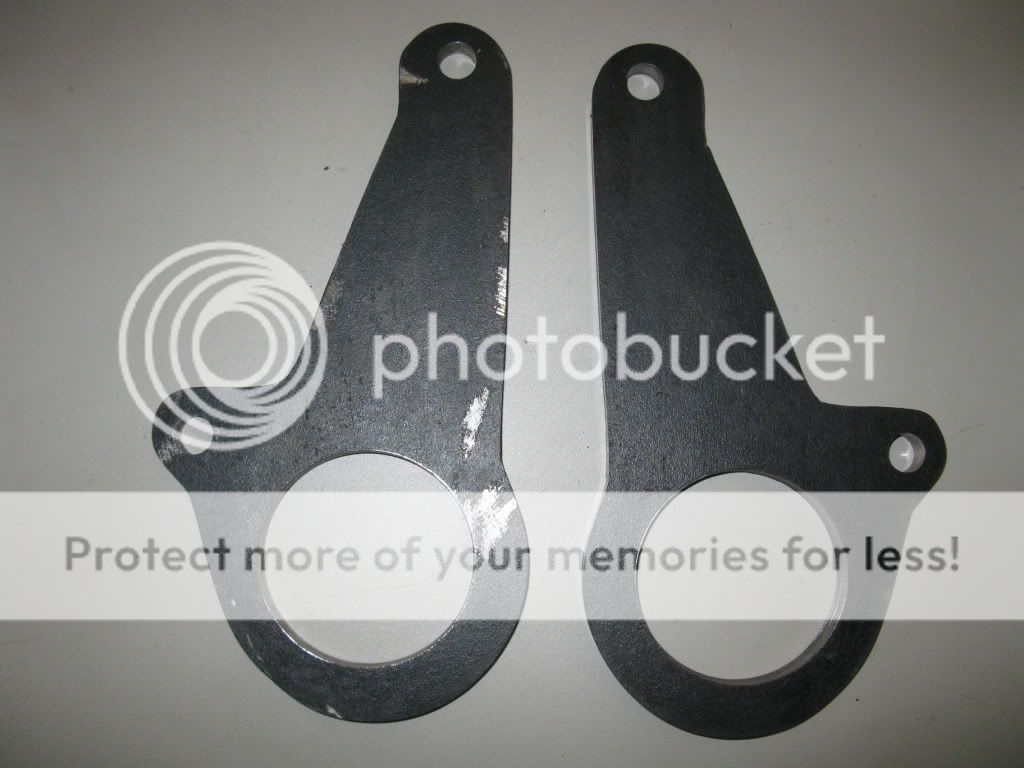
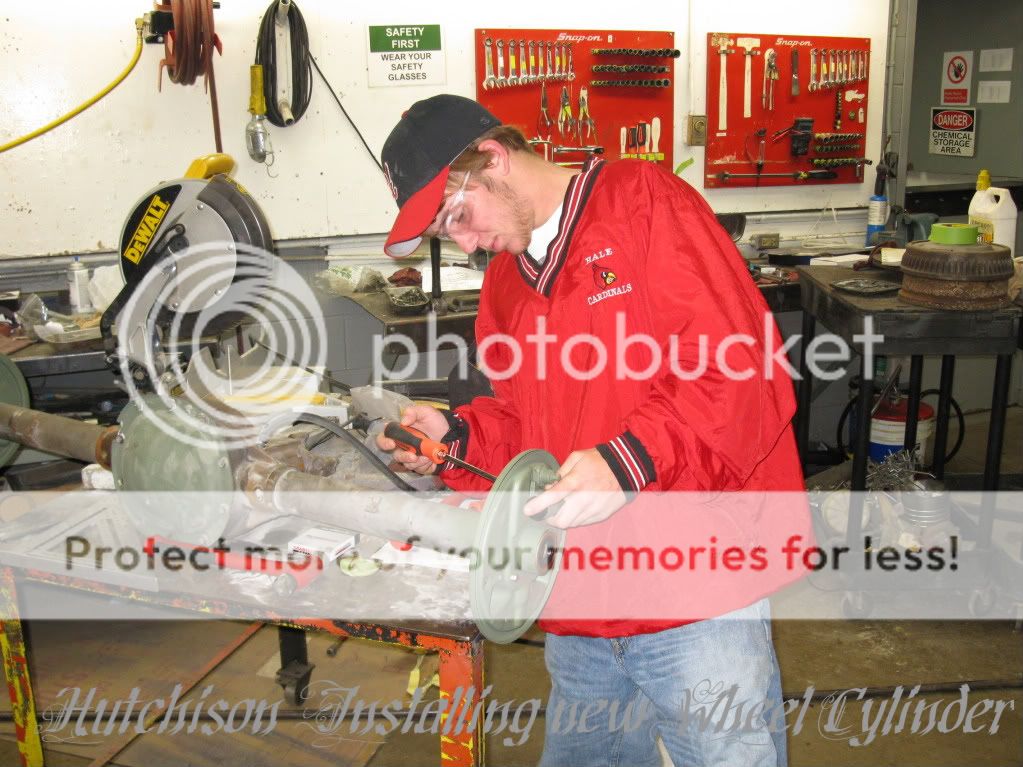
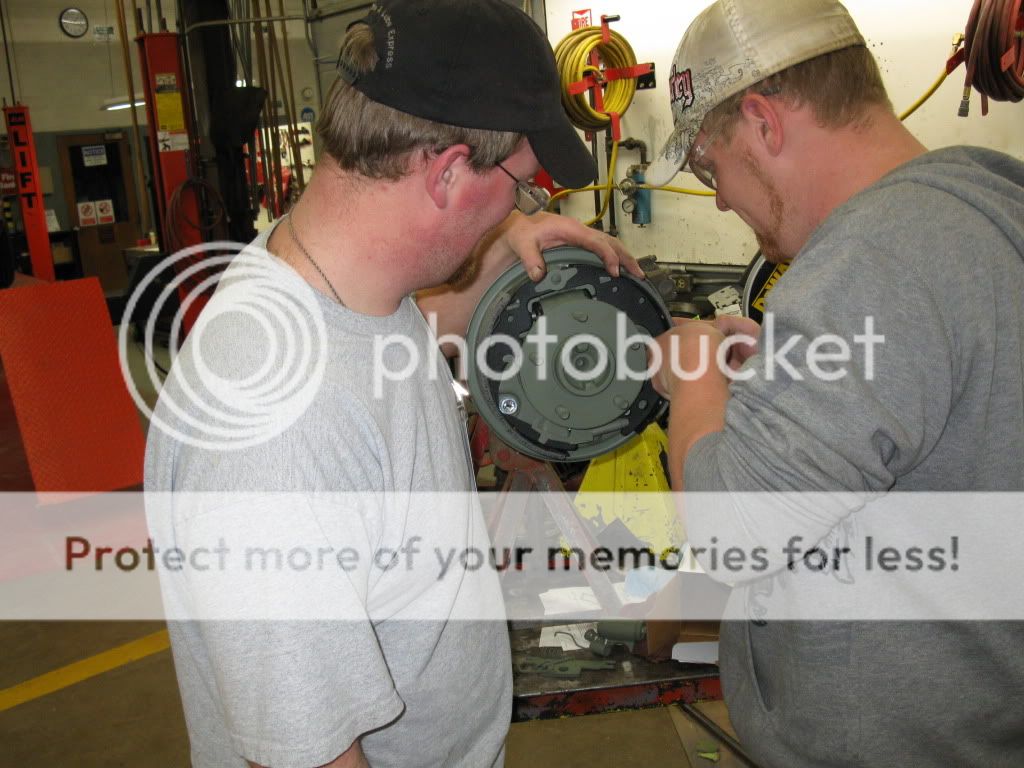
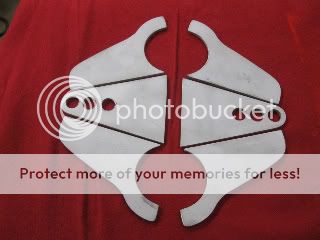
 
Position the rear end first (w/wheels), Position the body on the frame. Body should be fairly close to frame kick-up (depending on length of p-cup bed). Move to suite taste. If you had a front axle you could throw it on the front and get a better visual. Might need to build another frame (wood is great). T's are like women. Do you want short and sweet or long and low? I'm a long and low man myself.
I would work back to front, centering the rear wheels in the bed. My take on it.

I know it's all interpretive. Great learning experience.

John
 
It's been a while since last post, so i thought I'd update and ask a question. Frame metal cut and welders doing what welders do. Pics of frame as soon as we get it back . We had the brackets cut off the diff., cleaned up and looking good, however... we needed a couple welds and touched up with grinder. Well ..We have at least one student that still needs to learn how to run a grinder. :) I hope body filler will stick to Axle. Donner engine is about out. Group working on rear brackets. A couple of them want to incorporate a wheelie bar bracket into rear radius brackets. O.K. before you start, I know i don't need wheelie bars and i for sure don't want to run them. I do admit they would look cool on the car sitting around the shop. I hate to say no if they are energetic enough to make them. The question of the day is about the geometry of wheelie bar brackets. Pictures Ive seen look like radius brackets turned backwards only with the upper pivot slightly above the center line of the axle. Anyone have a few pic's of brackets or some dimensions?
 
Time for a progress update

Click Picture to view Slideshow


Frame: We decided to go with CCR’s specs. As is . 2x3x 3/16th. We had too much other stuff going on to risk making changes changes. Mistakes we made where frt cross member seem straight up. We didn’t get 2x3 stock level in bandsaw or saw isn’t cutting square. This messed us up during welding. We also had issue with beams and kick being parallel. Auto body and a frame machine to the rescue.
IMG_0131.jpg


Front perch: Cut from 3/8 stock with 4 grinder and a cutting blade. Inside curve cut with a 2 in hole saw and a Drill press w/coolant. Holes for spring clamp drilled with press. One mounting hole slightly off. Maybe a 1/16, you have to look for it.
Picture is before holes and welding.
IMG_0118.jpg


Engine Mounts and Frame tabs: We did deviate from CCR’s plans on mounts We bought a set from RPM, un-welded. I want students to build everything possible on this car, so we use ron’s as a templet for the eng. Plate and tubing cut at 45 deg. I think. We will trim and contour after engine is set. Tabs cut out of 3x4x 3/16th tubing.
IMG_0126.jpg

IMG_0123.jpg


Rear Axle: S-10 from Craigslist. Around 54in between plates, With some instructor aggravation, Cleaned brackets off. Tube diameter is 2 5/8th and looks thin. Modified CCR’s rear radius rod brackets for tube diameter and will cut and weld all the way around tube. Bracket made from 3/8th plate cut with 4 cutting blade and shaped with grinder. Hole cut with drill press, bit and hole saw. I wanted to do double bracket and bushings but to many unknowns for this build.
IMG_0119.jpg


IMG_0135.jpg


IMG_0134.jpg


Glass beaded tub ends, backing plate and primed. New axle seals, wheel cylinders, hardware and brake shoes. Drums Beaded, Primed and turned .015 to remove primer and true.
IMG_0109-1.jpg


IMG_0113.jpg


Thanks to a member of this forum We had Christmas a little early. A box arrived with some parts that he had updated from his car. The box contained A set of headers, grass packs, turn outs and a locker shifter. They….. OK, We had to see them on a engine so we test fit them to our donor engine. I must say interest in the project has gone up since the installation, Thanks JC.

IMG_0114.jpg


IMG_0121-1-1.jpg


IMG_0122-1.jpg
 
Coming along nicely Dan. If you had the s-10 axel blasted there shouldn't be a problem with body filler adhering to it. Just make sure there's no grease or oil under the filer.

When you weld the brackets to the rear end housing, don't rush it. I would split the welds into 4 sections on each surface . Weld one section at a time and sip around. Wait for the welds to cool to the touch before starting the next series. You want to keep the heat as low as you can so the axle tubes don't warp. The Chevy tubes are thin compared to the Ford tubes. A little practice piece wouldn't hurt for your welder to see his penitration.

Ron
 
Way to keep hotrodding alive. Get the youth involved.
 
Where was tis class when I was in school? The project is looking great. Keep us posted.

Eric
 
Updated slideshow
Thanks to HemiT We are leaening to Powder Coat Plus Beginning to figure out how to build Radius Rod.
 
No Carb. but, thanks for the link. Stock TBI System Off the old farm truck. That way i will have a system that has some educational value. I still (teach) talk about Carbs a little, but do not have time to go into detail with all the other things that are supposed to get covered. This bucket will be complete with SES light and O2 sensor if i can figure out how to get the o2 attached to chrome headers. i find weld in bungs but, would like to find one that i could put a nut on the inside. I'm sure Ive seen them somewhere but am having a had time finding them now. Maybe, wishful thinking on my part.

Thanks again to you and everyone else on this forum for the help and support you've given me in this project. I would have never started this project, had it not been for the guys from this site. We are making a lot of scrap metal trying to make every thing ourselves, but thats the way we learn. I think i could have 5 of RPM's bracketsfor everyone we've made. Maybe they will have a smarter instructor with less pride, next yearJ.


putz said:
Are you going with a carb if you are there is a set of setup headers so you don't blue the new ones while tuning. Here is the link that I saw them last.http://www.tbucketeers.com/forum/f17/sbc-start-up-headers-3506/
 
If you don't want to blue new headers just coat the inside with axel grease. It will turn into coke and you will never have that problem.

Mike
 
If you have the long smooth body. I added 9 inches to my frame 3 after the kick and 6 in the main rails . And i barely had enough room. IF you are using the longer body .
 
Spirit body. Best i remember it falls between the two CCR bodies. 40 inches from firewall to back of frt. member is what we have . Looks close to me, but on advise from forum member that ought to no, we didnt change geometry or length of CCRs frame plans except the addition of 1 inch to the kick, just because we had room. CCRs smooth plans just move the Mounts and the steering gear forward and that is the specs we are using. If I cant make it fit, the plan is to lift body a bit or tunnel if I have to. Body looks good as is and I hate to cut on it. I made a mistake and ordered the wrong tubing for radius rods,1x .188 seamless instead of the .219 Ted told me. Had to much going on when I ordered metal or lack of attention to detail on the instructors part.
Heating to bend didnt work well for us so we figured out how to bend 90 with cheap bender then notched in the middle of the bend, with a little waste. Hey, We had material to practice with. We welded nuts to the ends for threads so we can have mock up of rods till new metal arrives. Brackets, is where Im pulling my hair out. Which side of the line to cut on, how much to grind off , what angle, Where holes go and how big, and what tools to use and how? We will get it. We are learning the hard way sometimes. I have told them that if we didnt get it done this year, next years class will get to take credit for the build :>)
 
Slow going. Here is a pic of Our version of CCR"s coilover brackets.

and

I did find a local supplier for 1'' OD x .219 tube.
Next on the list to do "Radius Rods"


Picture177-1.jpg
 
We Have the peices shaped to put together brackets for trans. mount. CCR's plans call for 1 1/2 x 3 3/16wall which i can't seem to find.
My question is do think the 2x3 we built the frame with will work? We May have to Mod. anyway, Spirt battery box may be in the way.
 
Your project is coming along fine. If your school ends just after Memorial Day those guys should be able to.."get it done".
All that cammo I thought I was looking at my students!

It looks like you have an Autobody class at your school too. We don't.

You are right about the folks on this forum, without them we probably would not attempt such a project.
Bucketeer's Rock.

Lee
 
No School Today!!! So i hand time to work on radius Rods. I'm sure i will not be putting Ron out of business any time soon.
rolleyes.gif


Our procedure

Cut 1''x.219 tube to length ( added 12'' to lower leg of rod for waste)
Bent tube 90 Deg. in bender
Picture182.jpg


Notched Tubes to suit me.
(Polished a piece of tube to fit arbor of the notcher to aid in setup.)
Picture179.jpg


Taped 5/8x18 and installed ends
Picture180.jpg


Trimmed lower rod square with top rod then taped and installed ends
Picture181.jpg


Welding Instructor takes over from Here.

Turn our attention to buying rear Coilovers (Any ideas Ron?) Will call tomorrow.
 
Looks like you school has some really nice equipment. Good choice letting teacher do welding. Remember safety.
 

     Ron Pope Motorsports                Advertise with Us!     
Back
Top